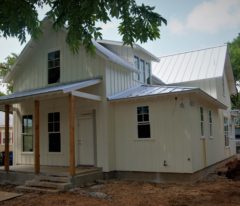
After a few glitches with the final inspections, we now have our certificate of occupancy, so can move in some furniture. There remain a few finish-out details, but it’s now legal for us to occupy the house. Here are some pictures.
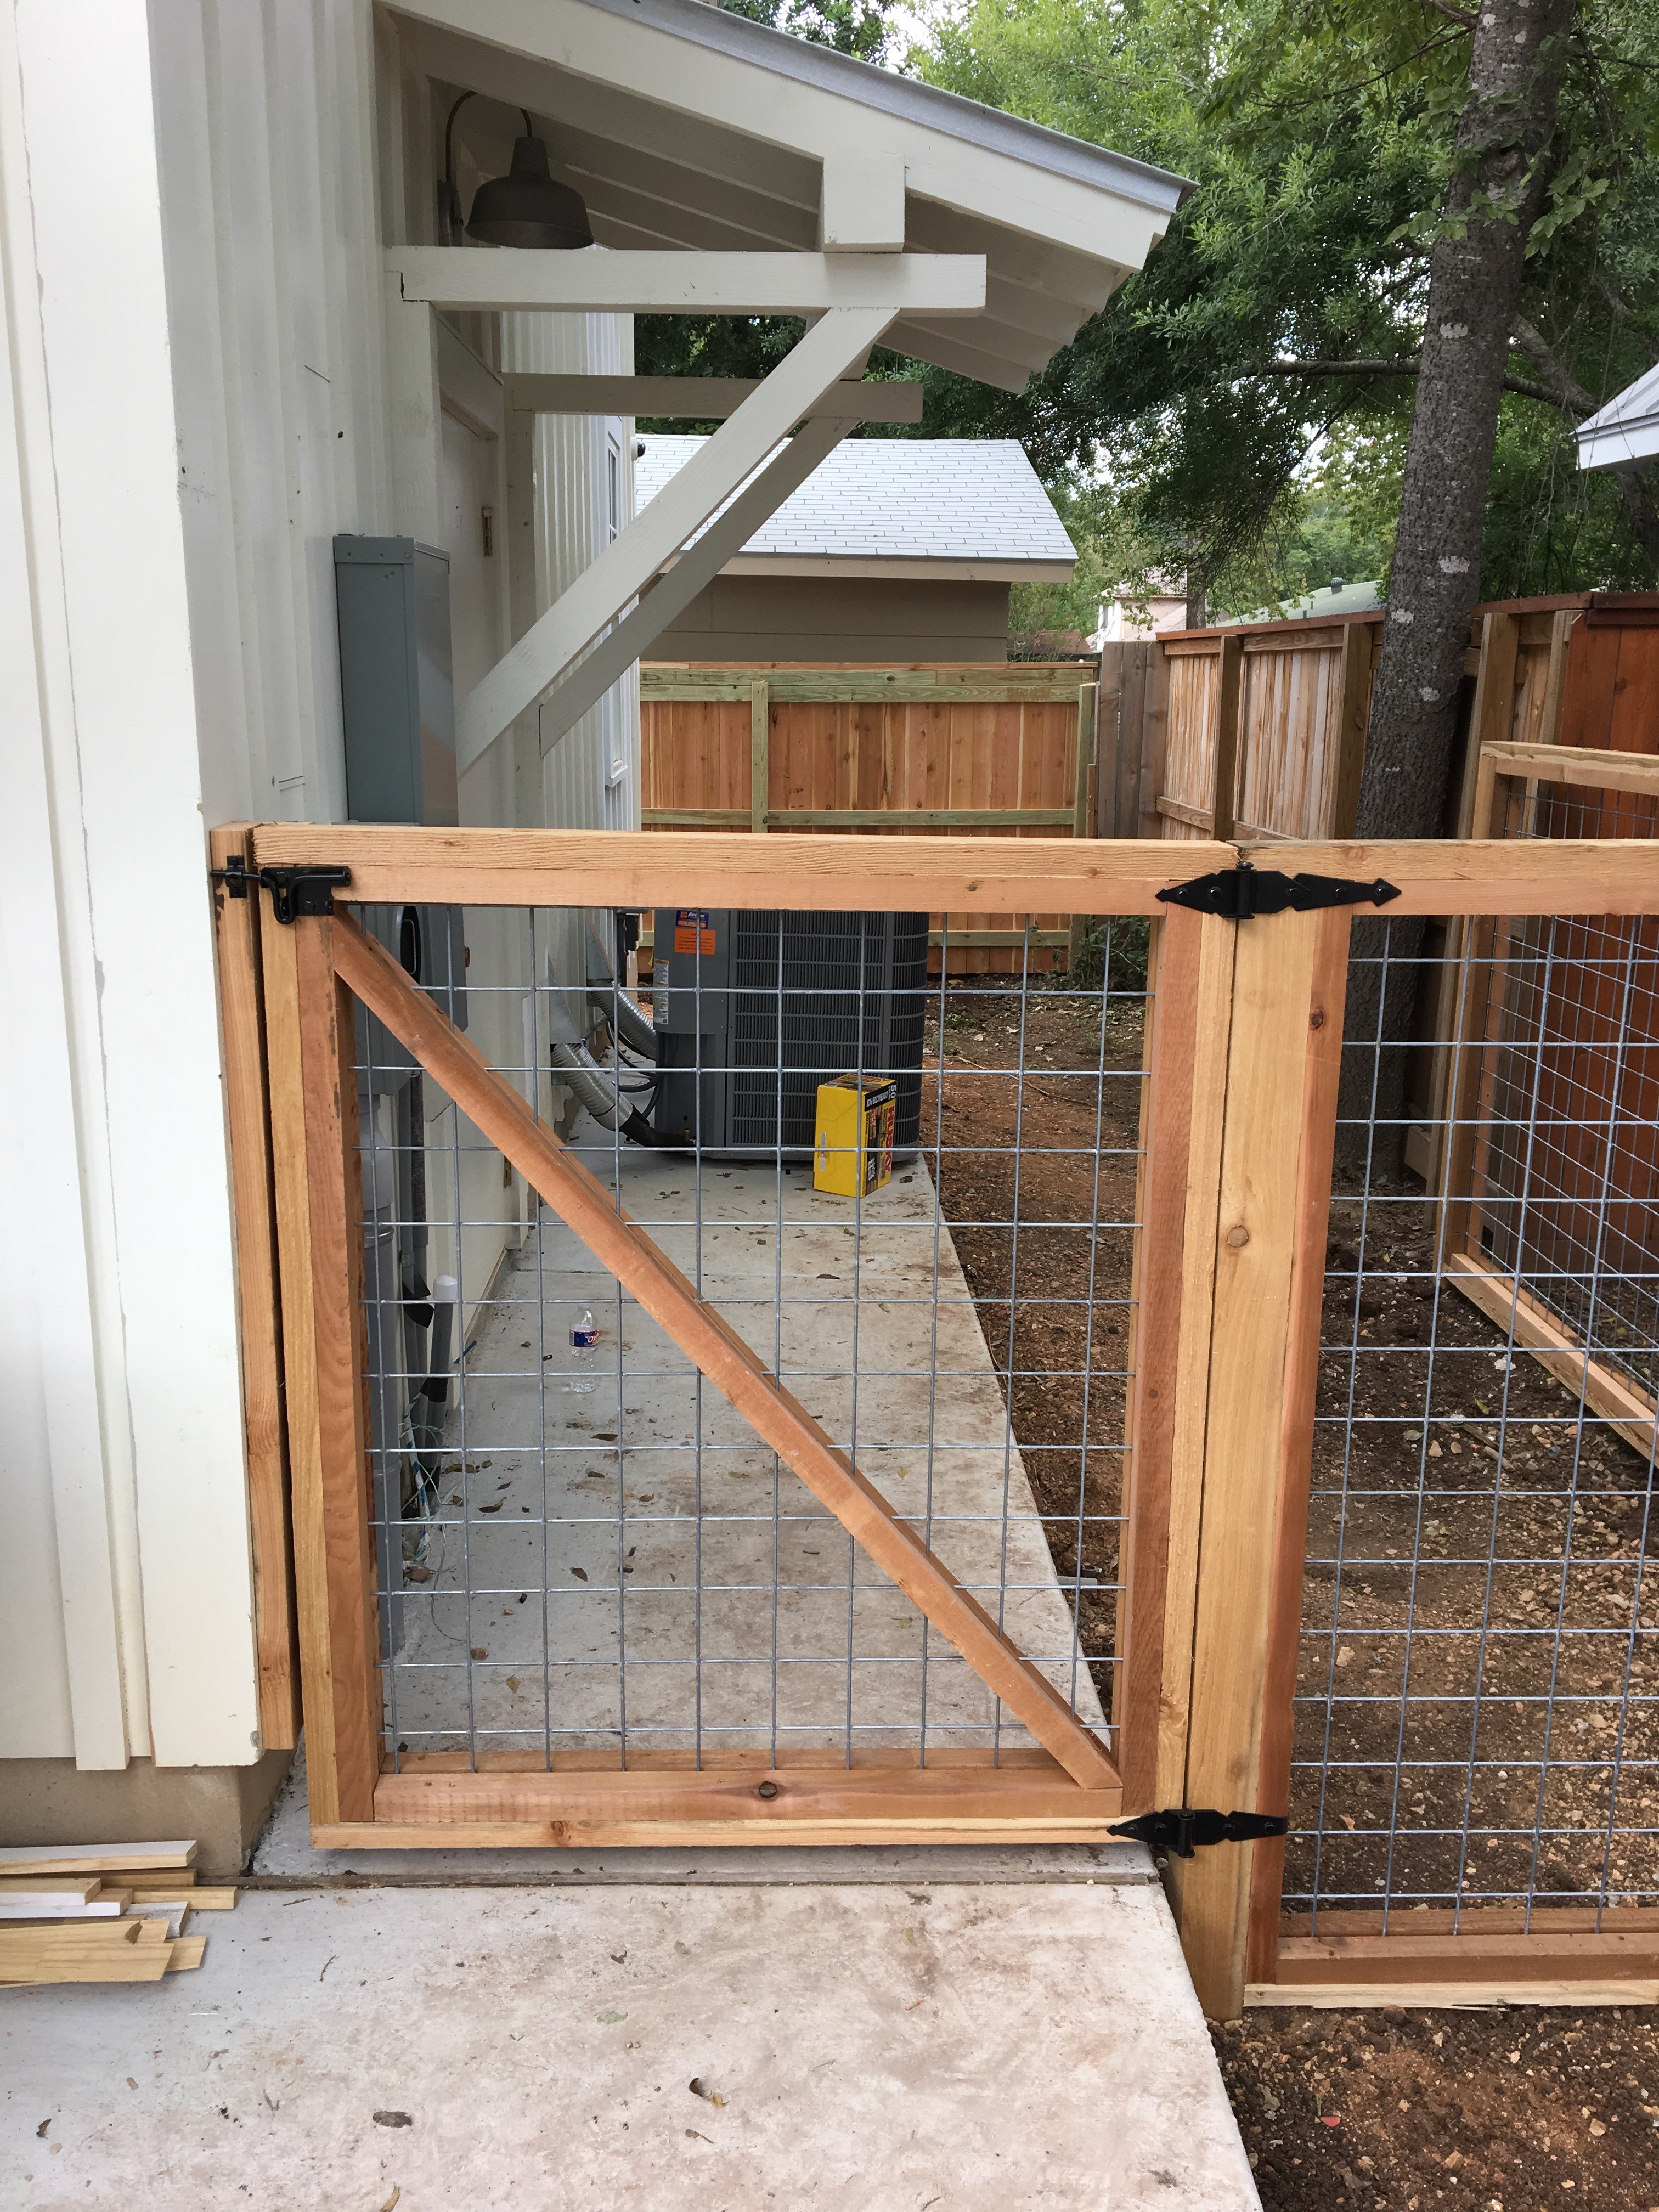
For the garage side of the yard, we choose a hog-wire style open fencing, with a simple gate. It’s pictured below. There are vines planted, which will grow up the fence sides. Hopefully, the open style will get some sun to the grass, and it can grow a bit, so the dogs will have something to play on.
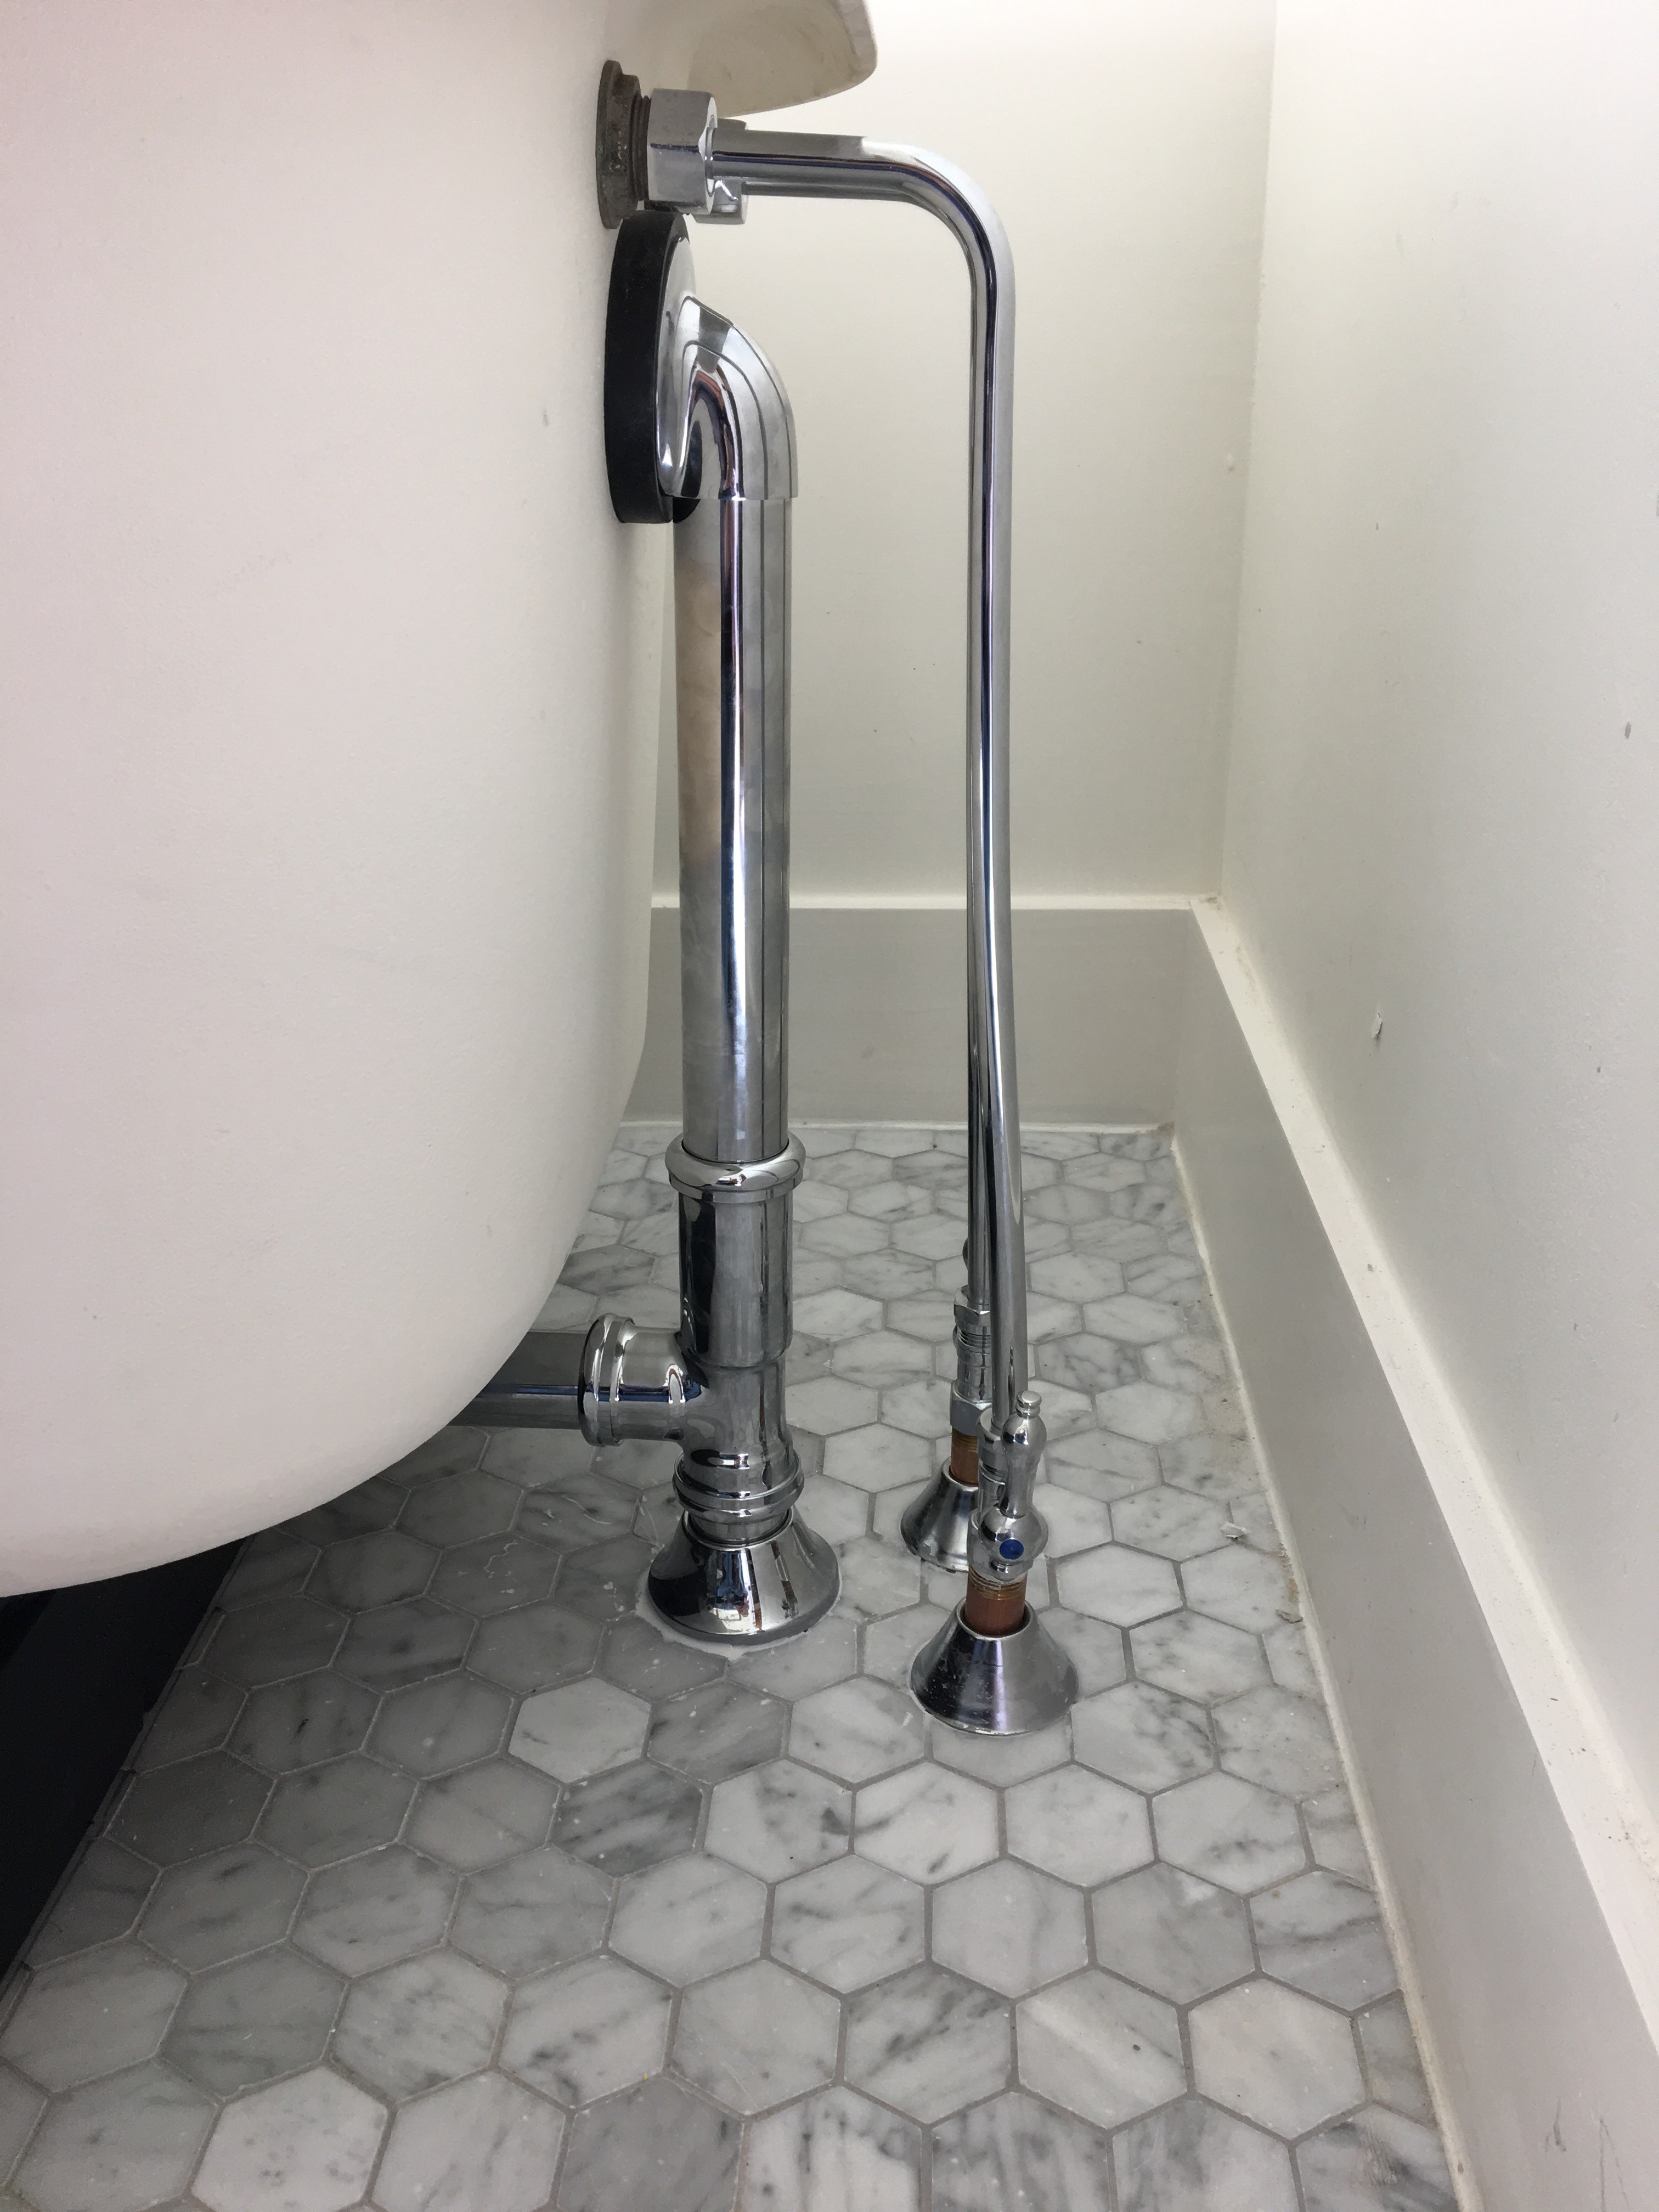
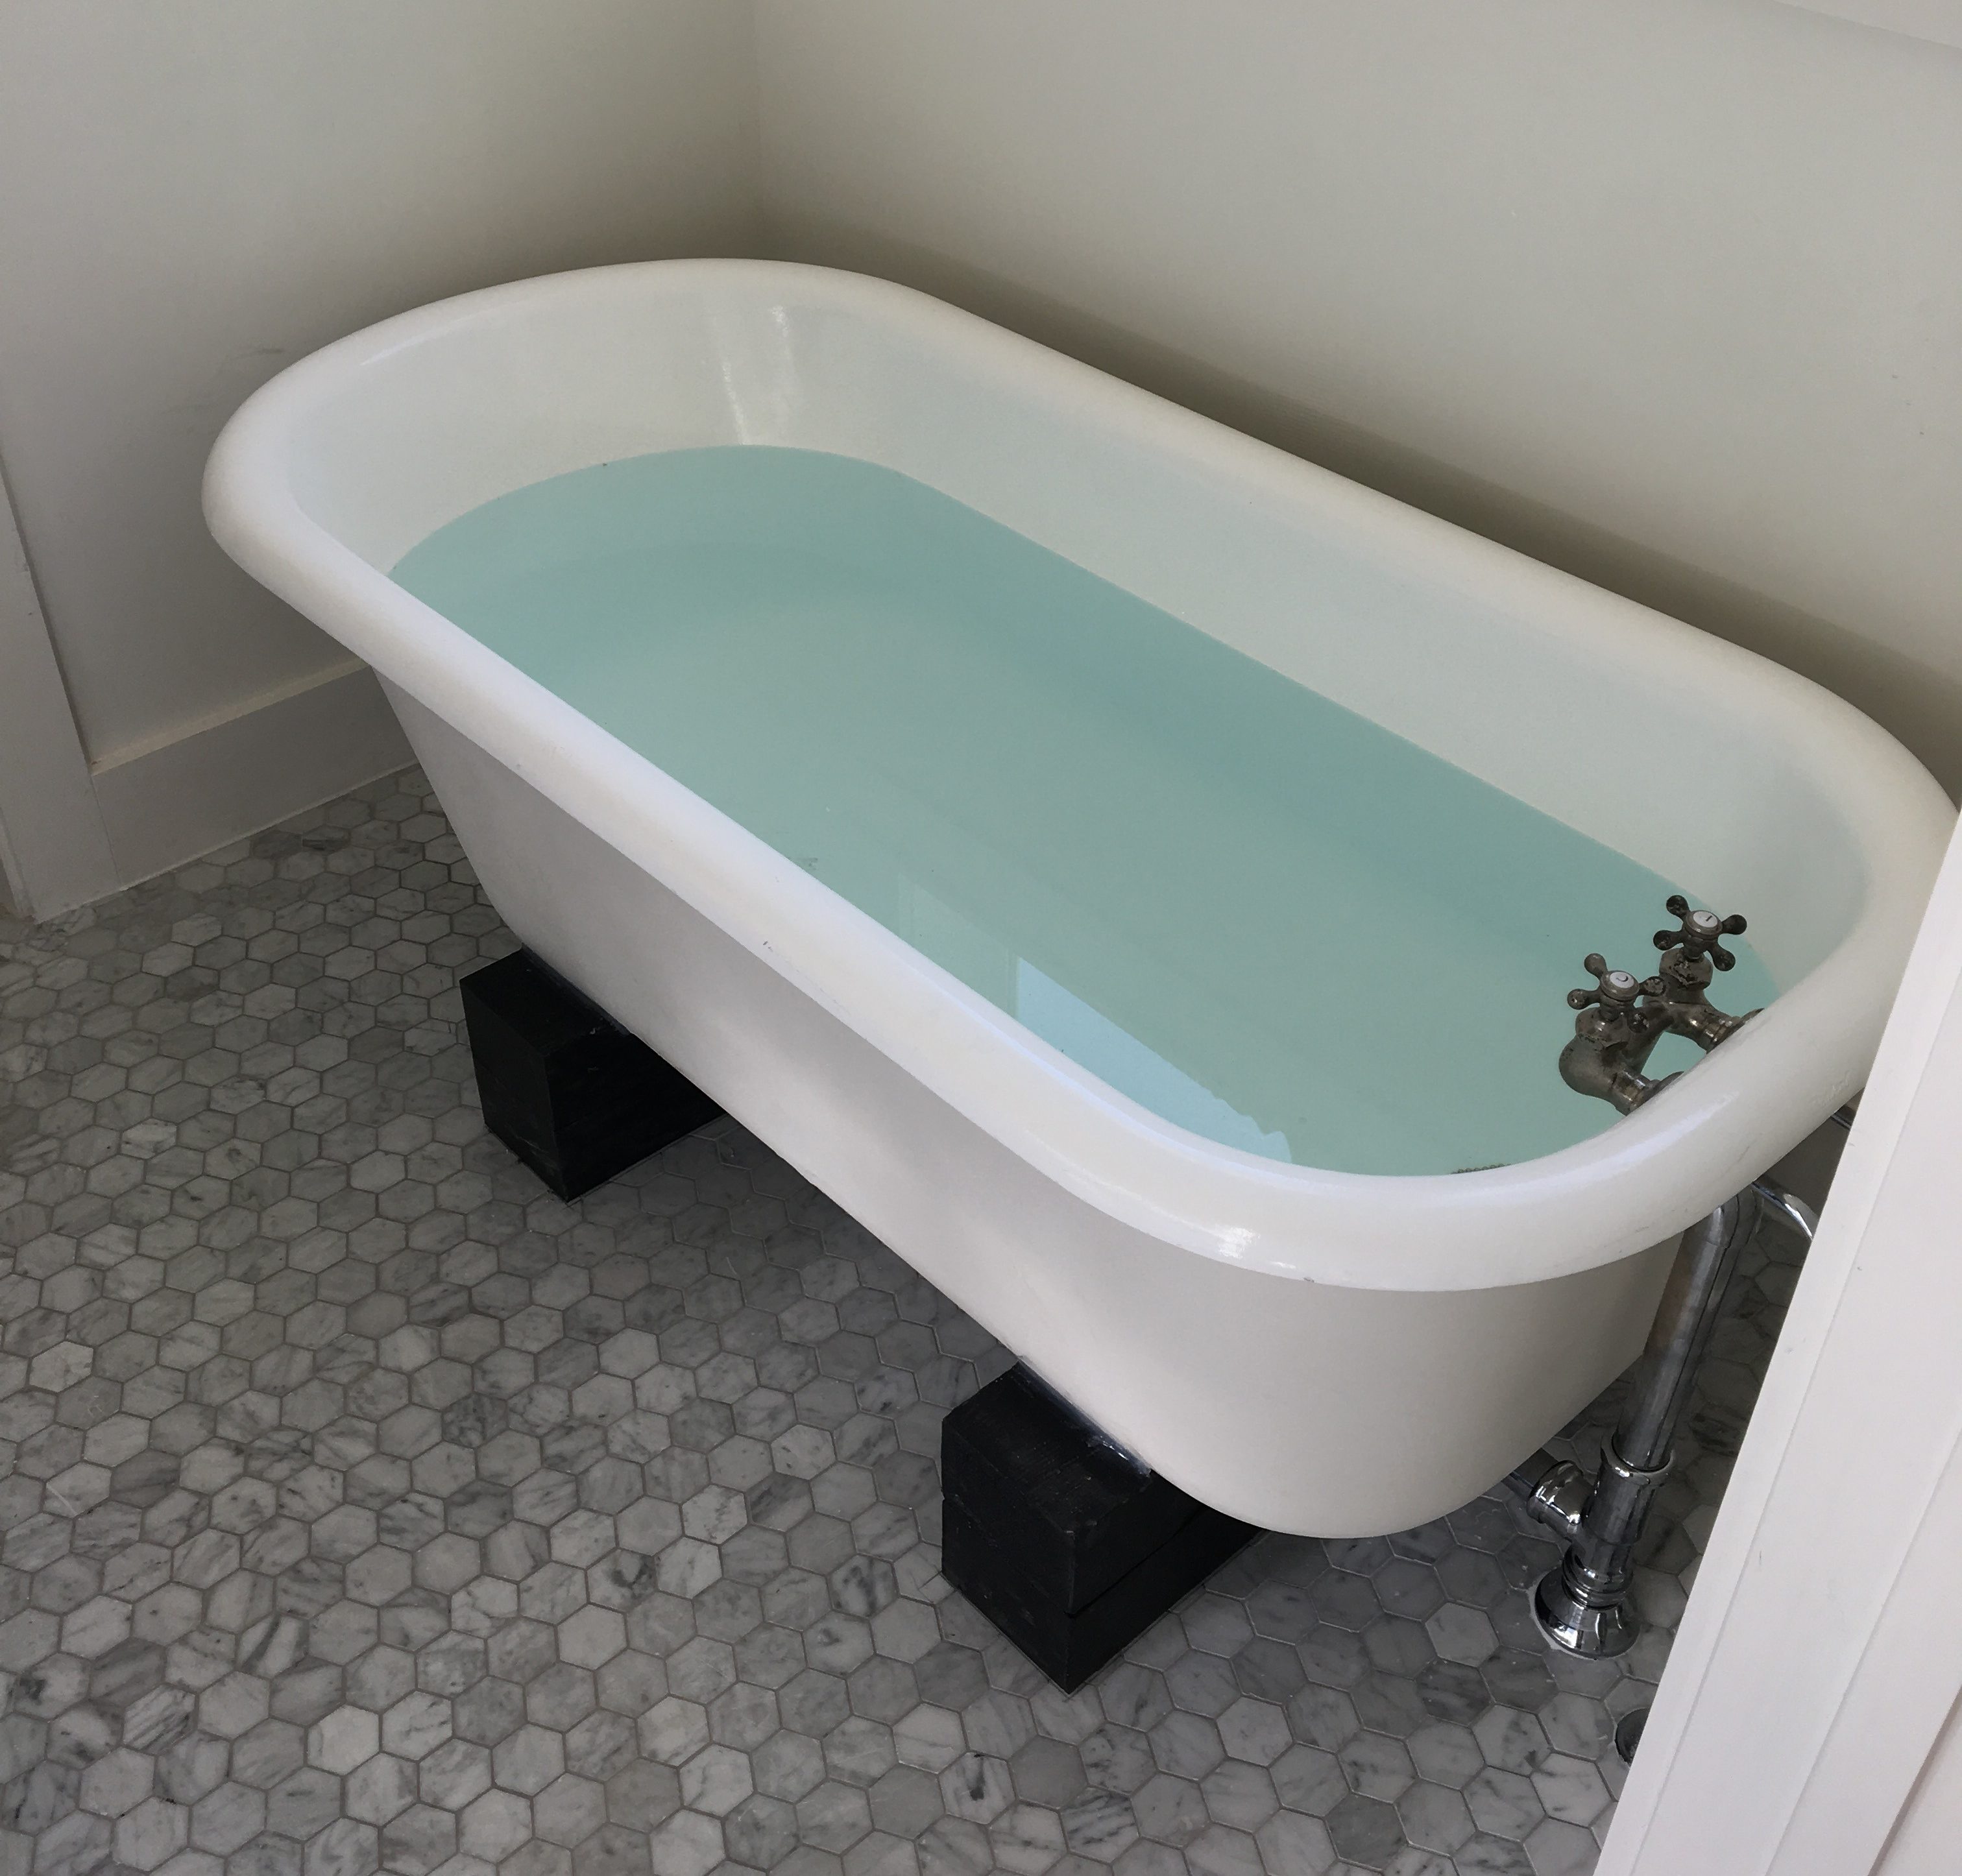
Here is the tub installed. We decided to place it on some surplus beams, rather than the traditional claw feet. The beams will protect the tile flooring and are really more stable and a nicer finish than the feet. The but sports the refurbished old nickel faucet, and it’s full of water to test the drain plug (which obviously works).
Below is a close up of the fine stainless steel plumbing connecting the tub to the water and drain. It really turned out well!
There is a temporary electric meter set by our utility provider for construction, but getting the permanent power was more of a challenge than we expected. The old house had the electric meter on the front of the house, which was less than 100 feet to the transformer on a nearby telephone pole. We designed the new house with the meter at the back of the garage, to keep it out of sight and we planned to put the electric line underground for safety and aesthetics.
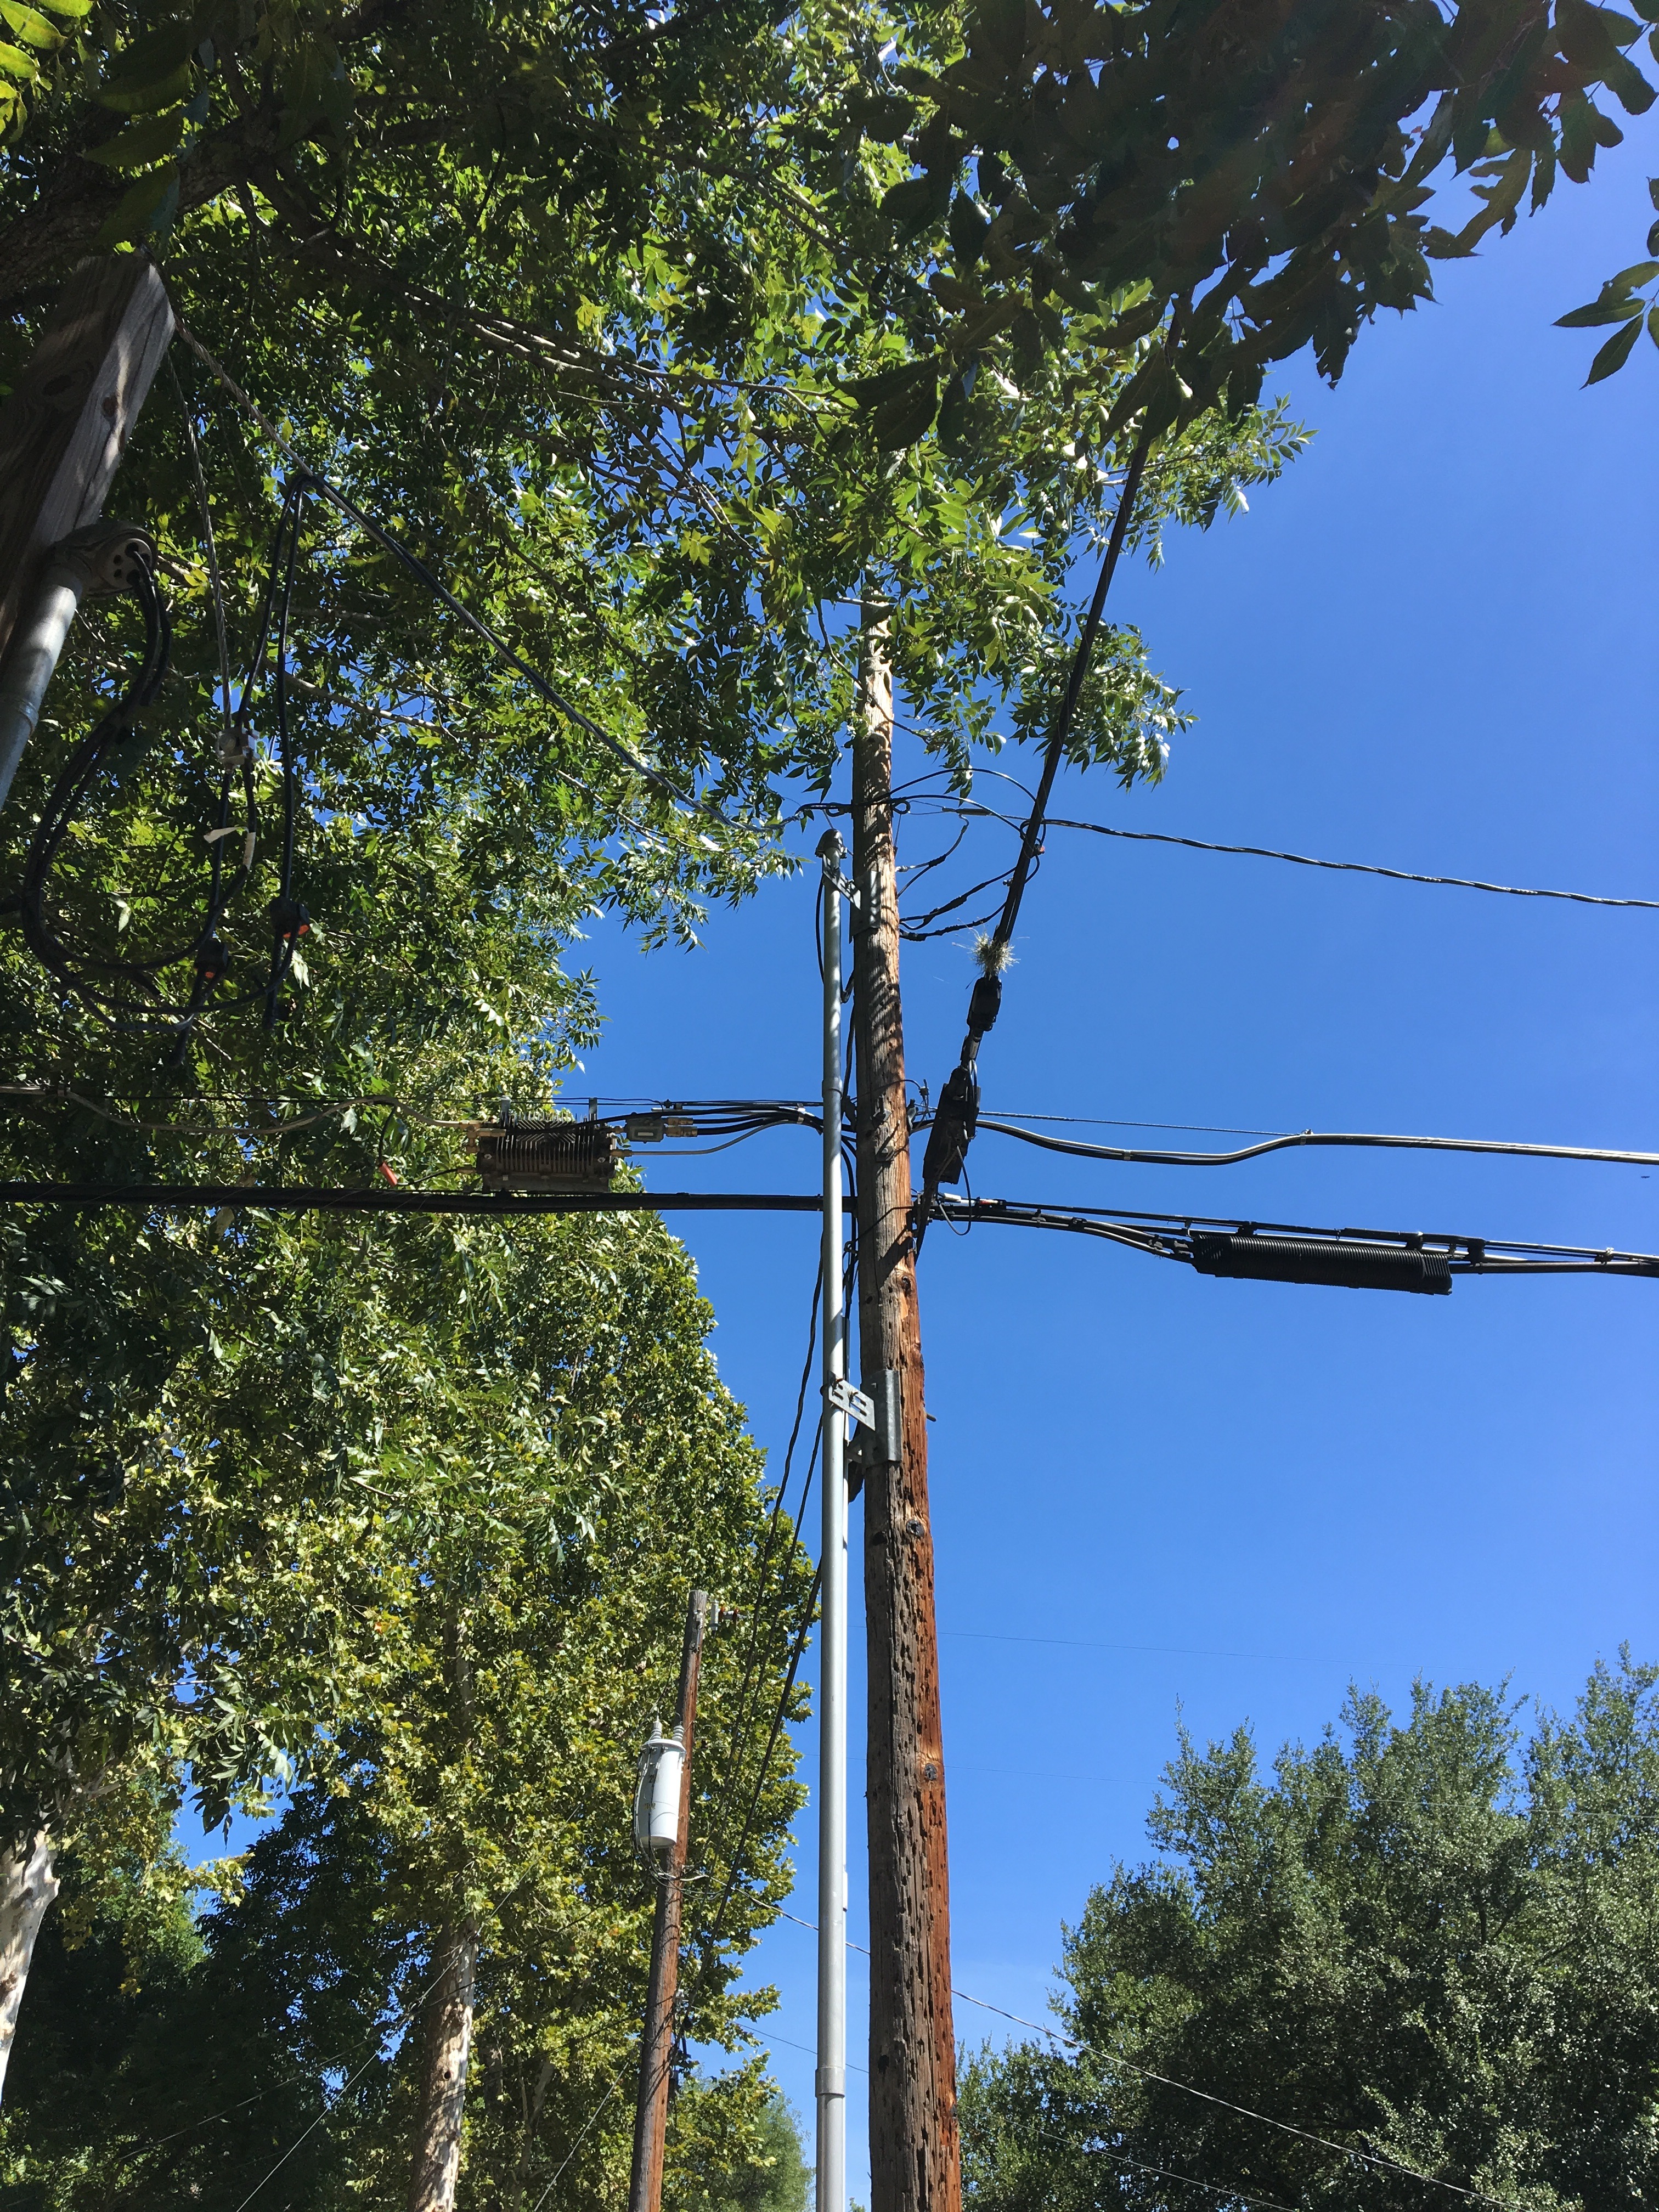
Old Transformer (background) and Pole to be replaced
Well it turned out that we should have consulted our electric provider earlier in the process. Running the power to the garage was a longer distance than the utility preferred, due to line resistance and potential power “sag”. The extra distance was about 70 feet or so, which on its face does not seem like much. While I never got a clear answer on the maximum distance the meter should be from the transformer, it seems like anything over about 150 feet poses potential problems. The distance is a function of a number of variables including, size of the transformer, size/resistance of the service line, and customer power demand.
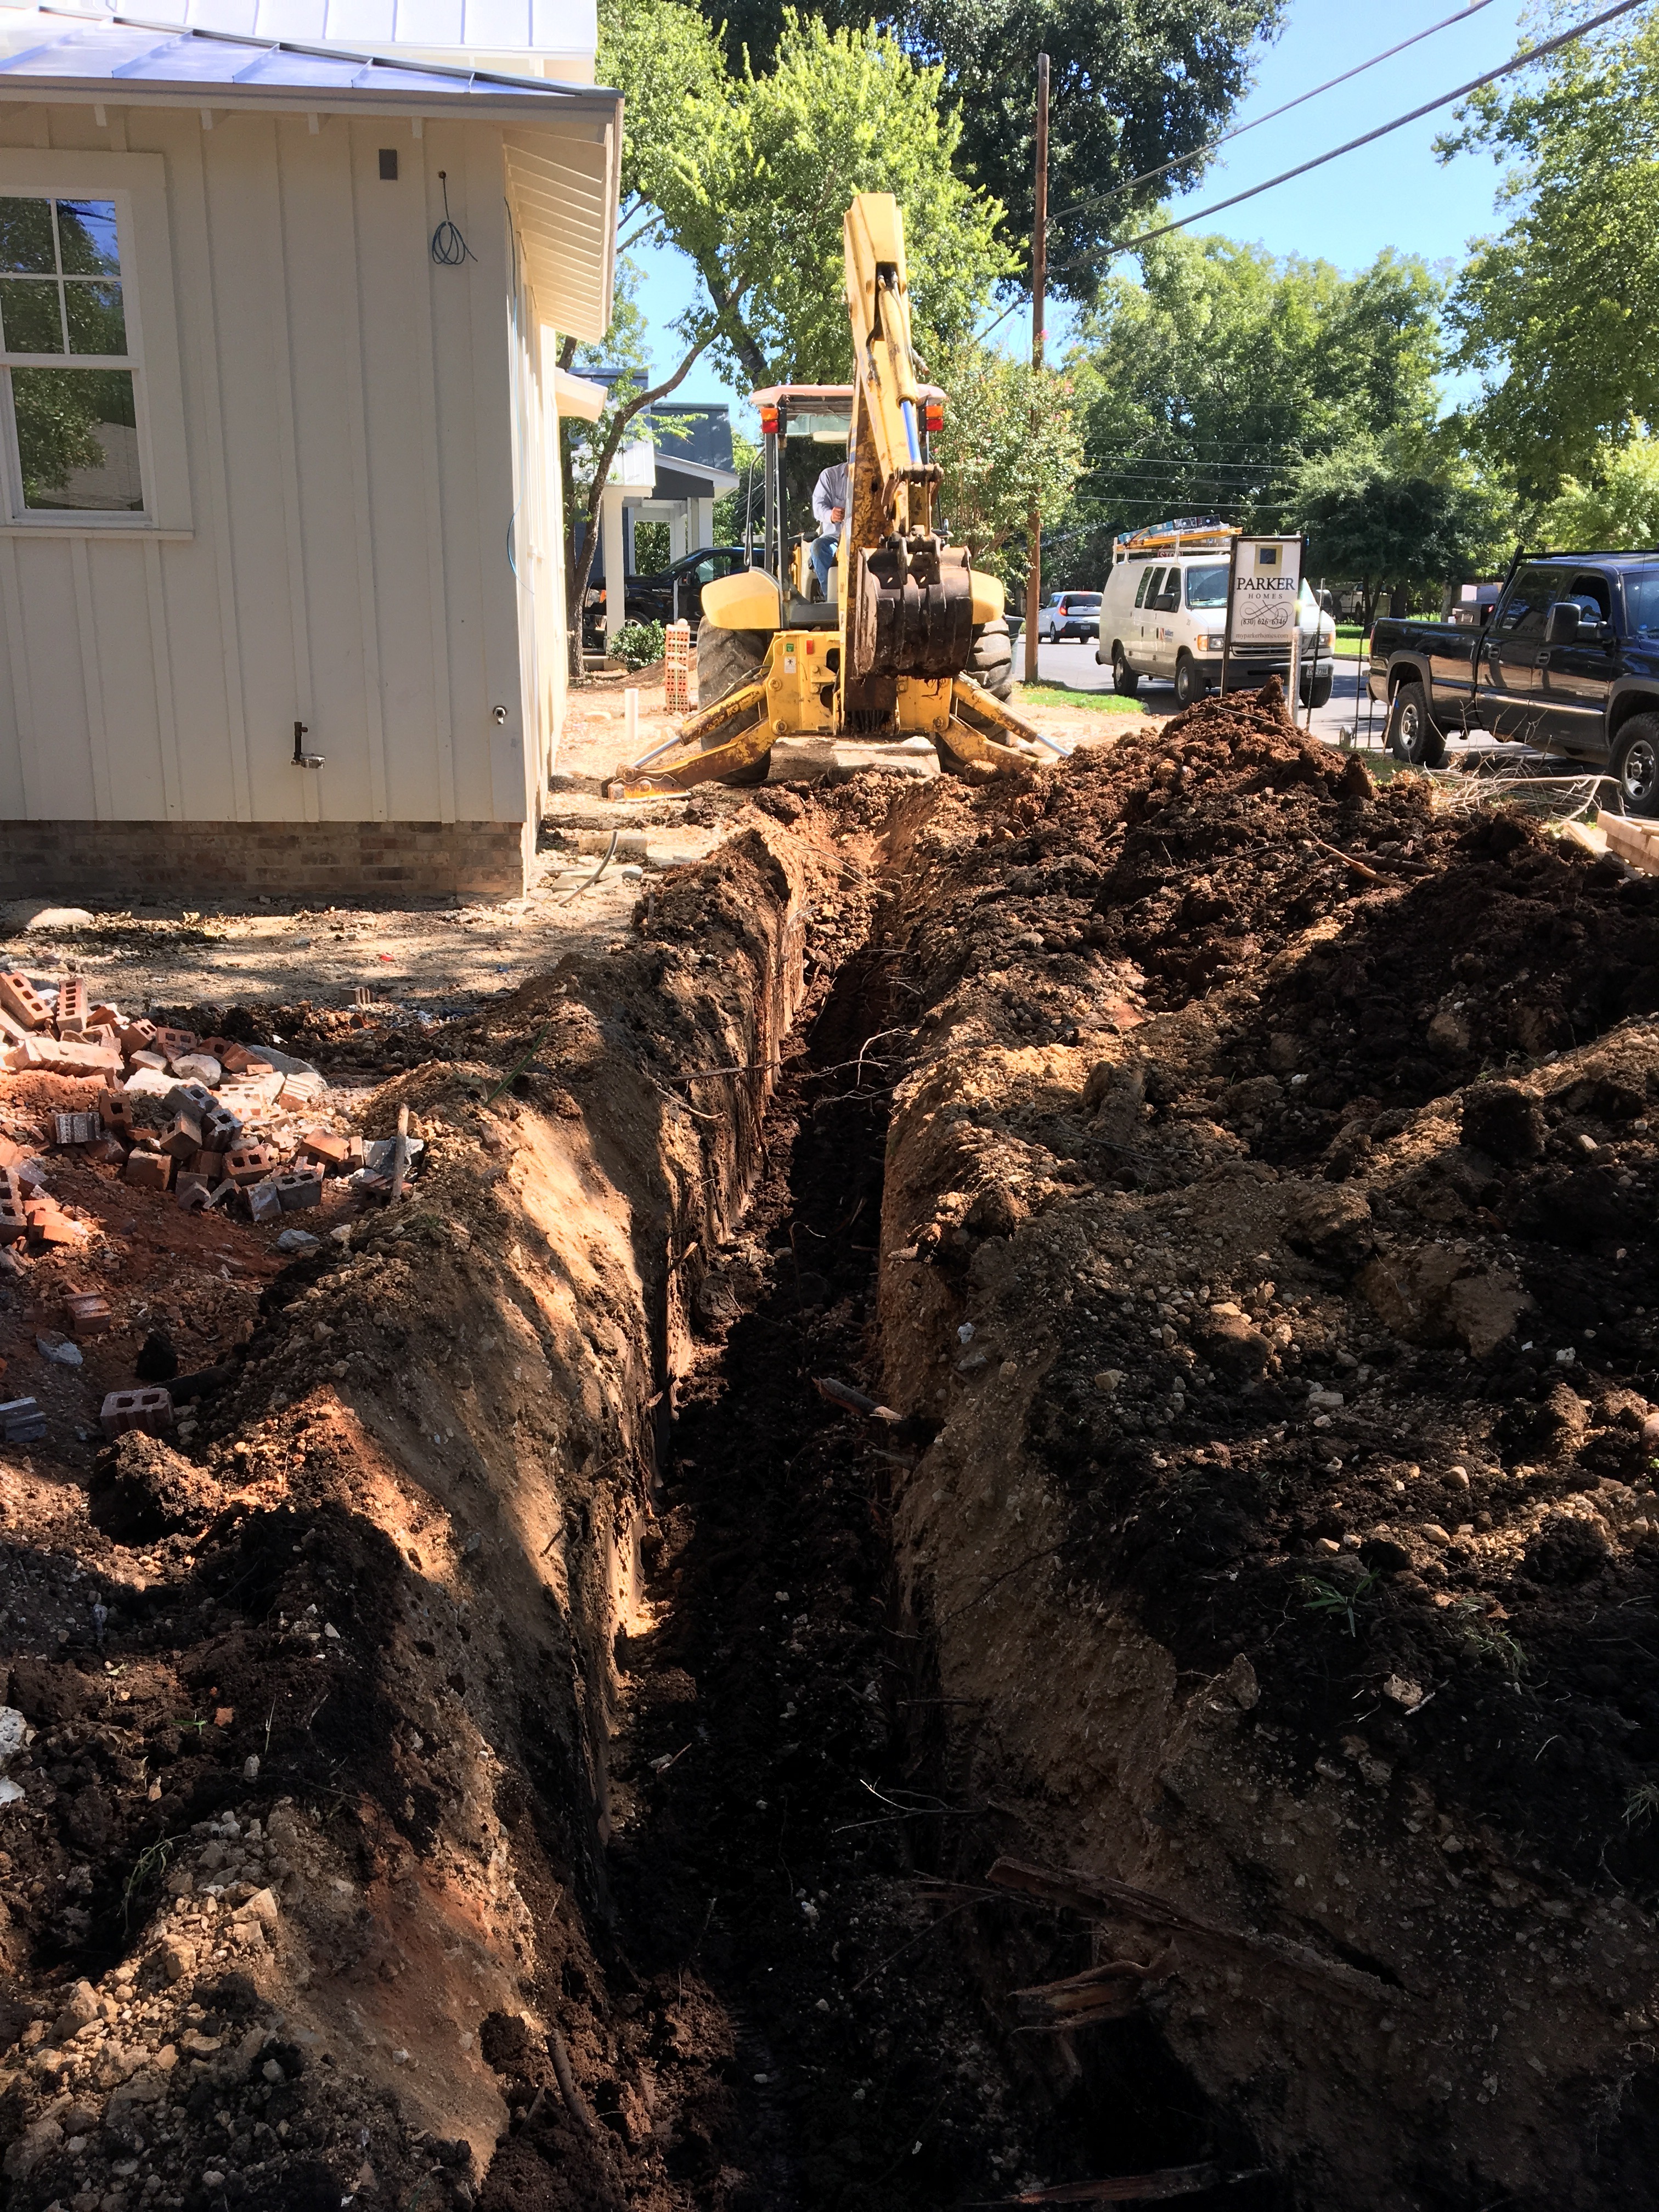
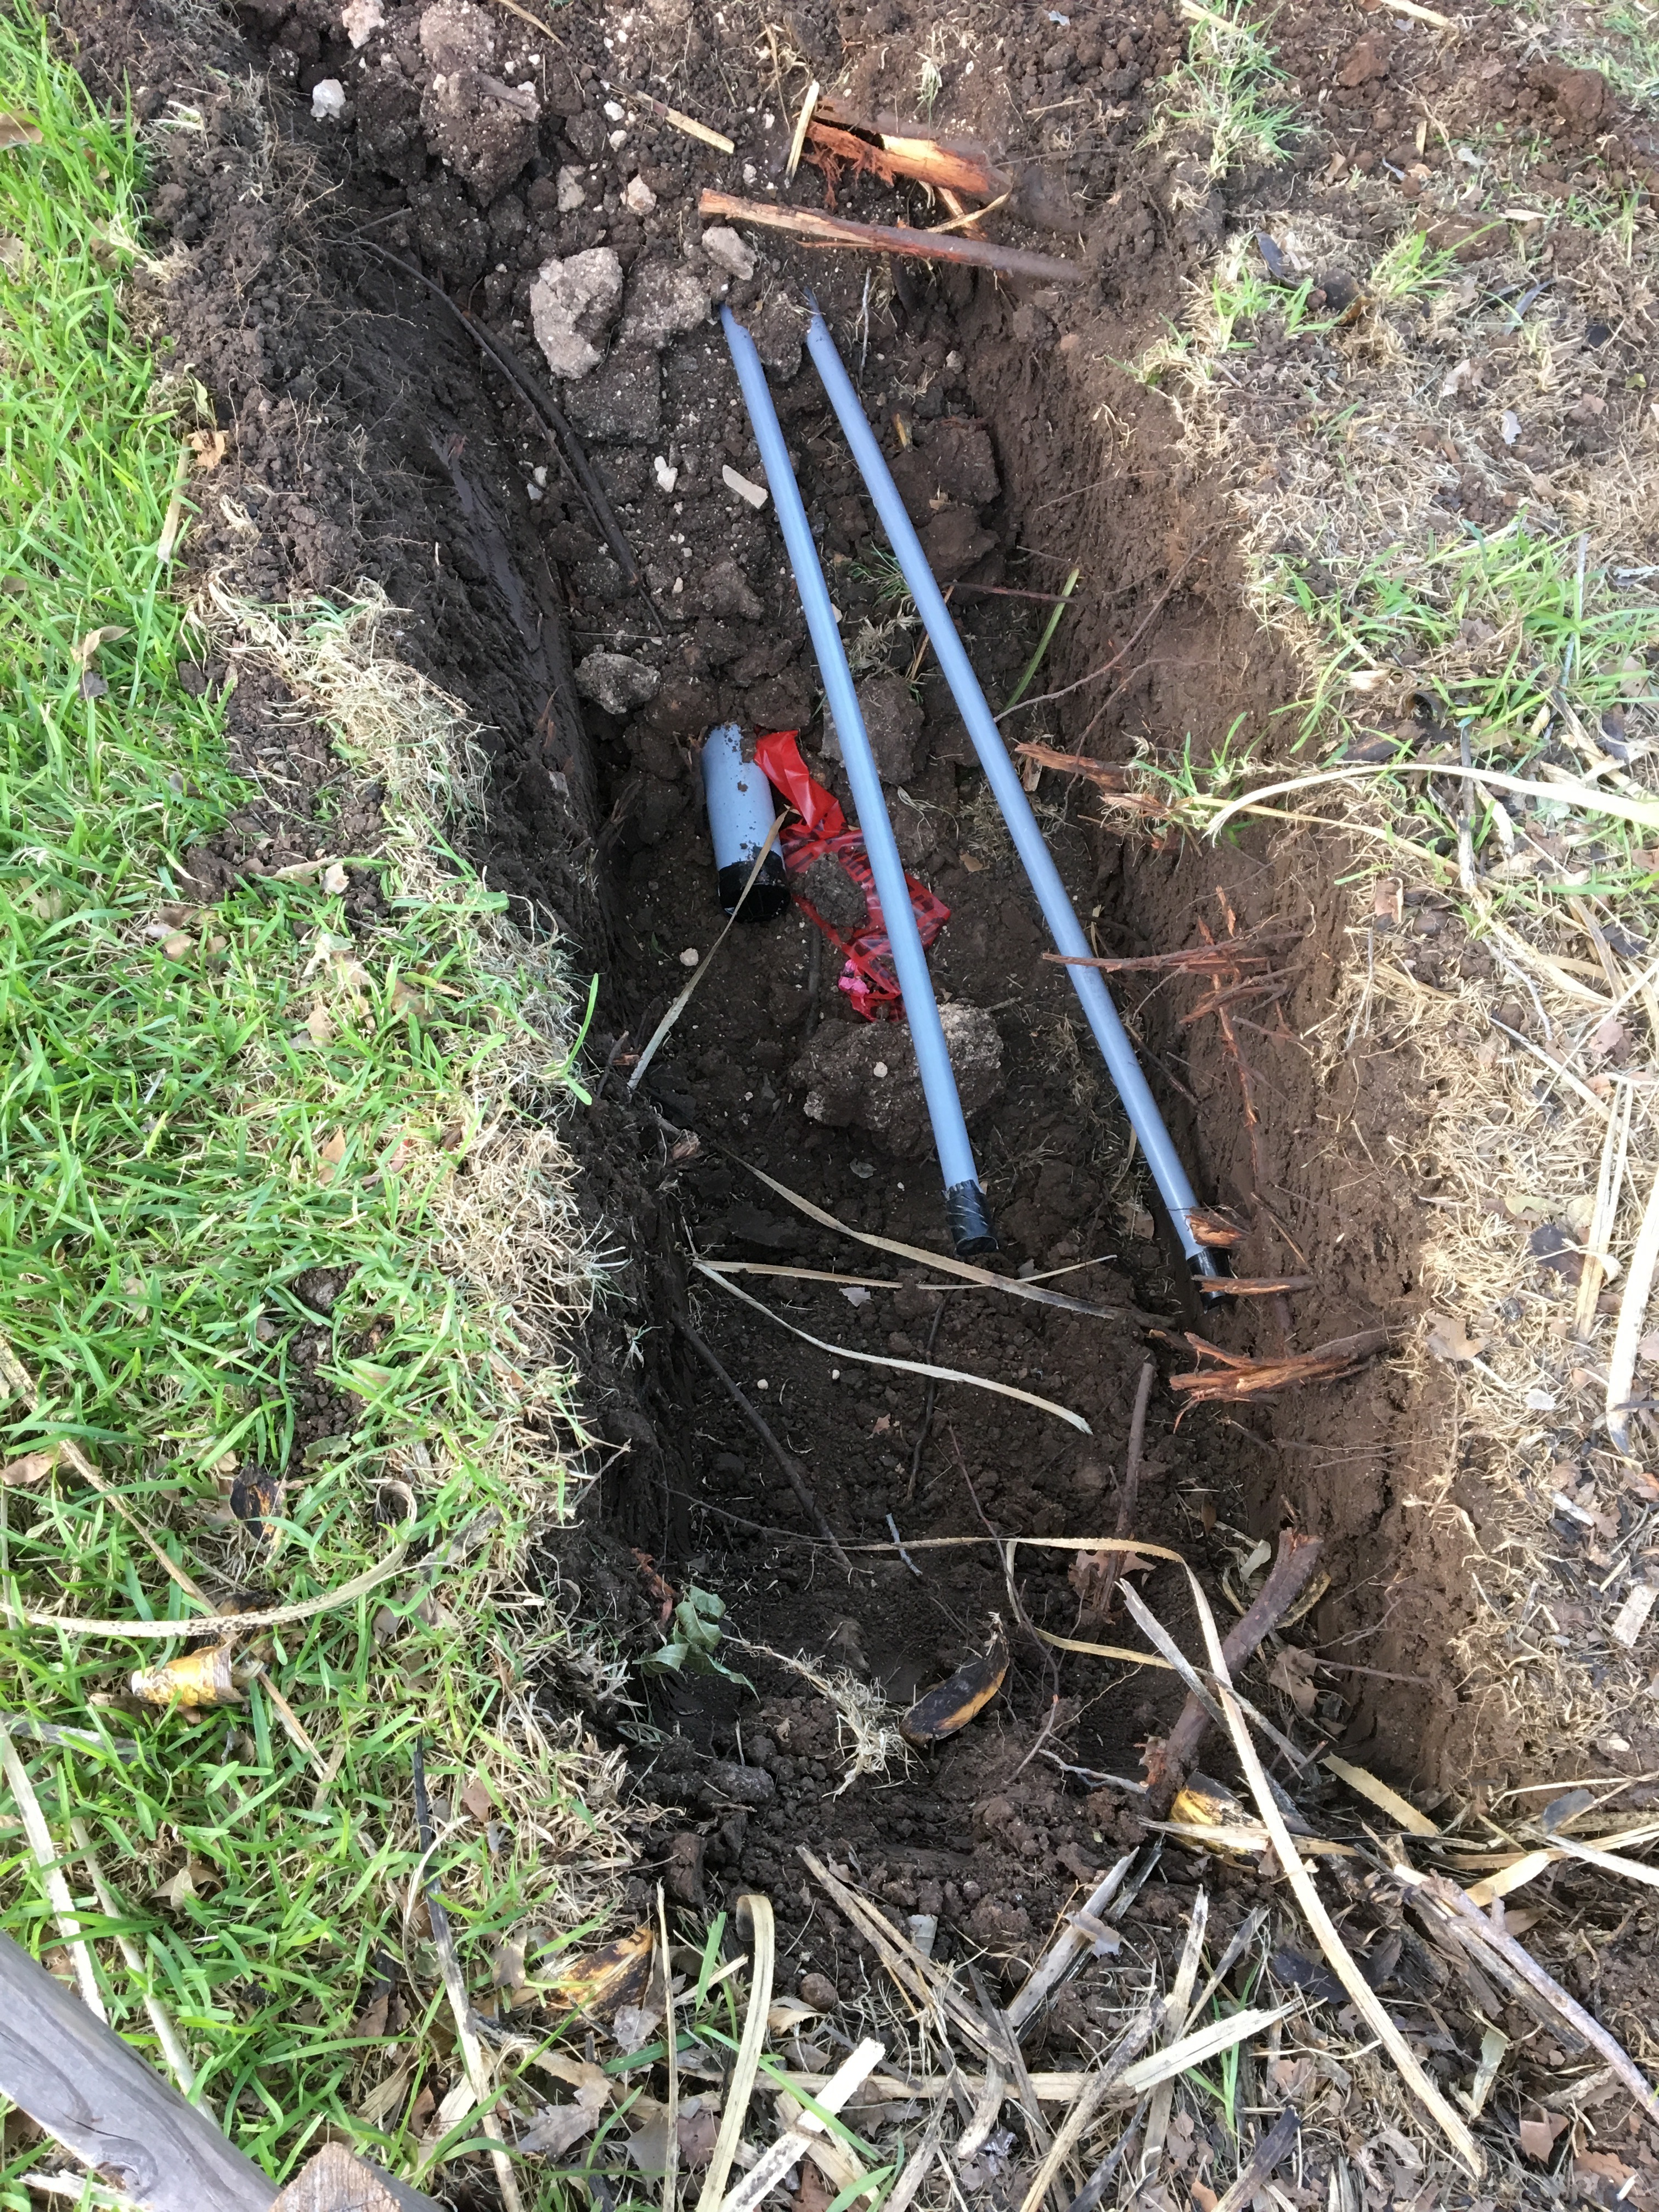
Trenching for Conduit
Also, running the service line underground required the utility company to replace a telephone pole on the corner of our yard, so that all the utilities (including cable/internet) could be properly dropped down the side of the pole. Time for the new pole and transformer upgrades were 6 – 8 weeks, given the utility’s heavy work schedule. Also, trenching for the new conduit had to be carefully planned to avoid running too close to an existing large pecan tree.
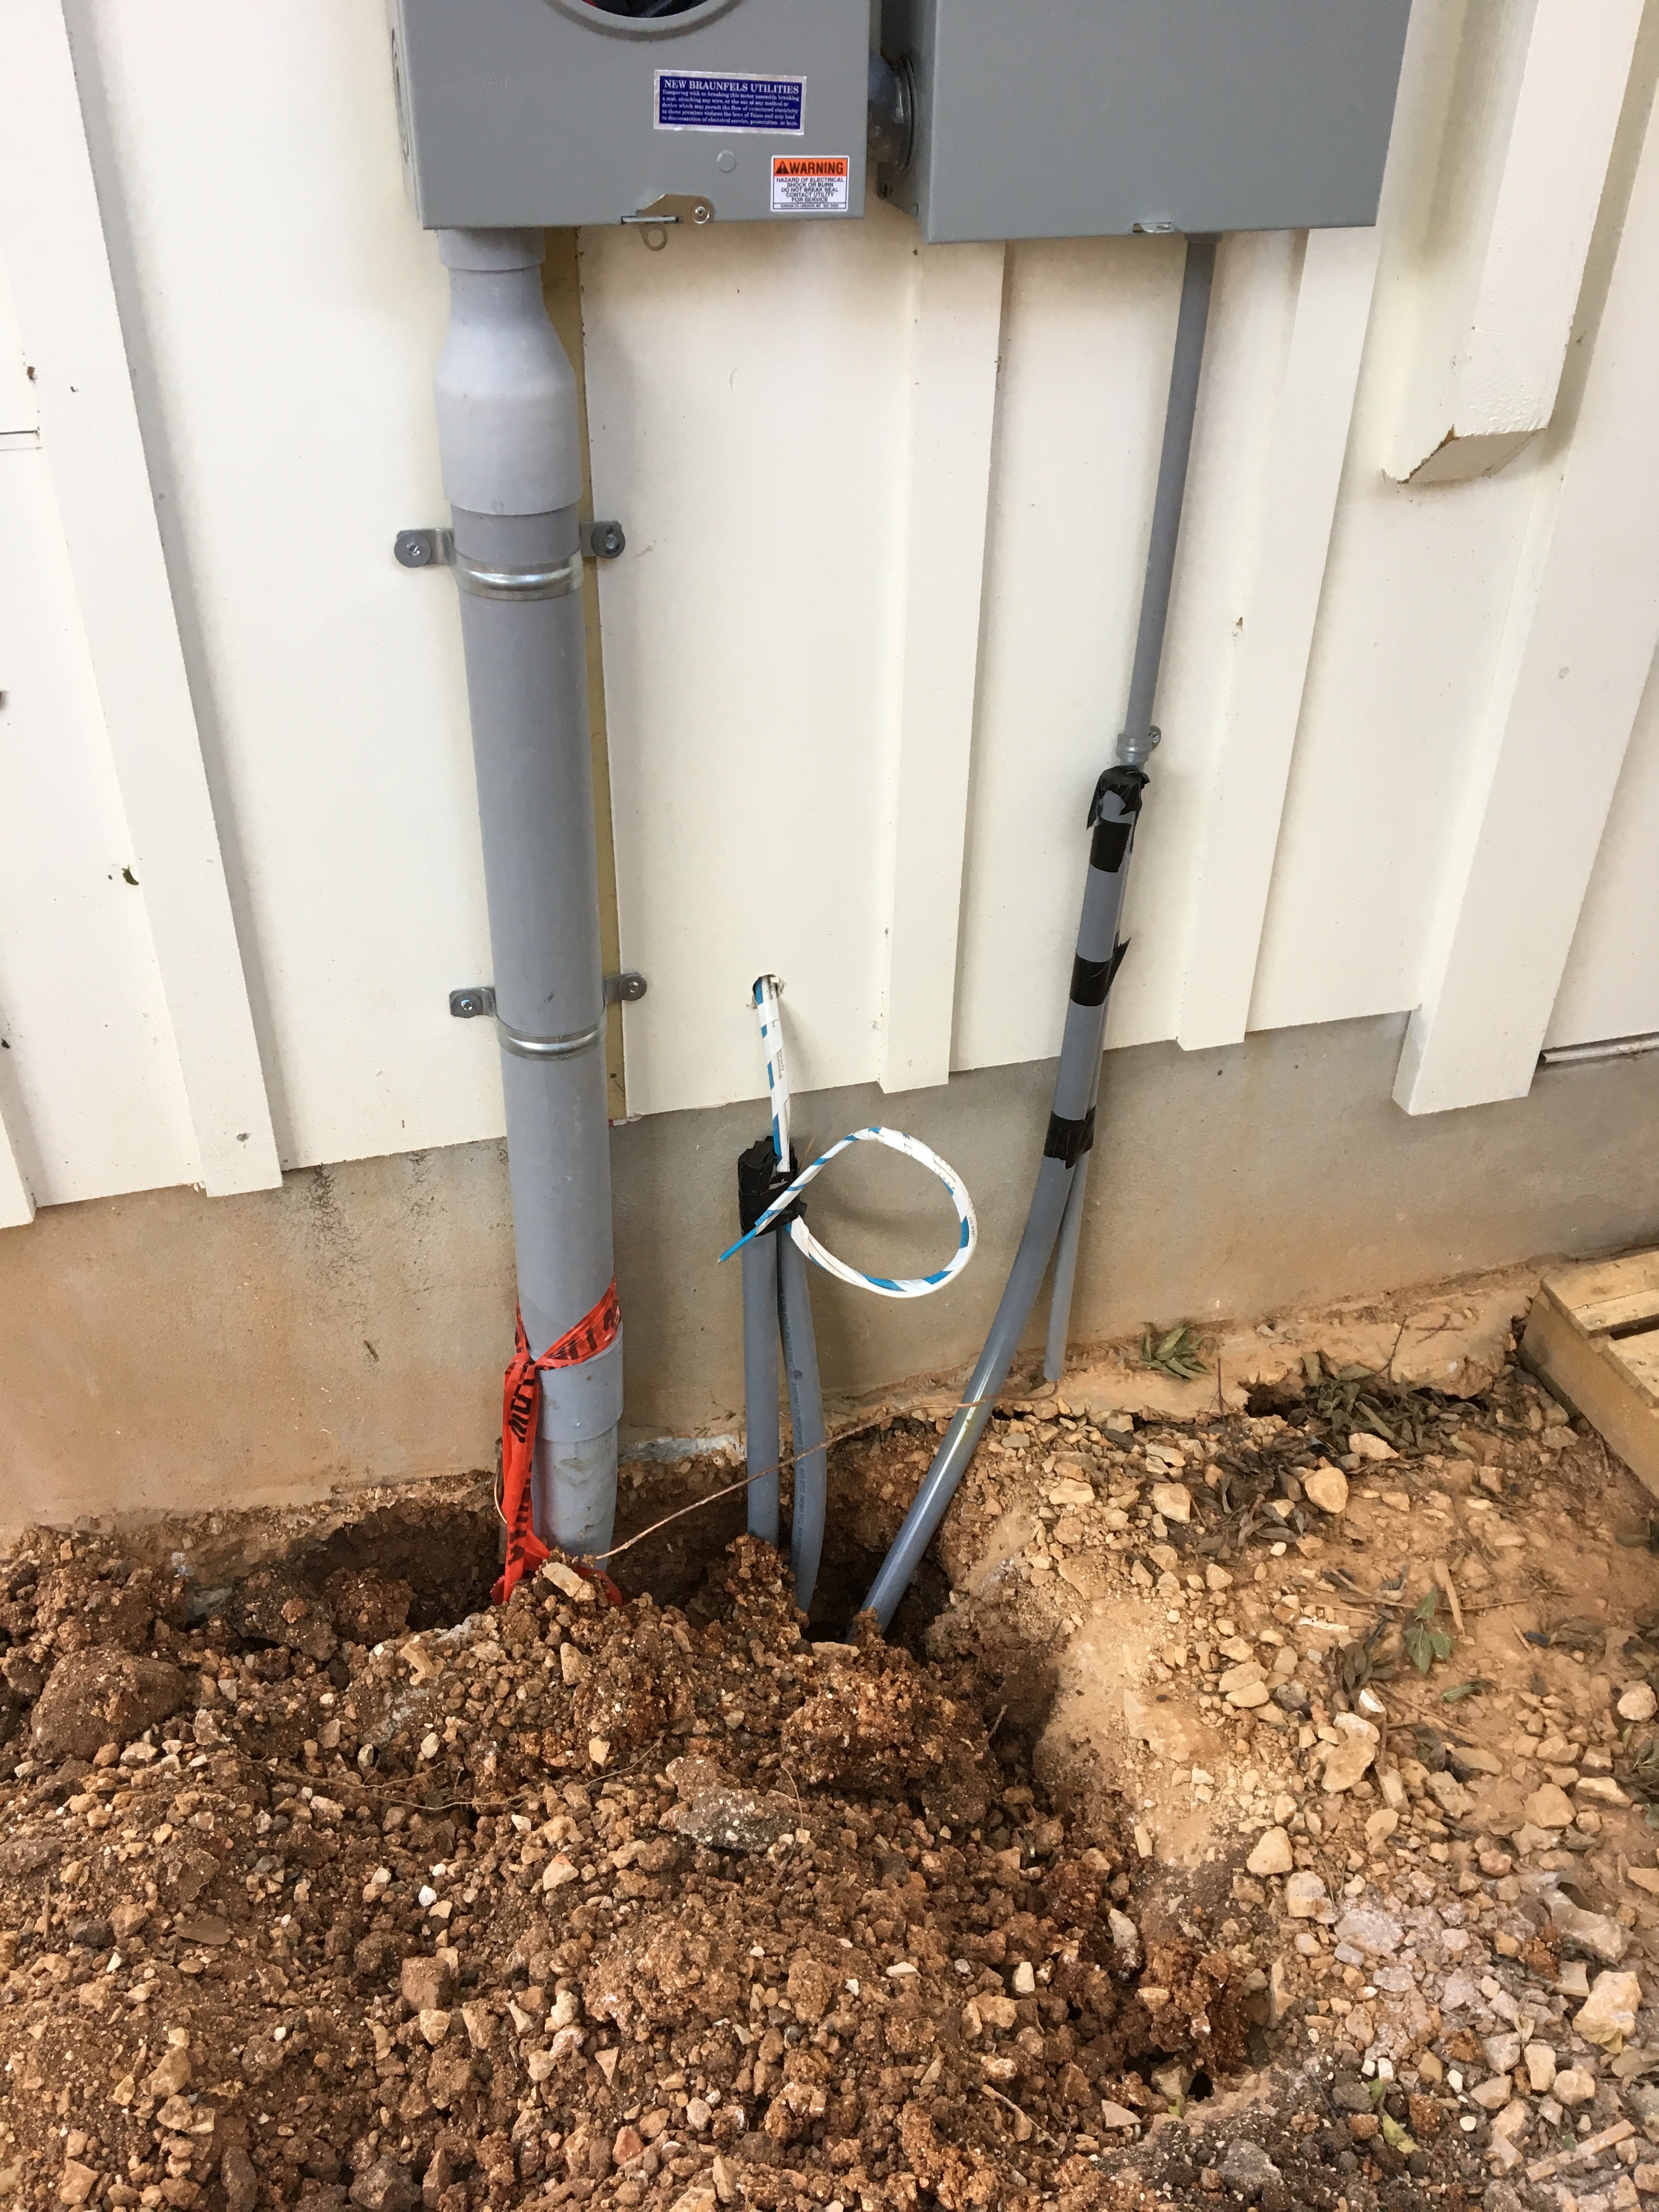
Conduit Connections to Meter DropConduit, Installed
So, all of that caused us to have to re-juggle our schedule for landscaping and related work on the site.
Now we are just awaiting our utility to come and pull the wires through the new underground conduit.
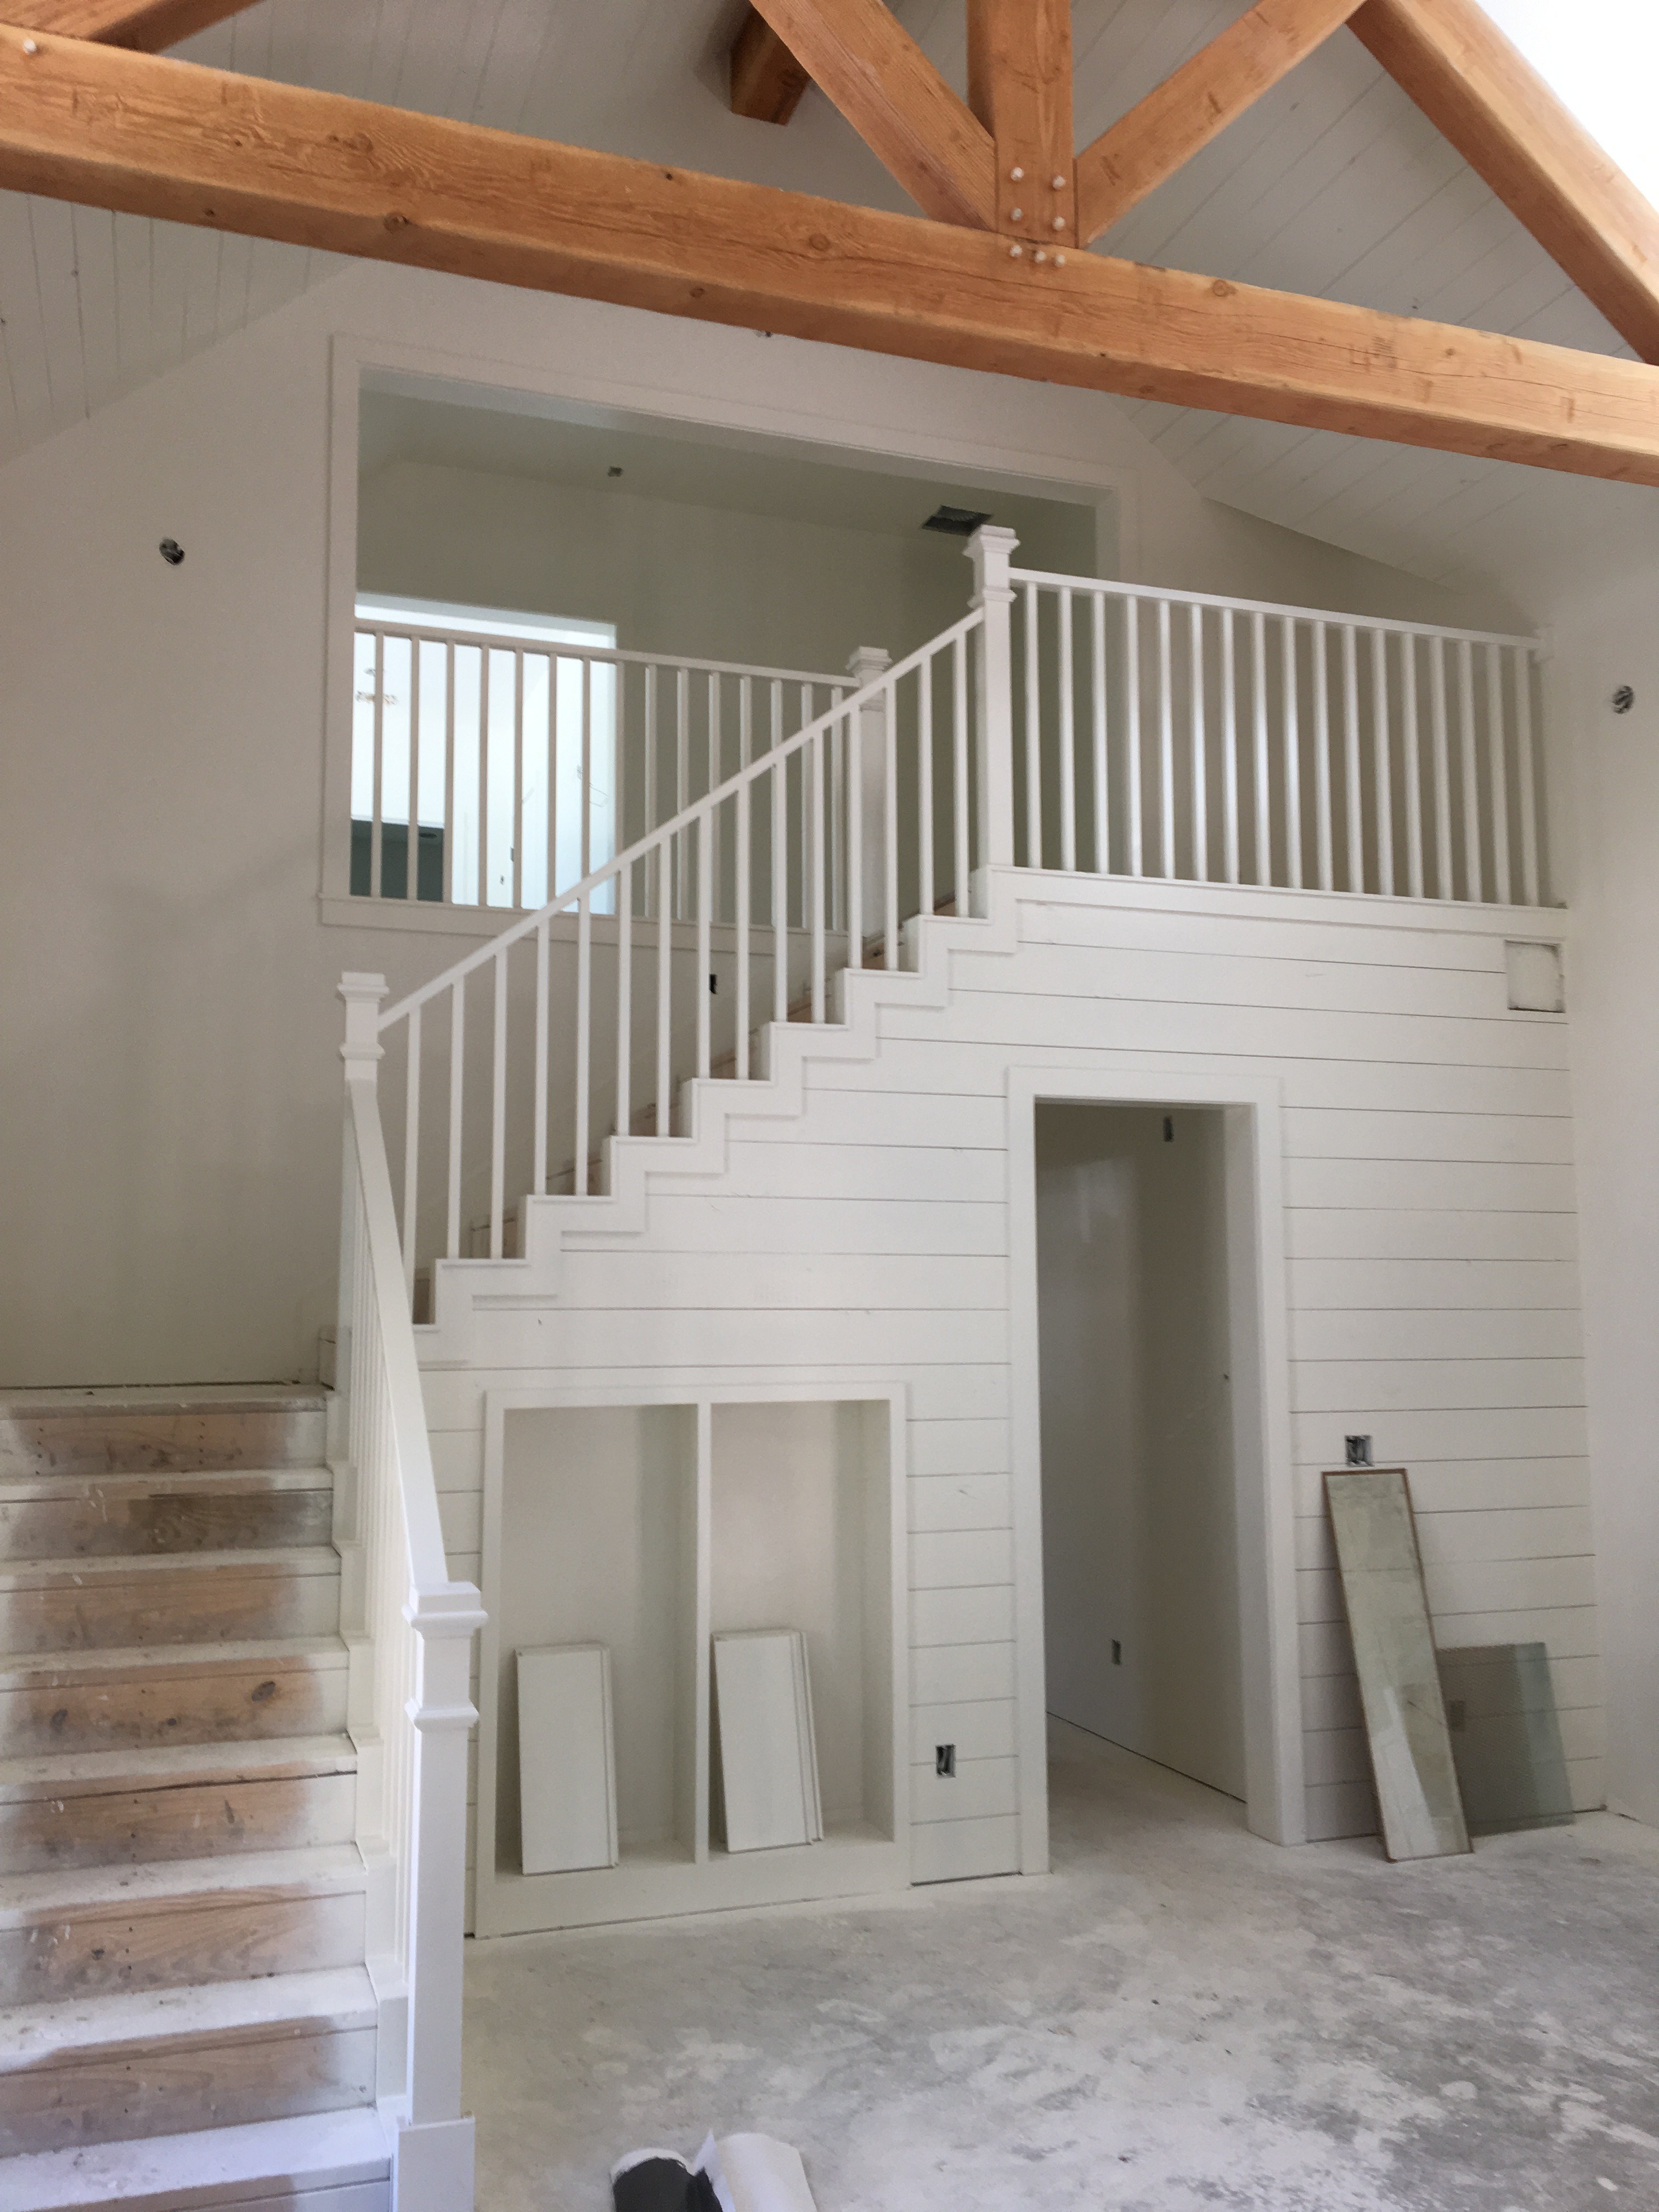
Most of the interior is painted white, and the stair railing was initially the same color. But, it seemed to be missing something, so we changed the color a bit.
So, here it is updated with metal gray semi-gloss paint. A much better look.
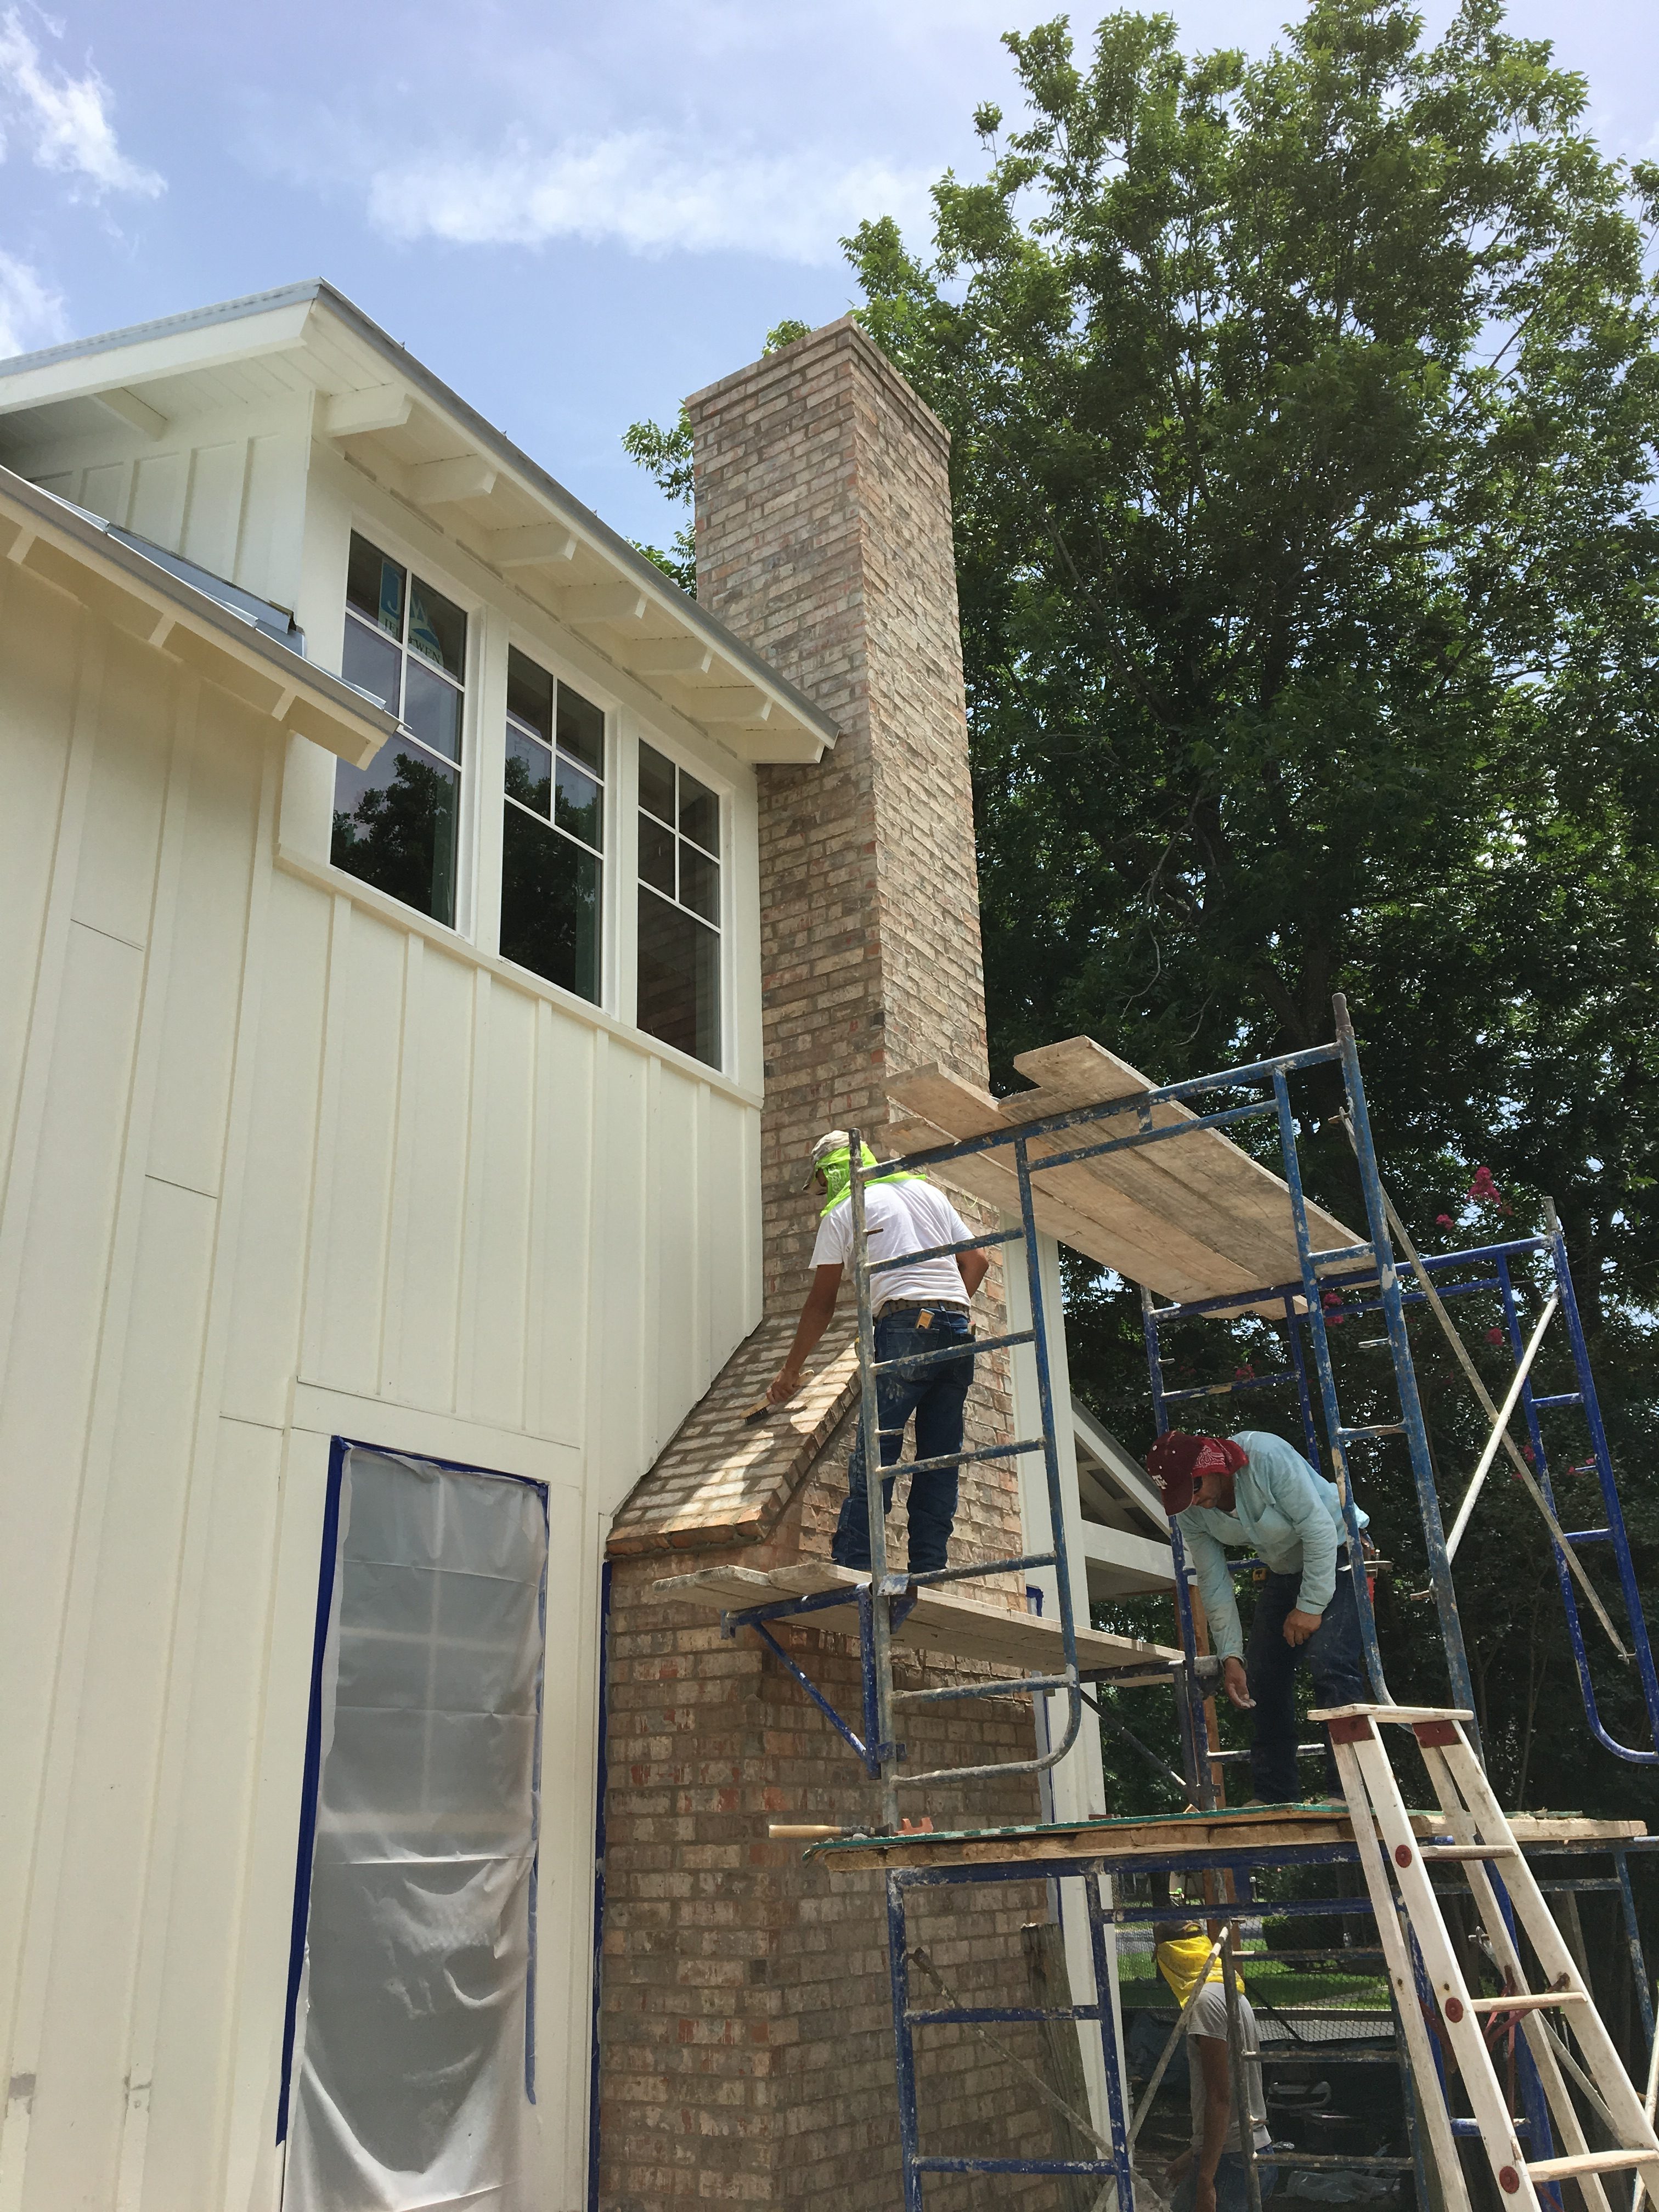
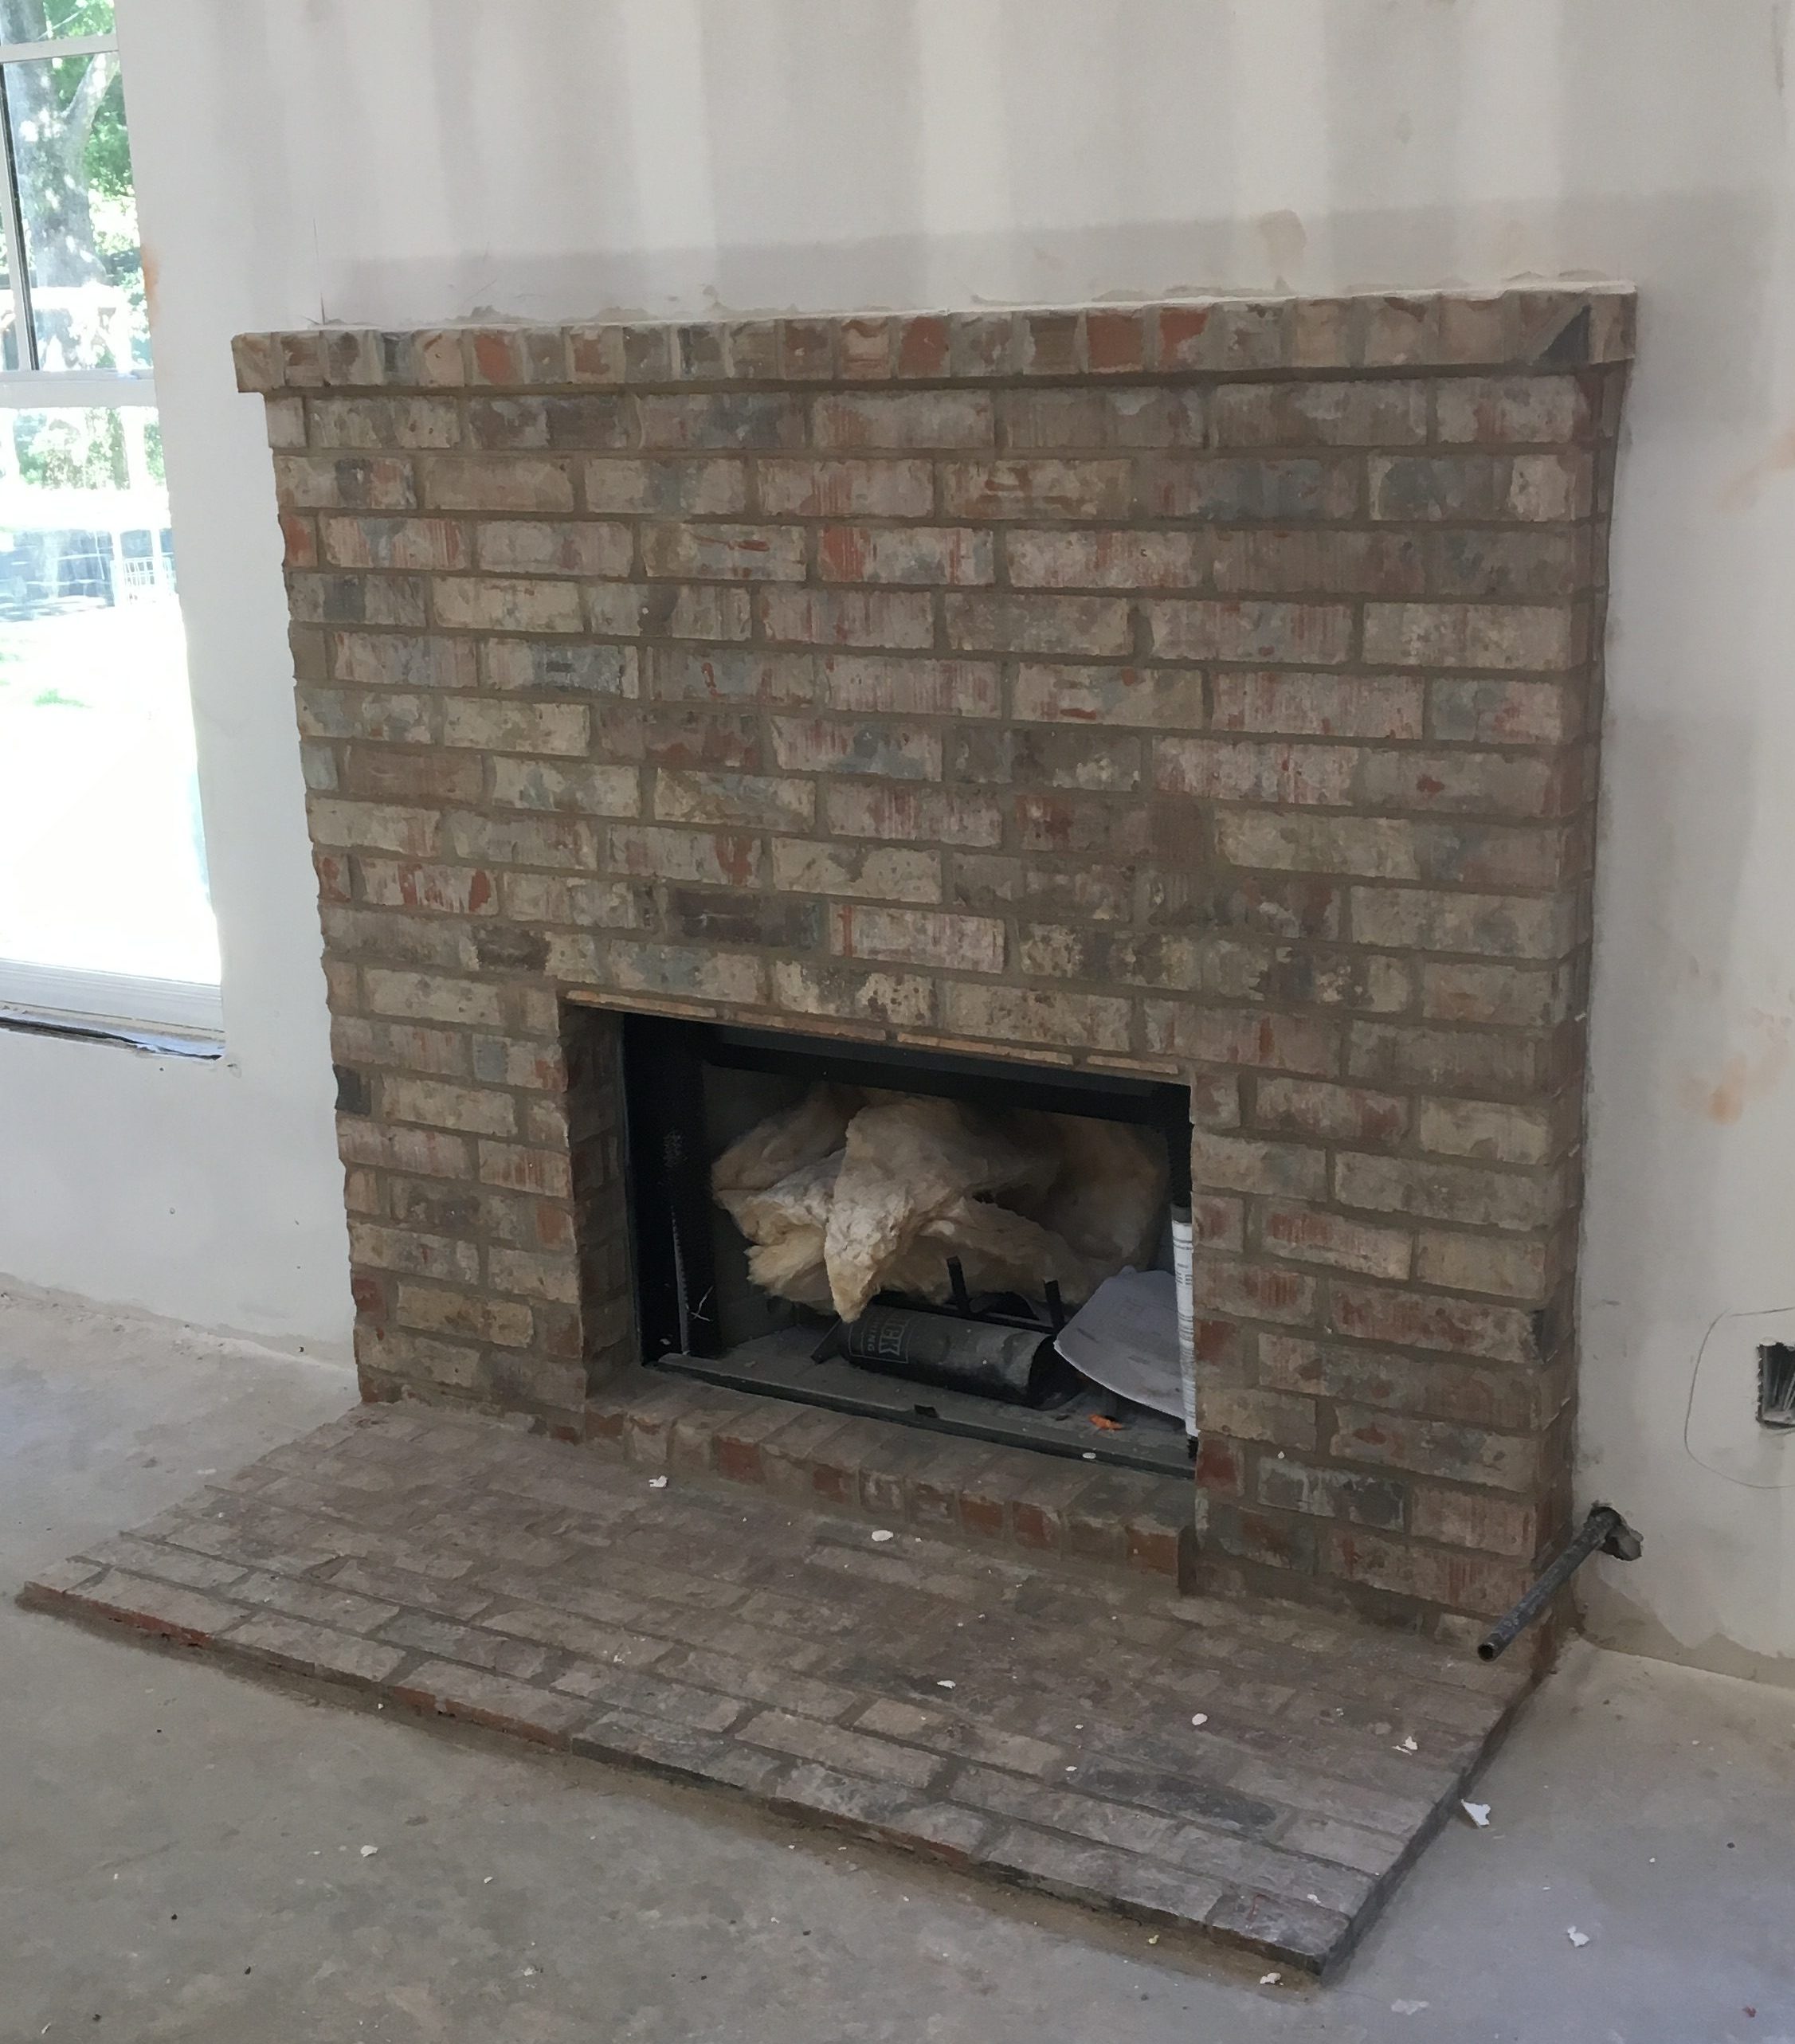
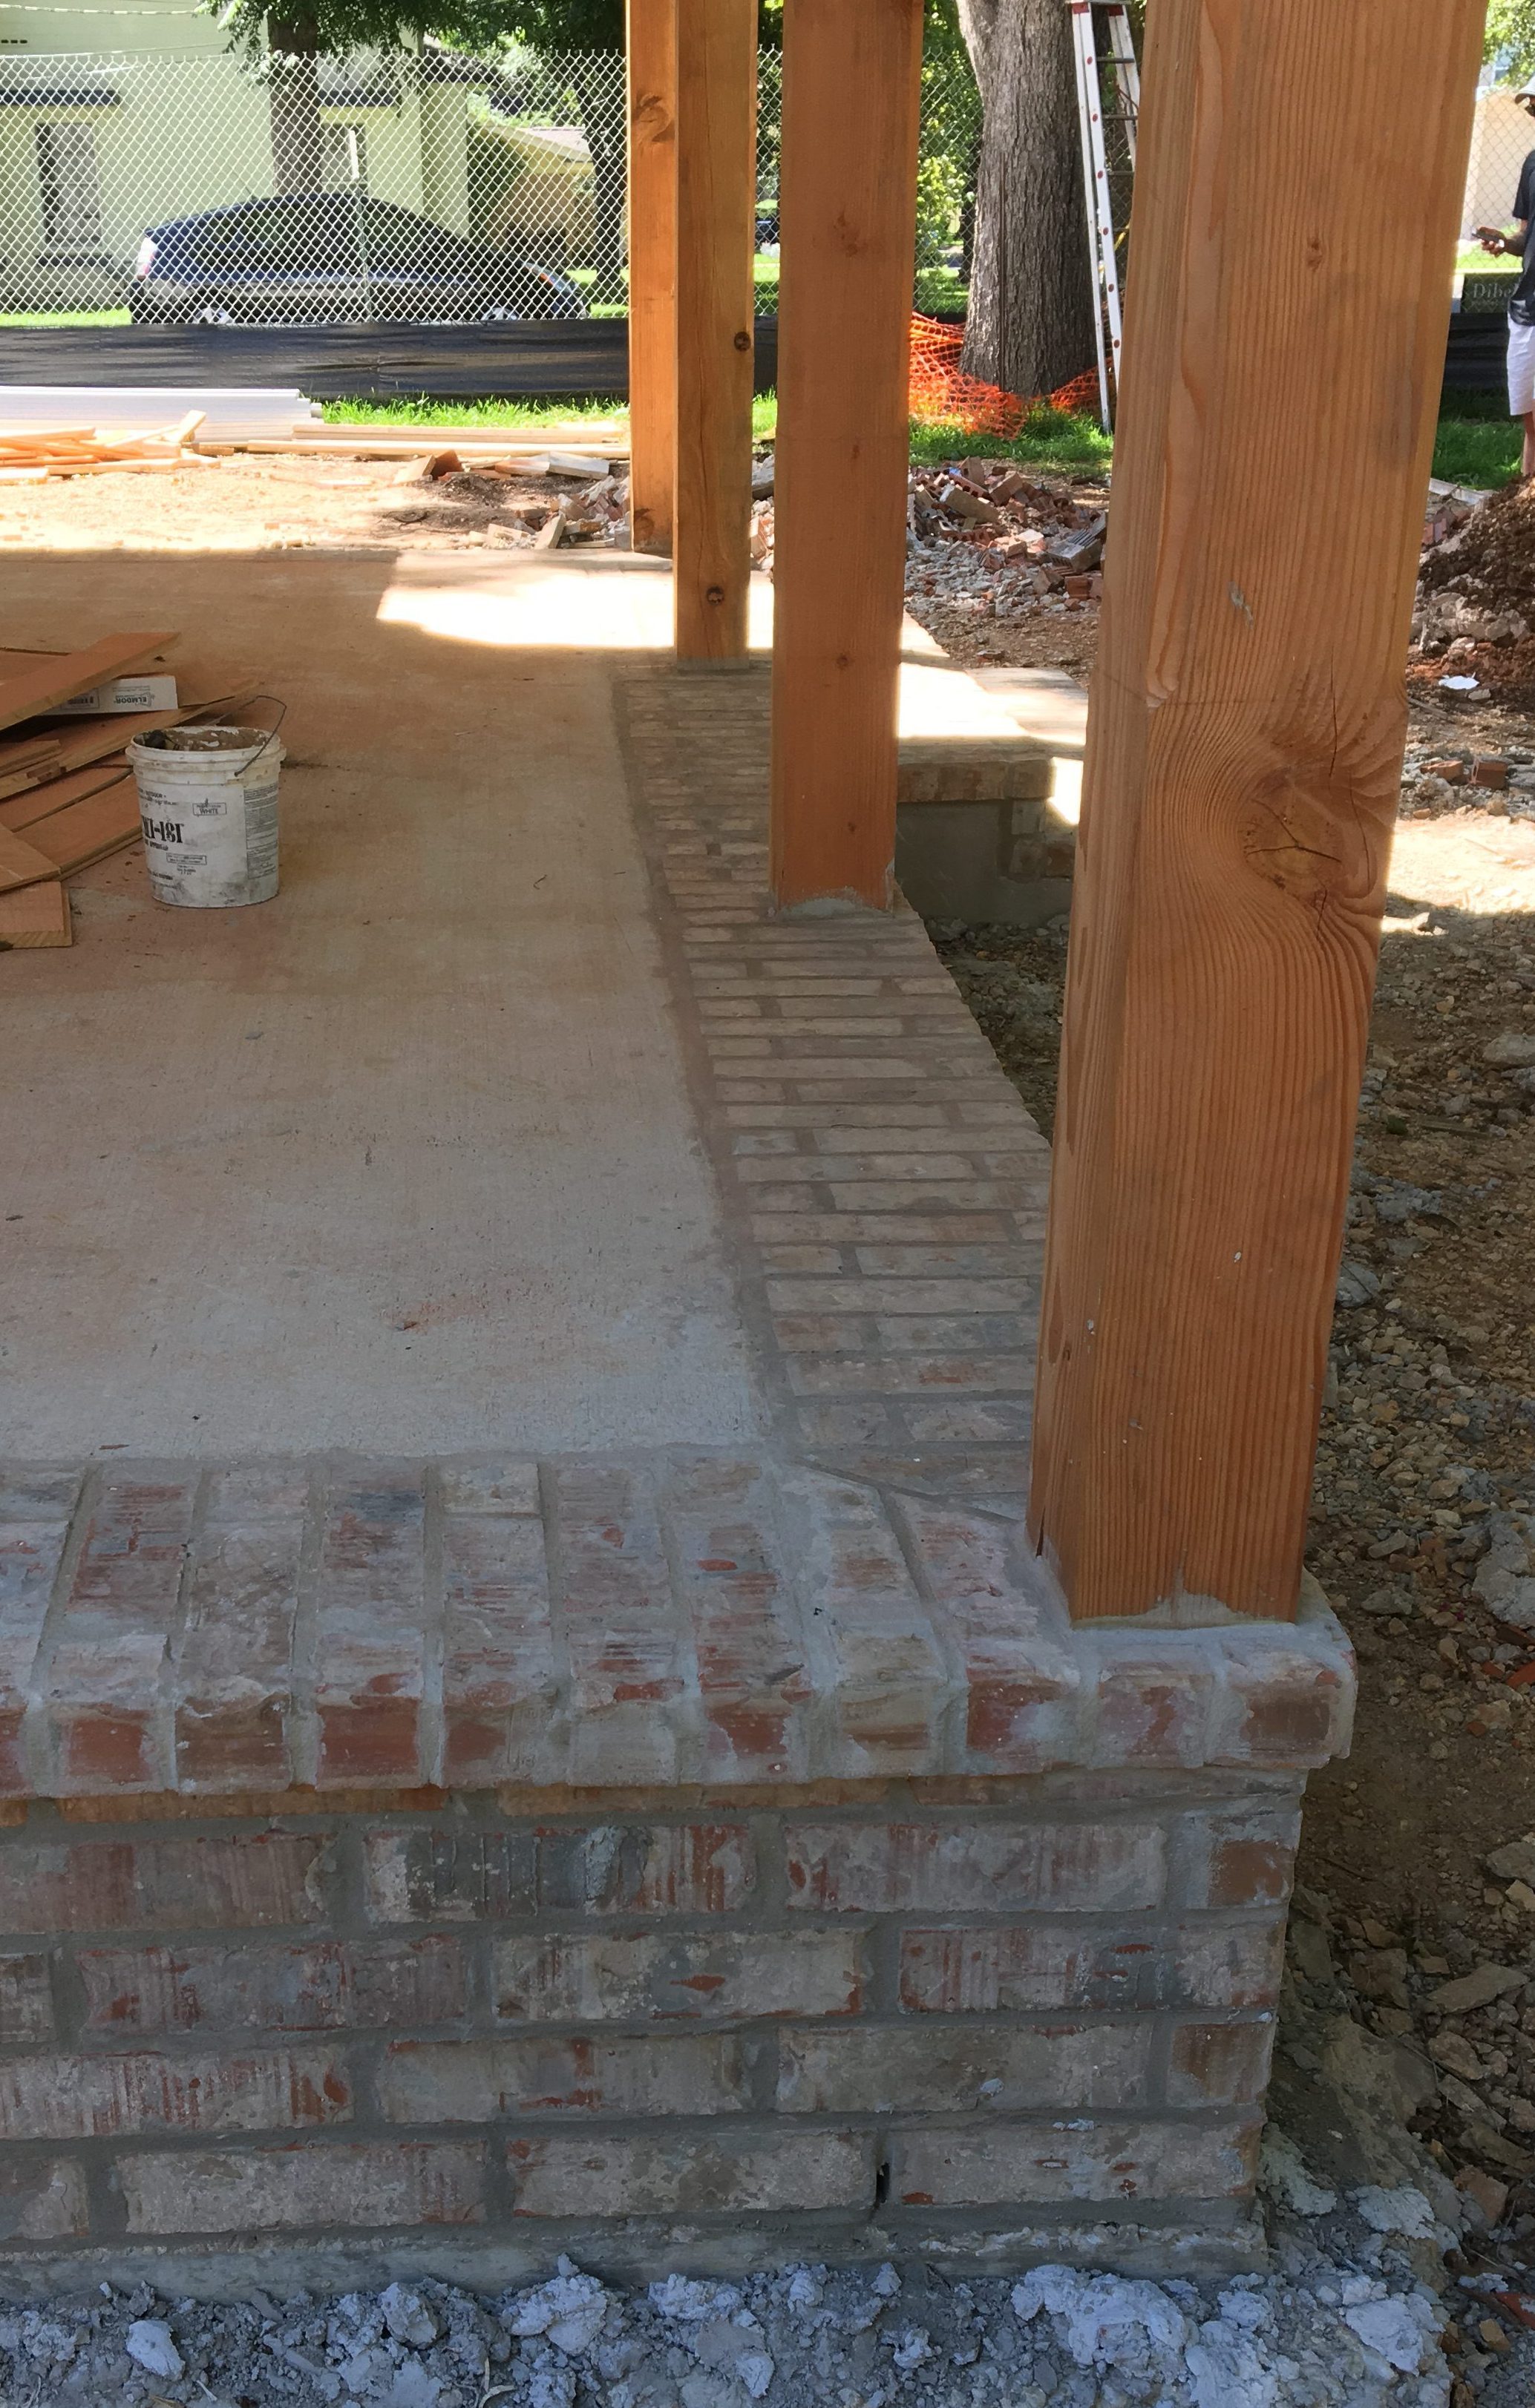
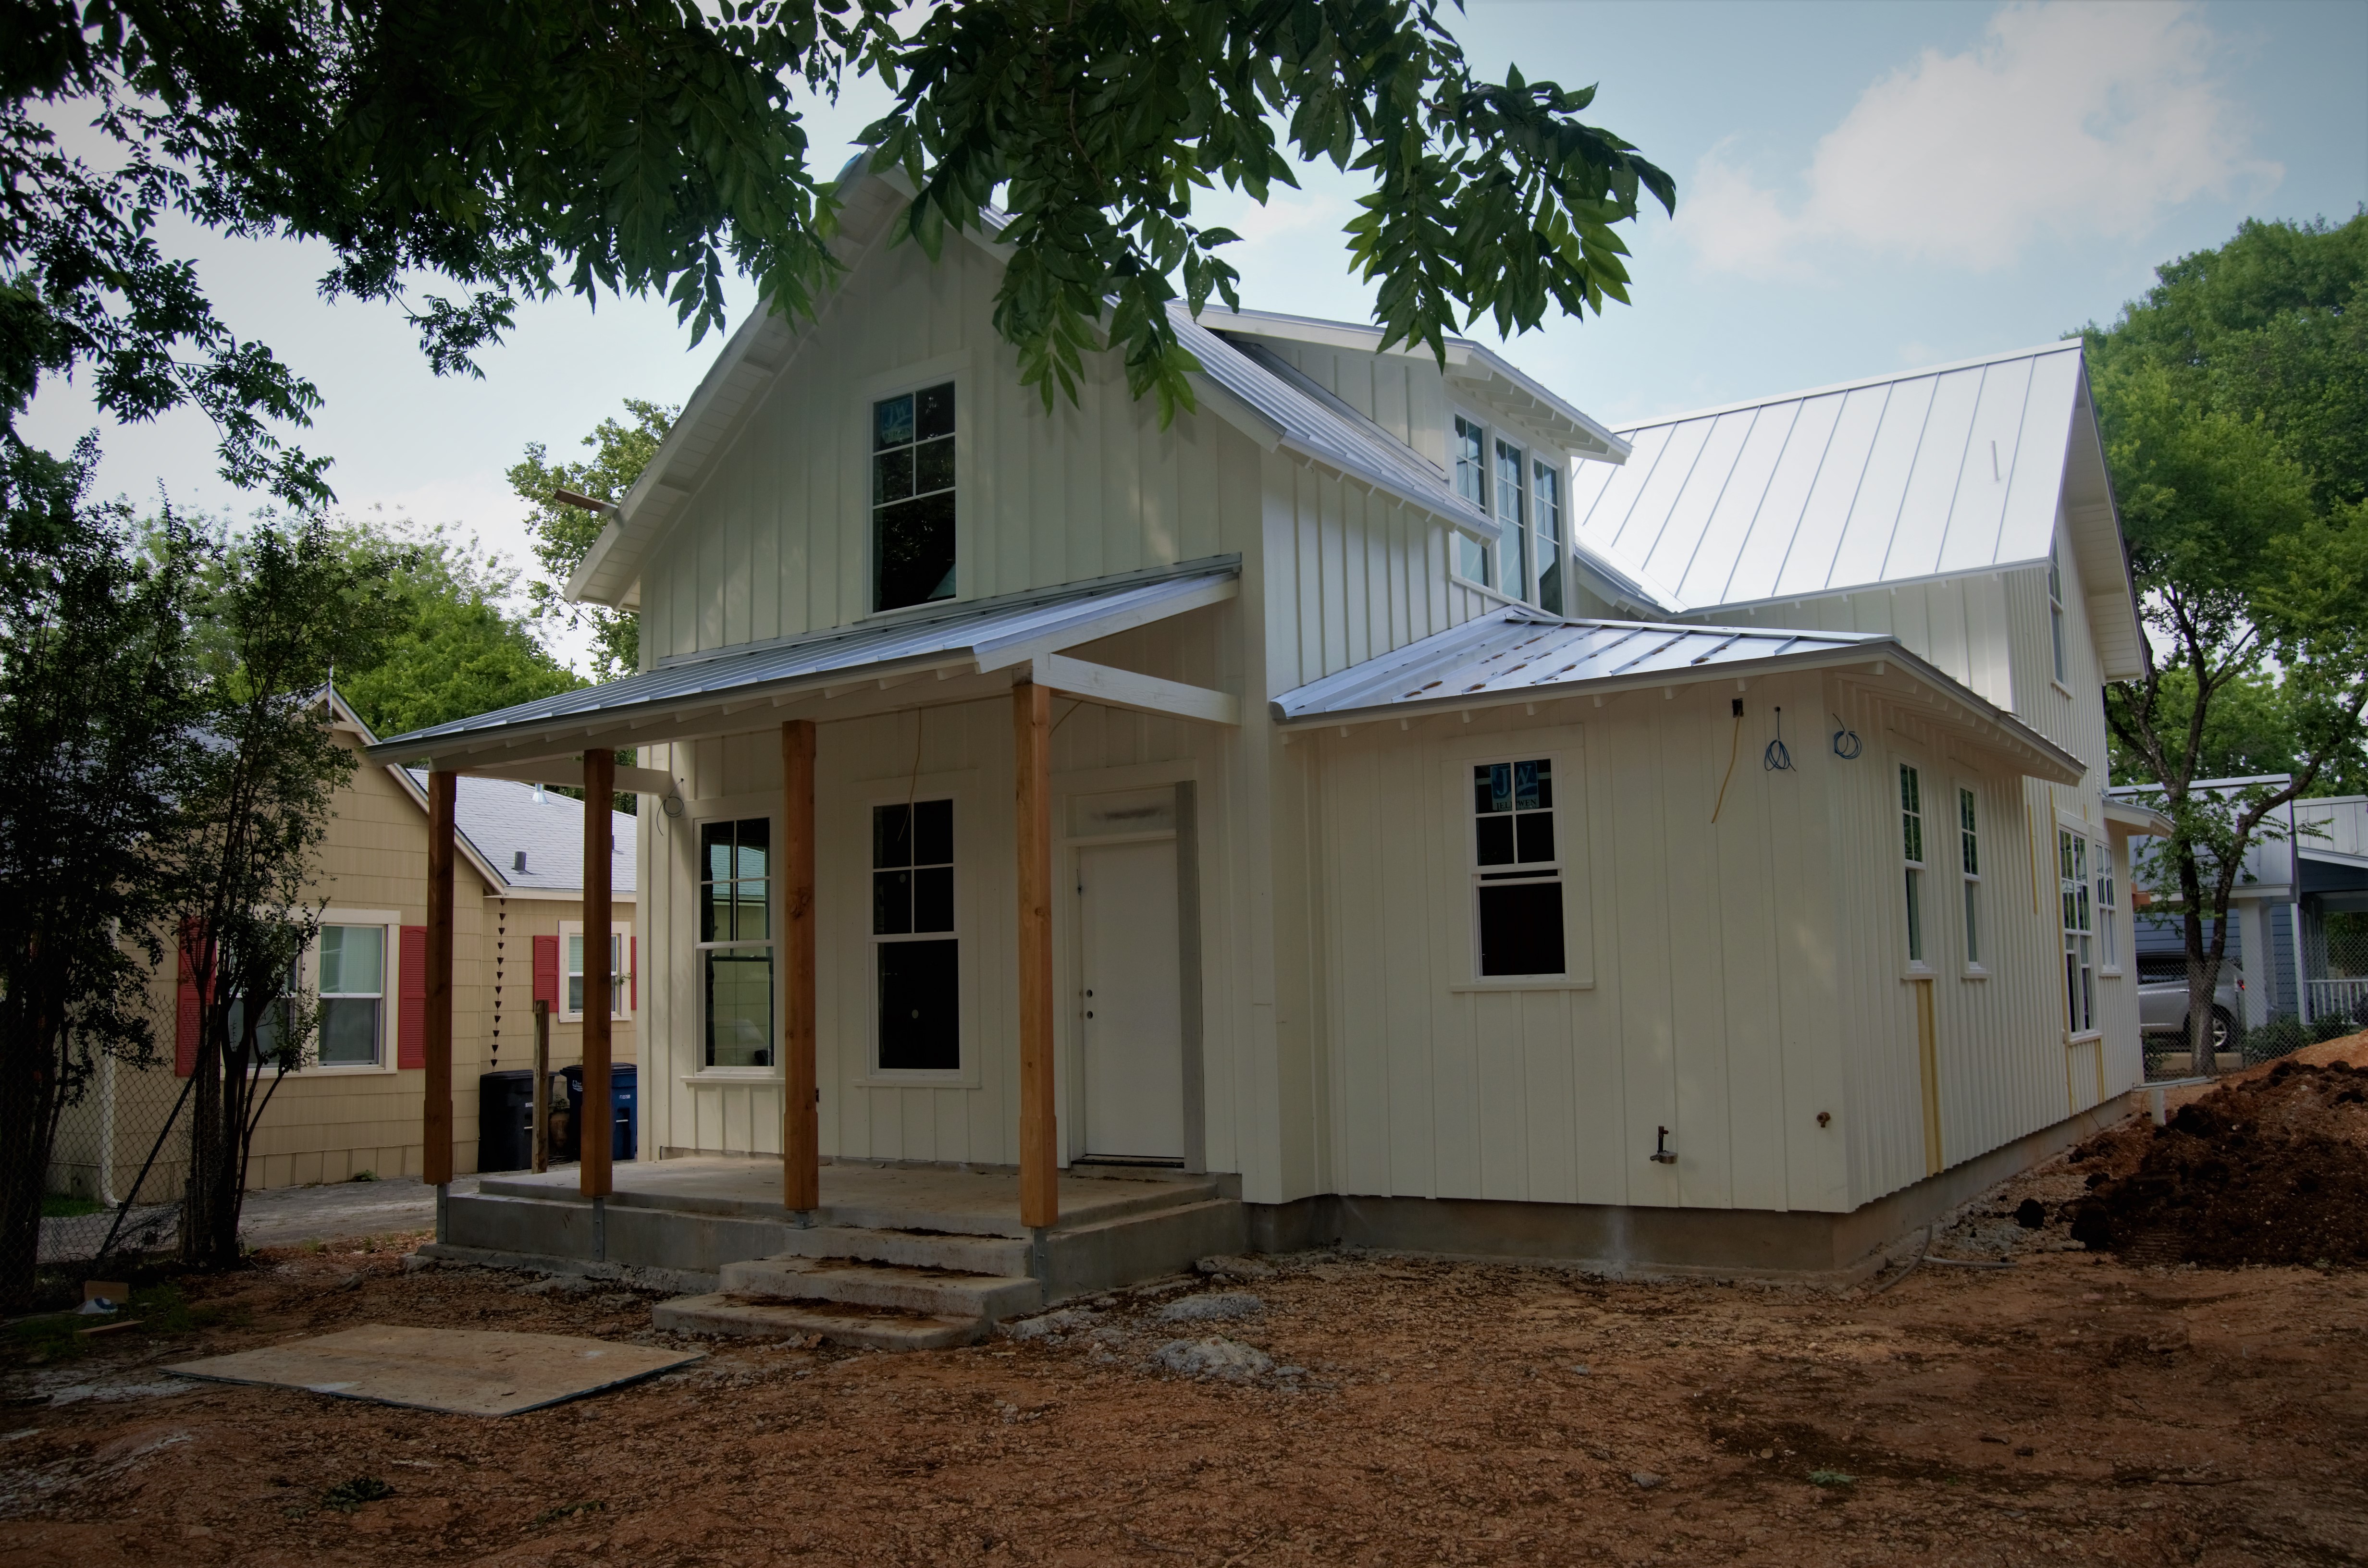
Front Porch posts are in, roof is on, paint nearly complete. Security cameras going in, along with exterior lights. Lots of work left on interior, but insulation and dry wall are coming in the next week or so. After the dry wall, bricks will go on fireplace, chimney, brick skirt and front porch.
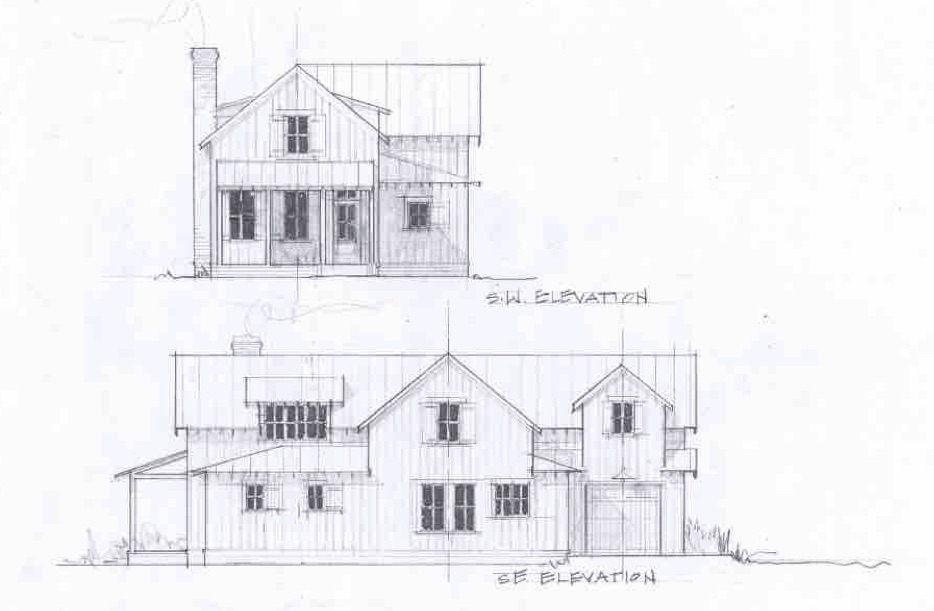
Here is an early draft of the house design elevations. Given the small size of our lot we ultimately concluded that connecting the garage to the main structure met our needs and fit on the lot. In an earlier draft, we had looked at the idea of a separate stand-alone garage with a small bedroom/apartment above it, with access from external stairs. But, that design ate up land space, and would have cost more for less. The final style remains a farmhouse look, that will be a “story and a half” — such that the second floor is built largely into the roof structure. That height, rather than a full two-story, will be more consistent with other homes in our neighborhood.