Protecting outside water hose bibs from freezing is not one of my favorite tasks. Since this is a second home, I was interested in a way to avoid wrapping pipes or dripping water, especially since a cold snap can occur unexpectedly in the Winter.
Frost Free Hose Bib Detail
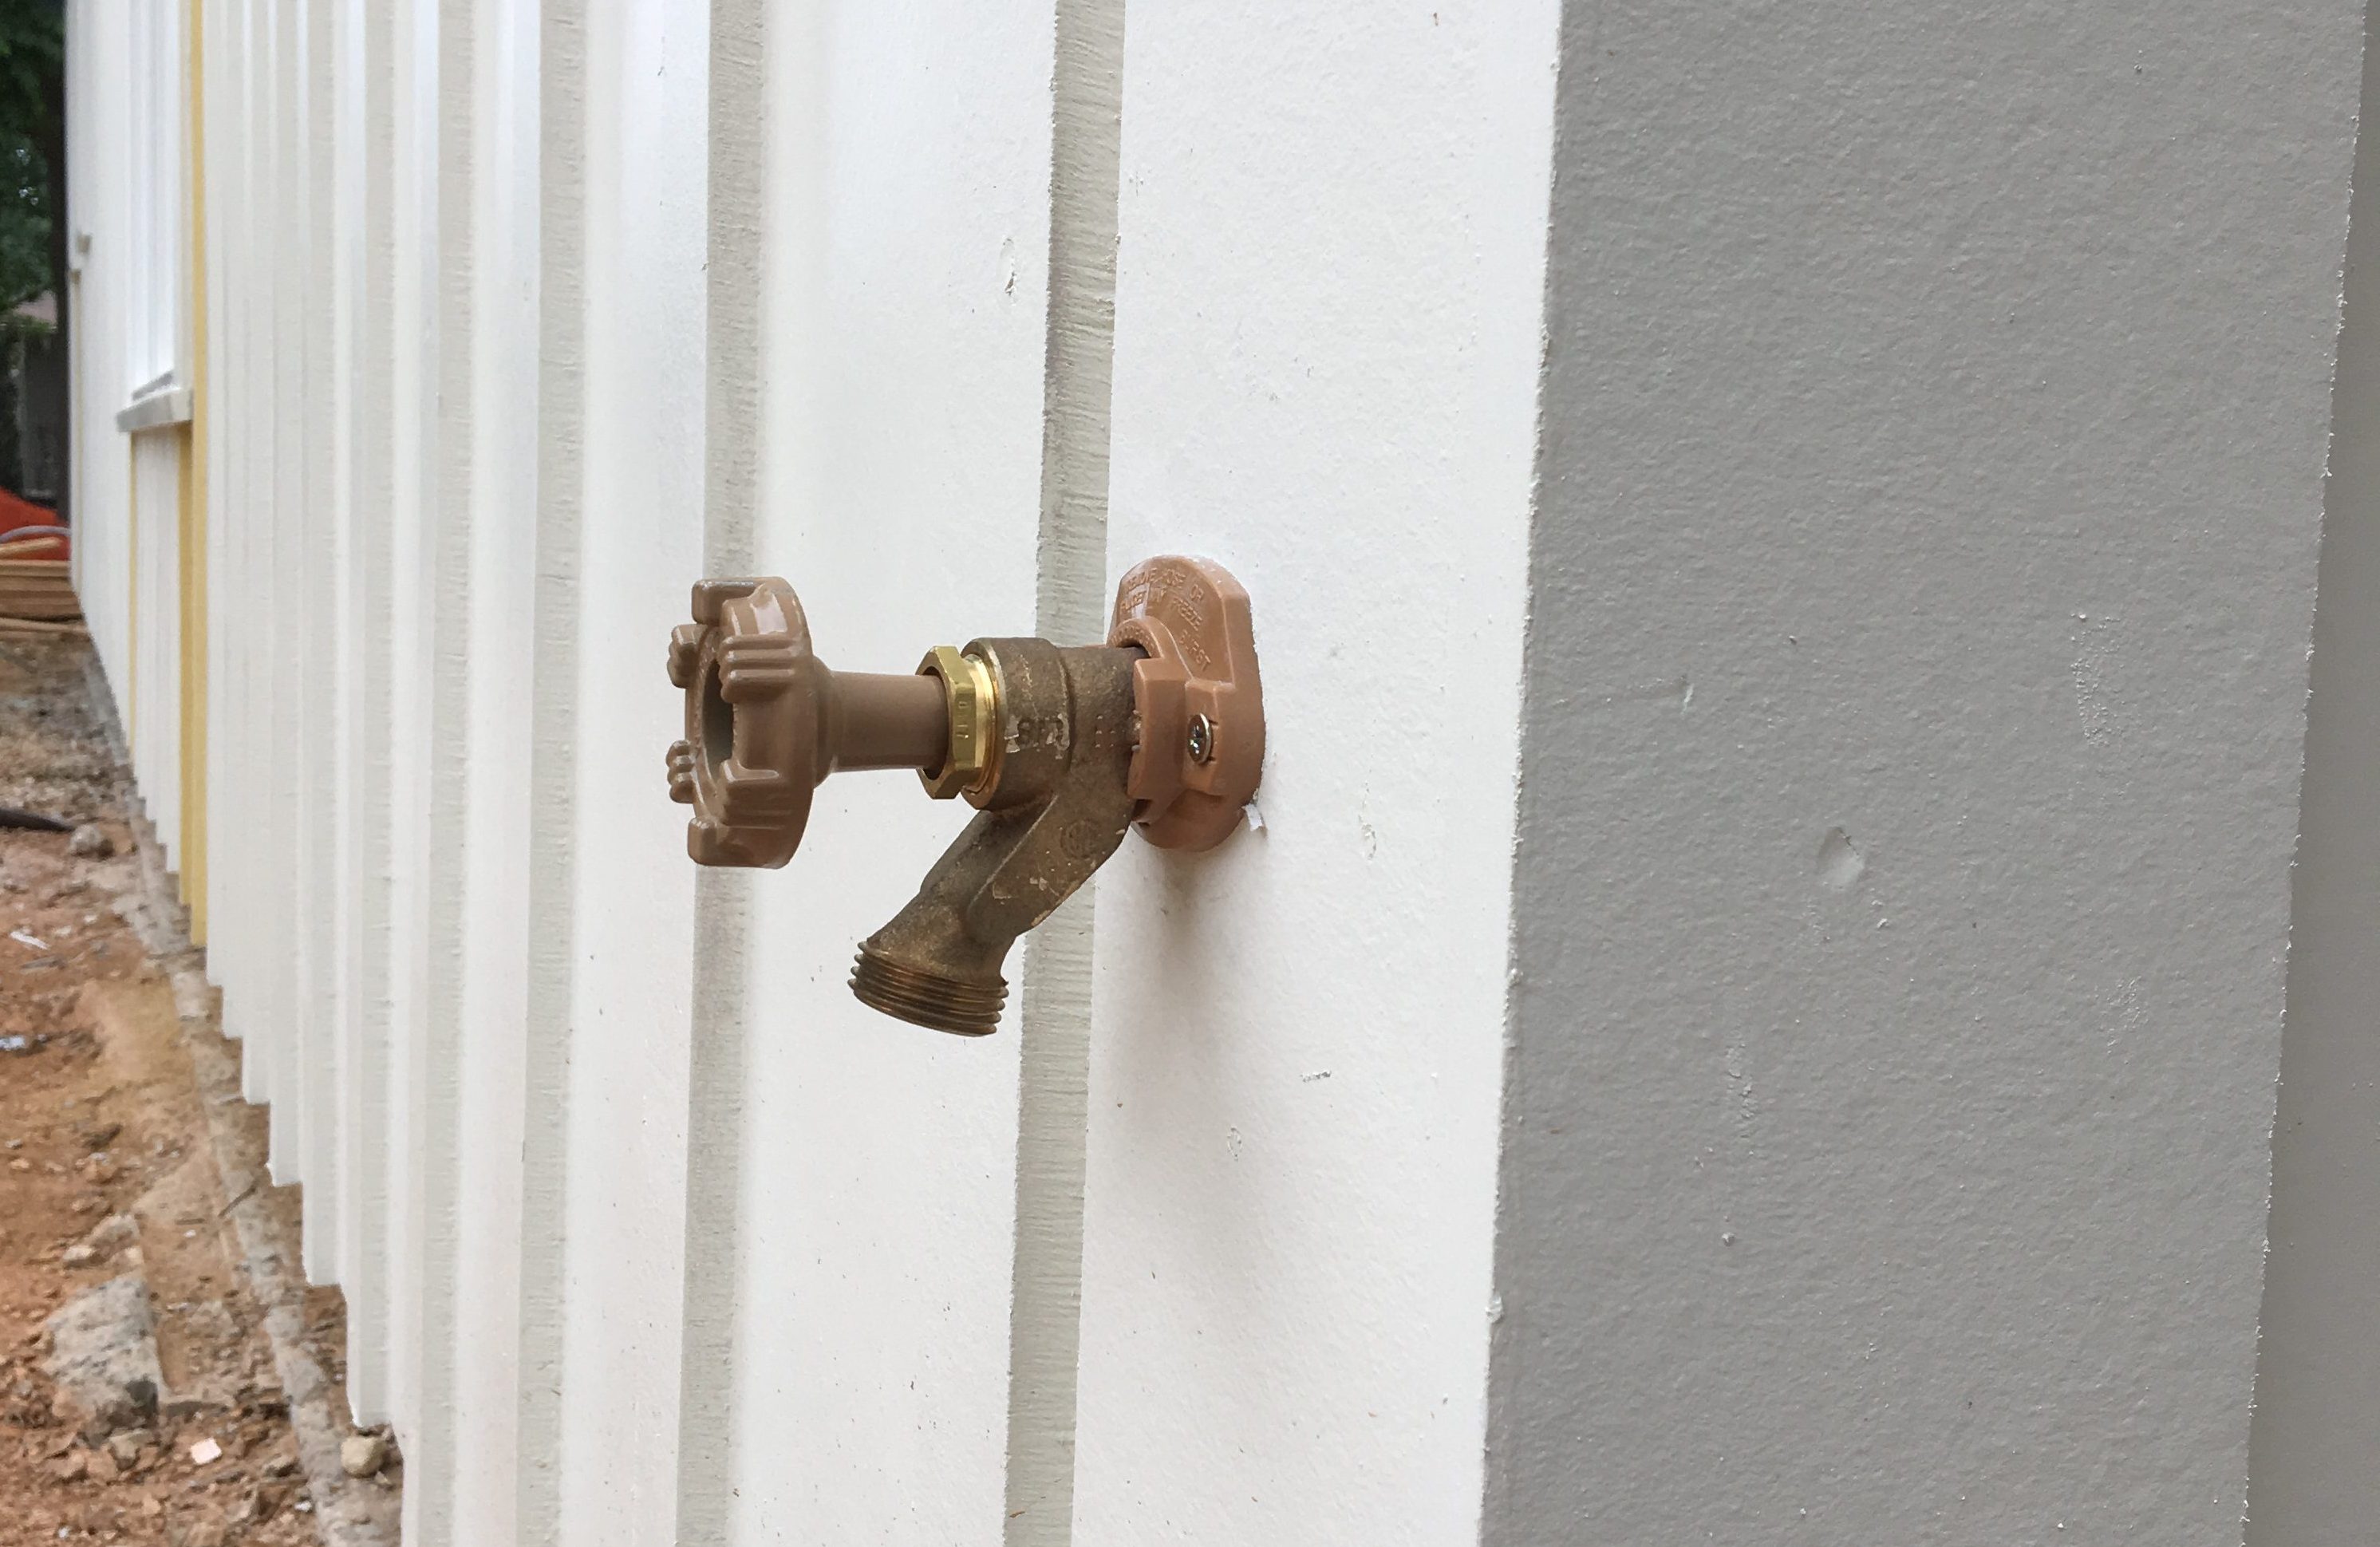
We found these frost free hose bibs, which are more commonly used up north. The key is the actual water cut-off valve is located at the end of a six inch shaft. When mounted, the cut off is located inside the insulated wall, rather than exposed to the cold weather.
Mounted Hose Bib
So, when cut off, the water is not exposed to the cold, and any remaining water in the faucet shaft just drains out. A great solution to freeze problems.
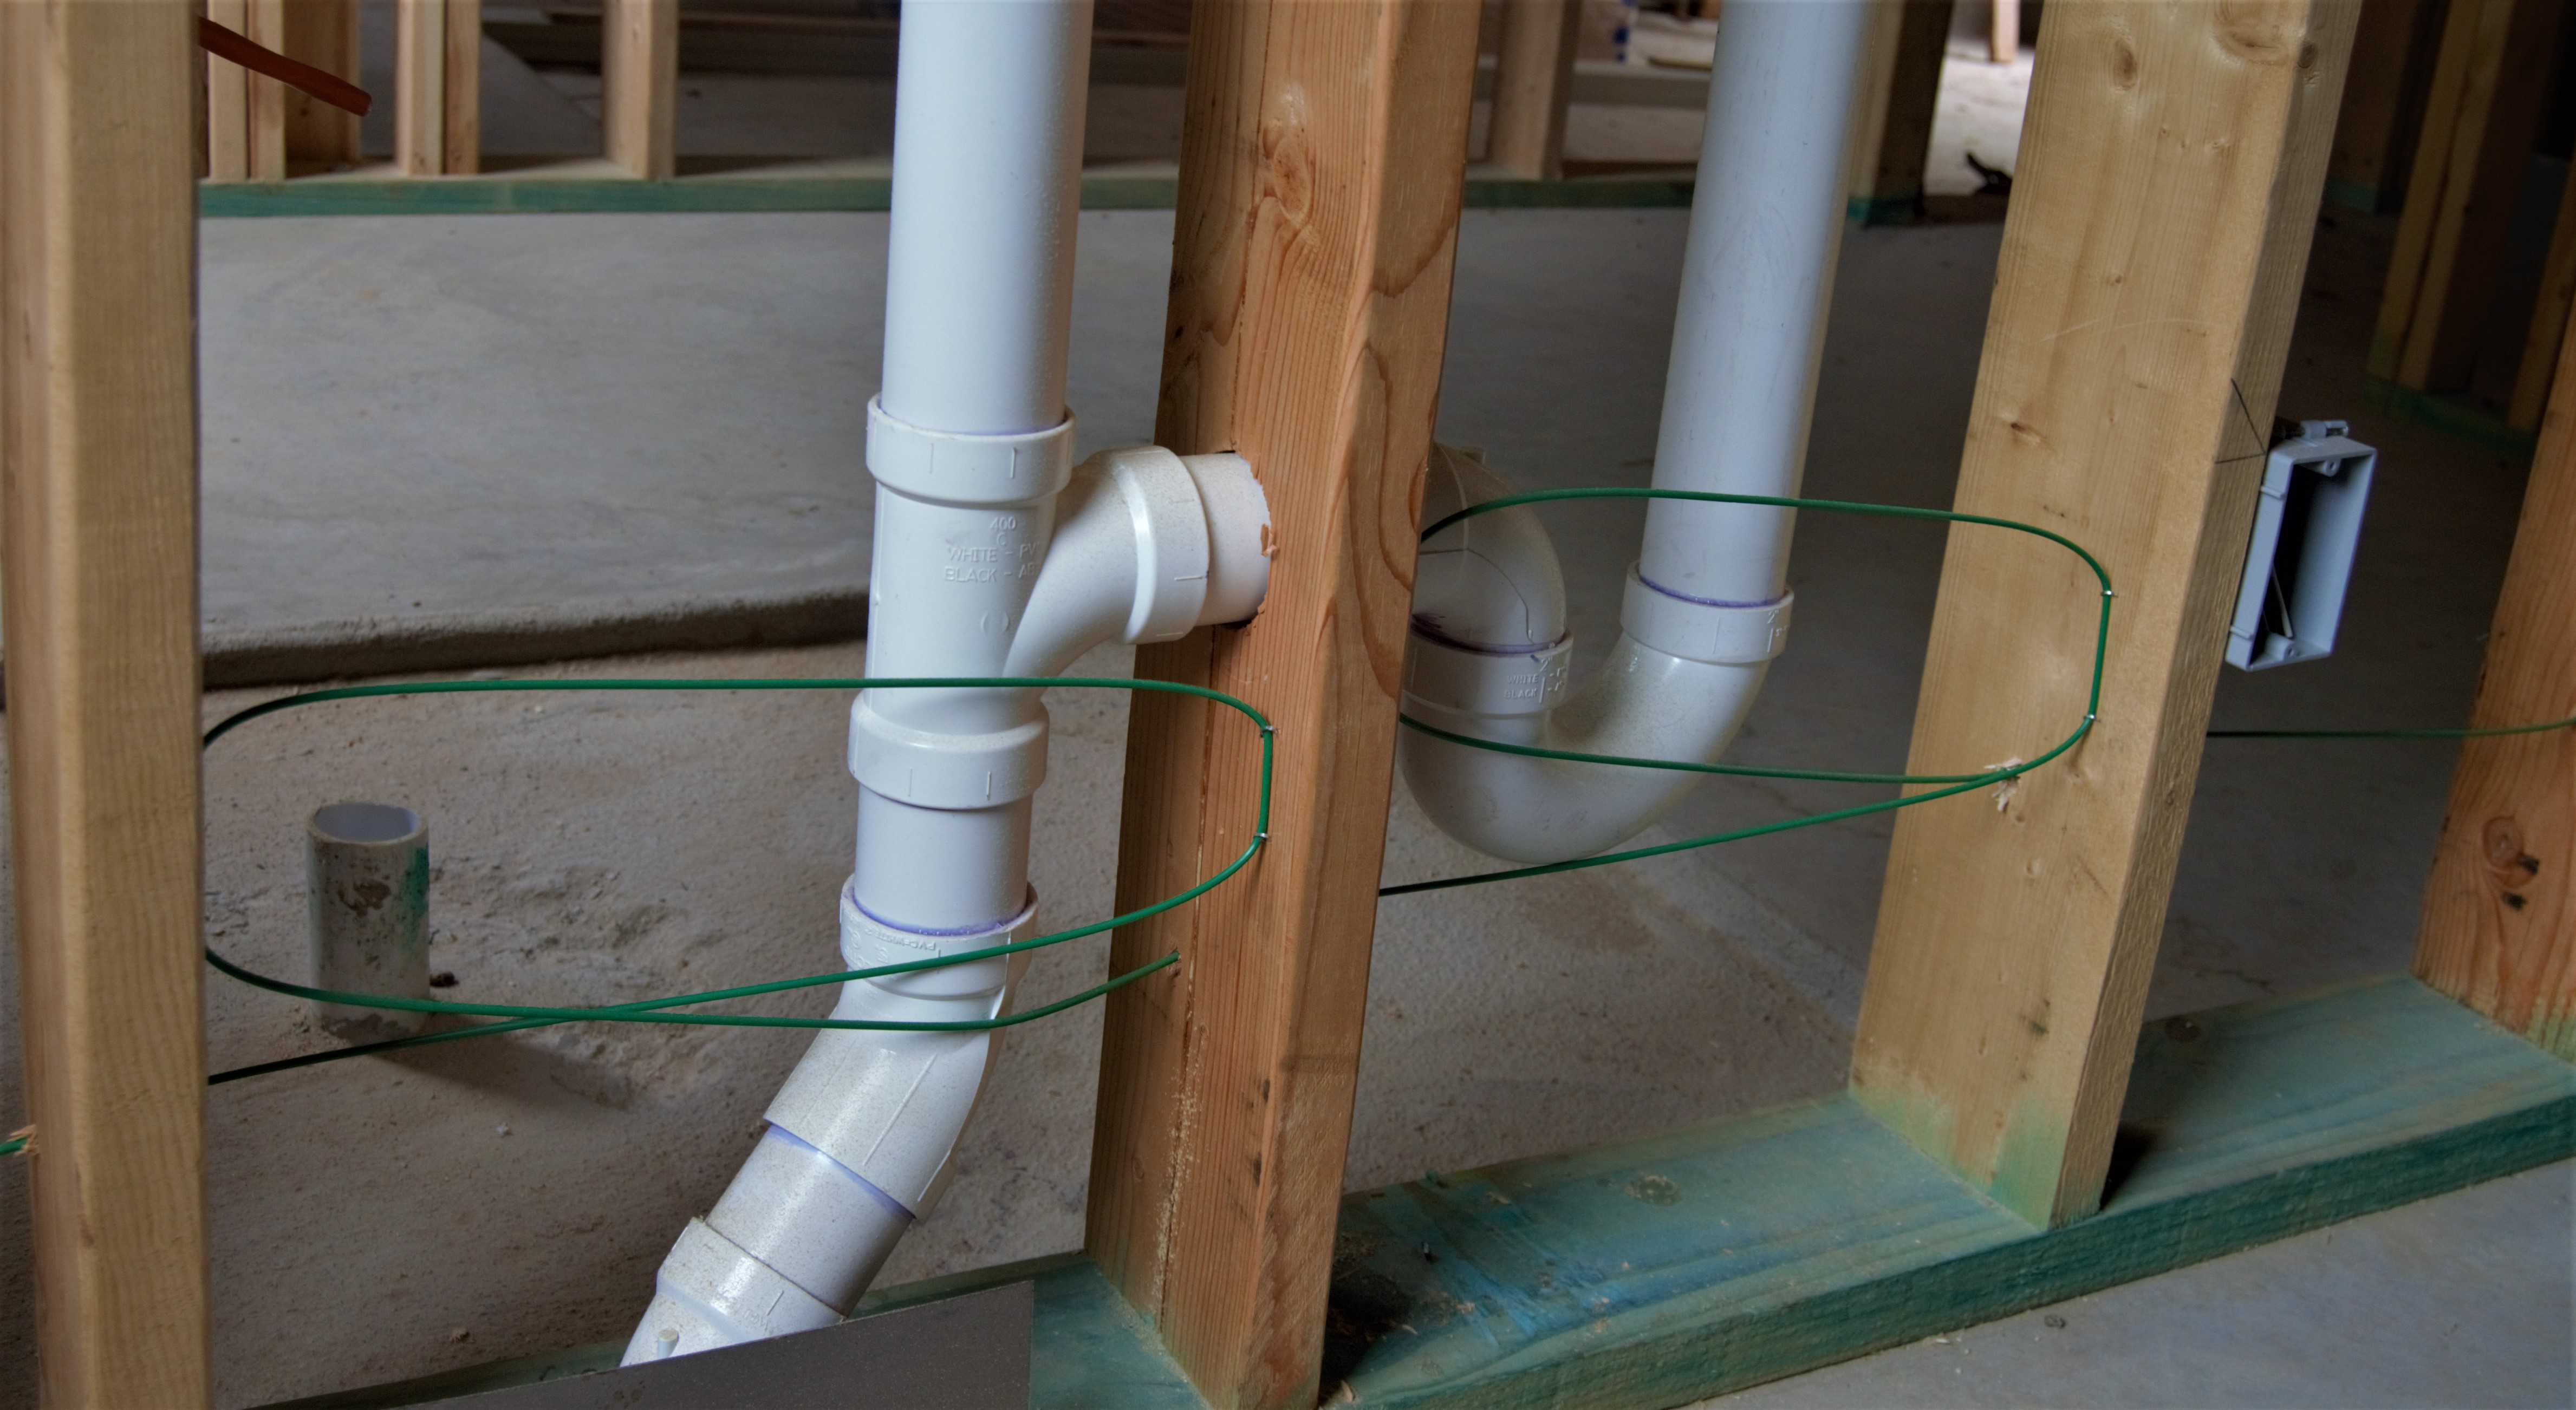
Here is an interesting innovation in pest control. Our builder has installed small distribution tubes in the walls, that can be used by the pest control company to spray for bugs. Seen below, the system consists of the thin green lines, looped near the white sewer lines. The lines have small perforations, so when spray is injected, the lines evenly spray the chemicals inside the walls.
Taexx Pest Control Distribution Lines
The lines are installed along all the exterior walls and interior portions where there is plumbing. Obviously, these are best installed during new construction, prior to dry-in.
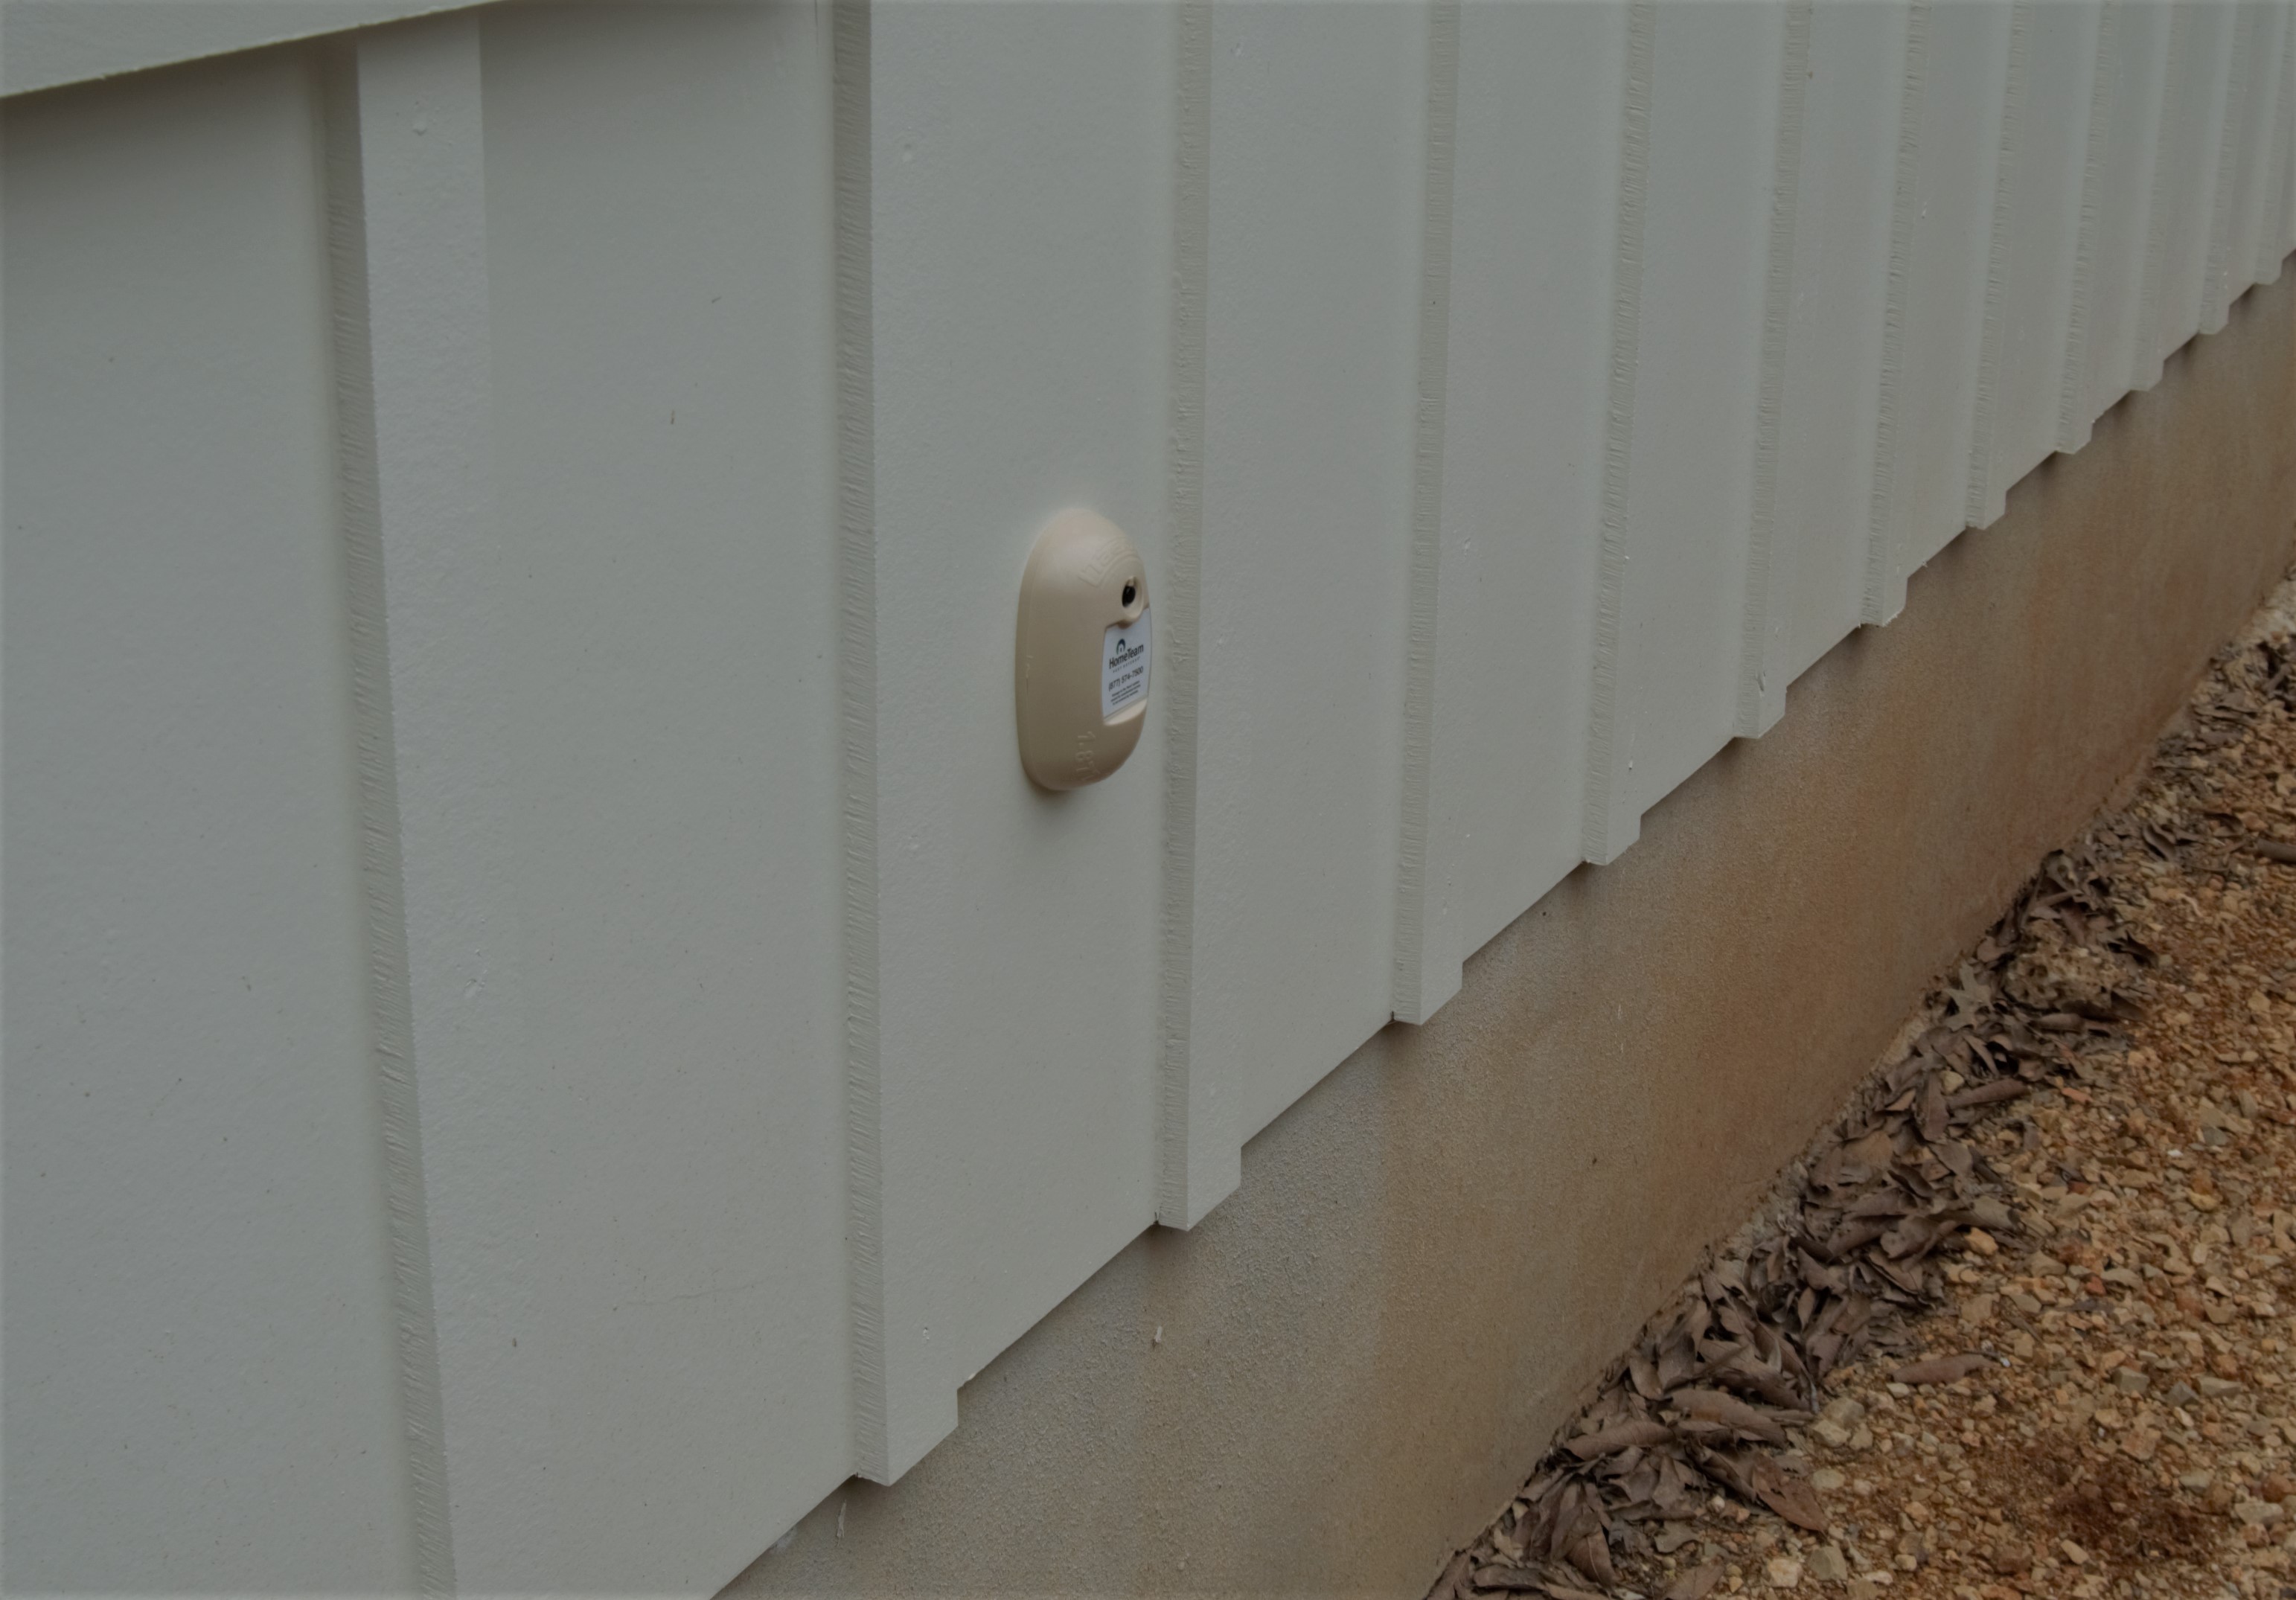
The pest service technician does not even need access to the interior of the house to spray. The lines all converge at a central location where they are connected to exterior ports, which are secured and accessible to a technician outside the home.
Secured Taexx Port Box on Exterior Wall
Here is a picture of the port box on the outside of the home.
Taexx system details can be found at this website https://pestdefense.com/faqs/
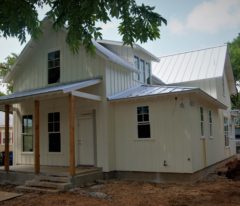
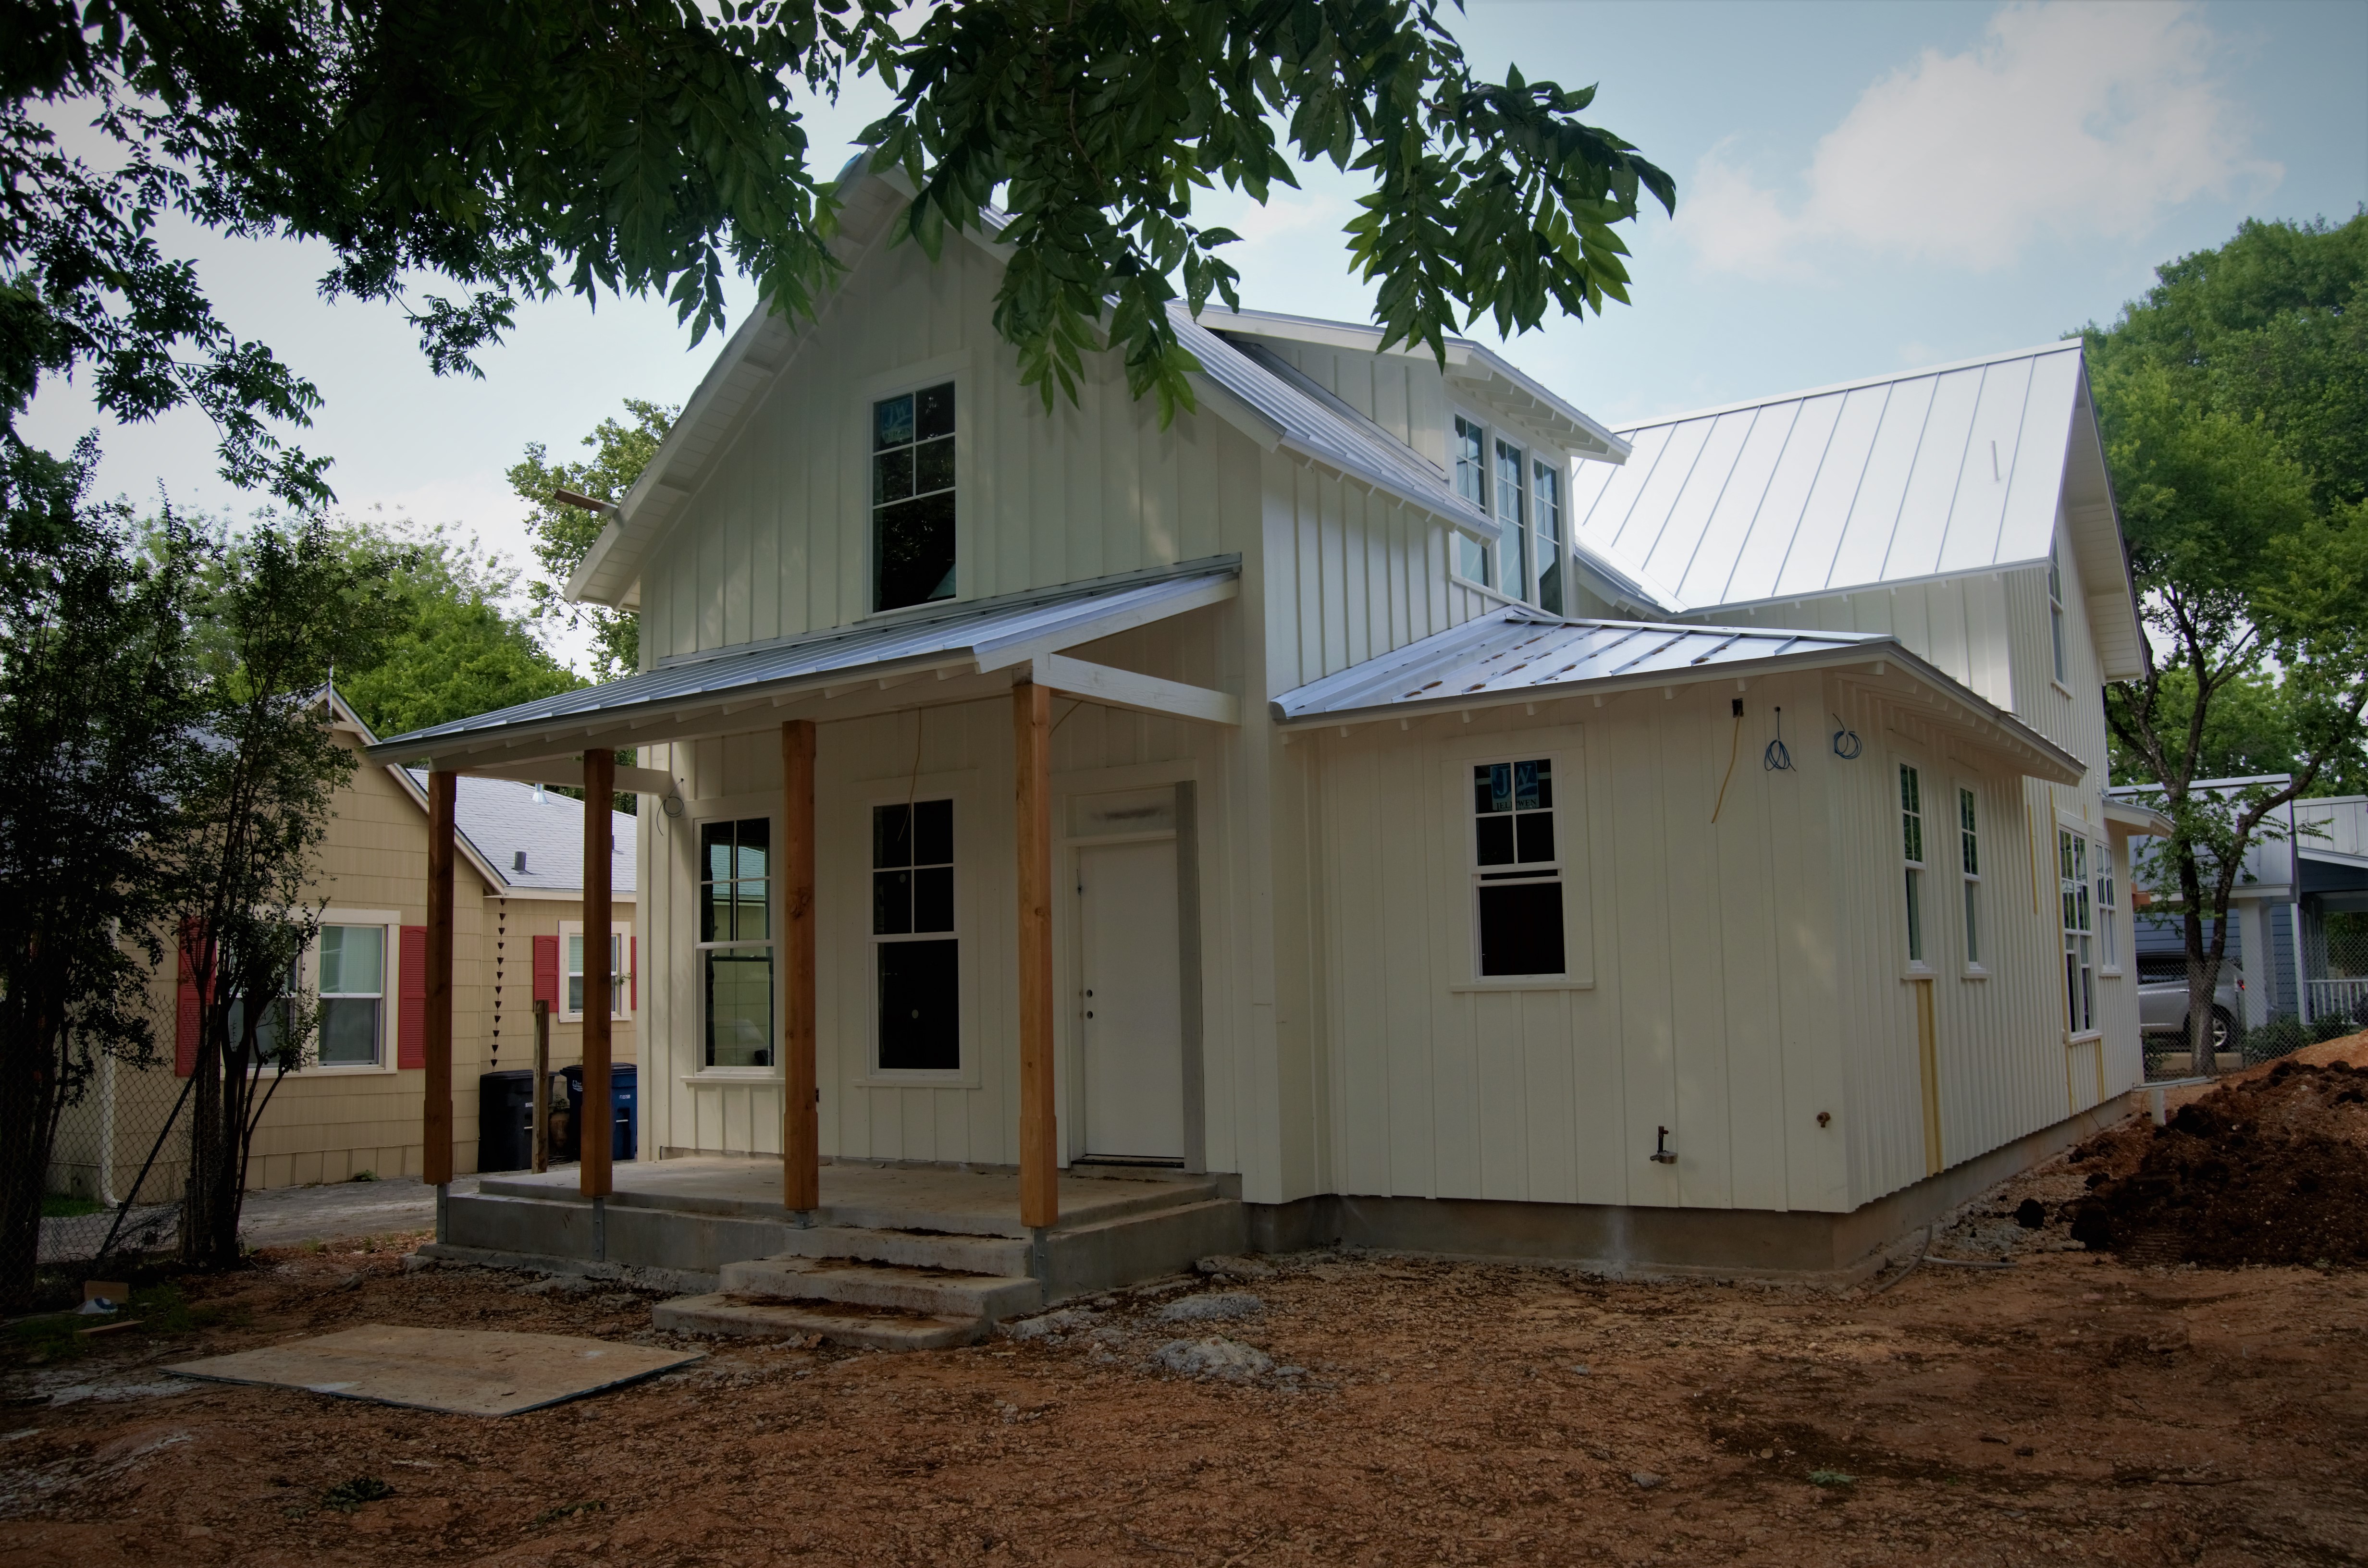
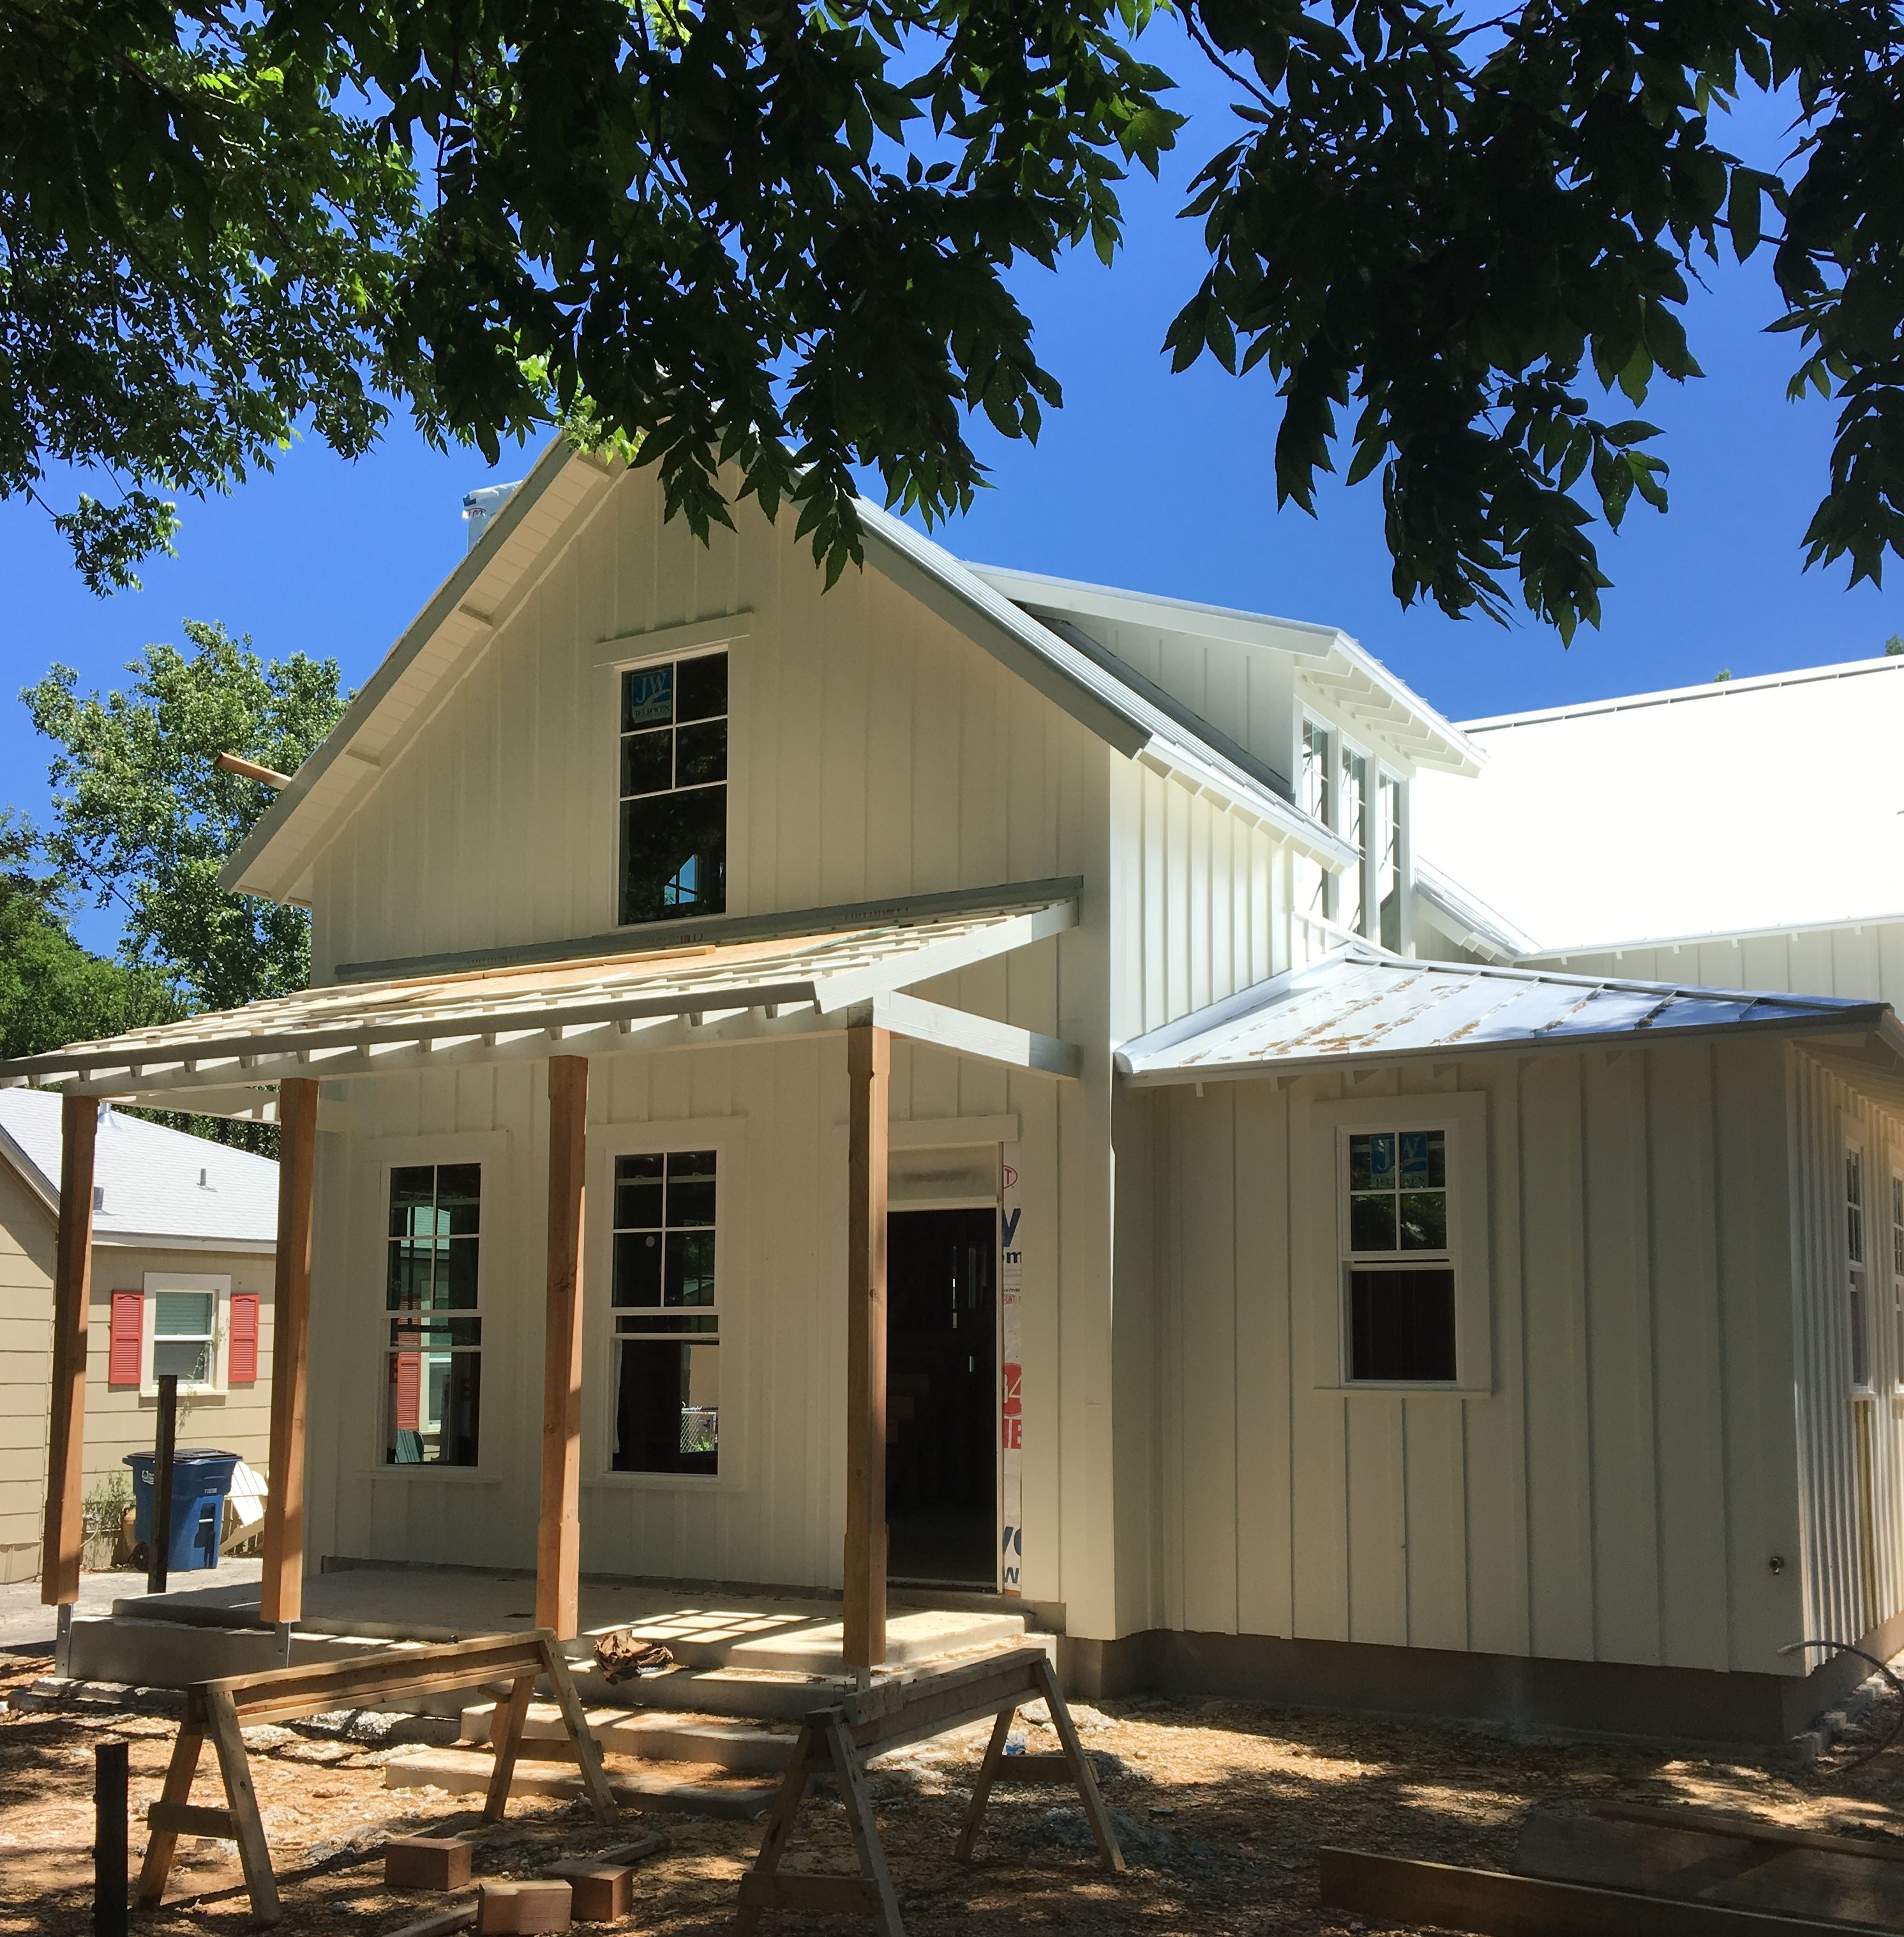
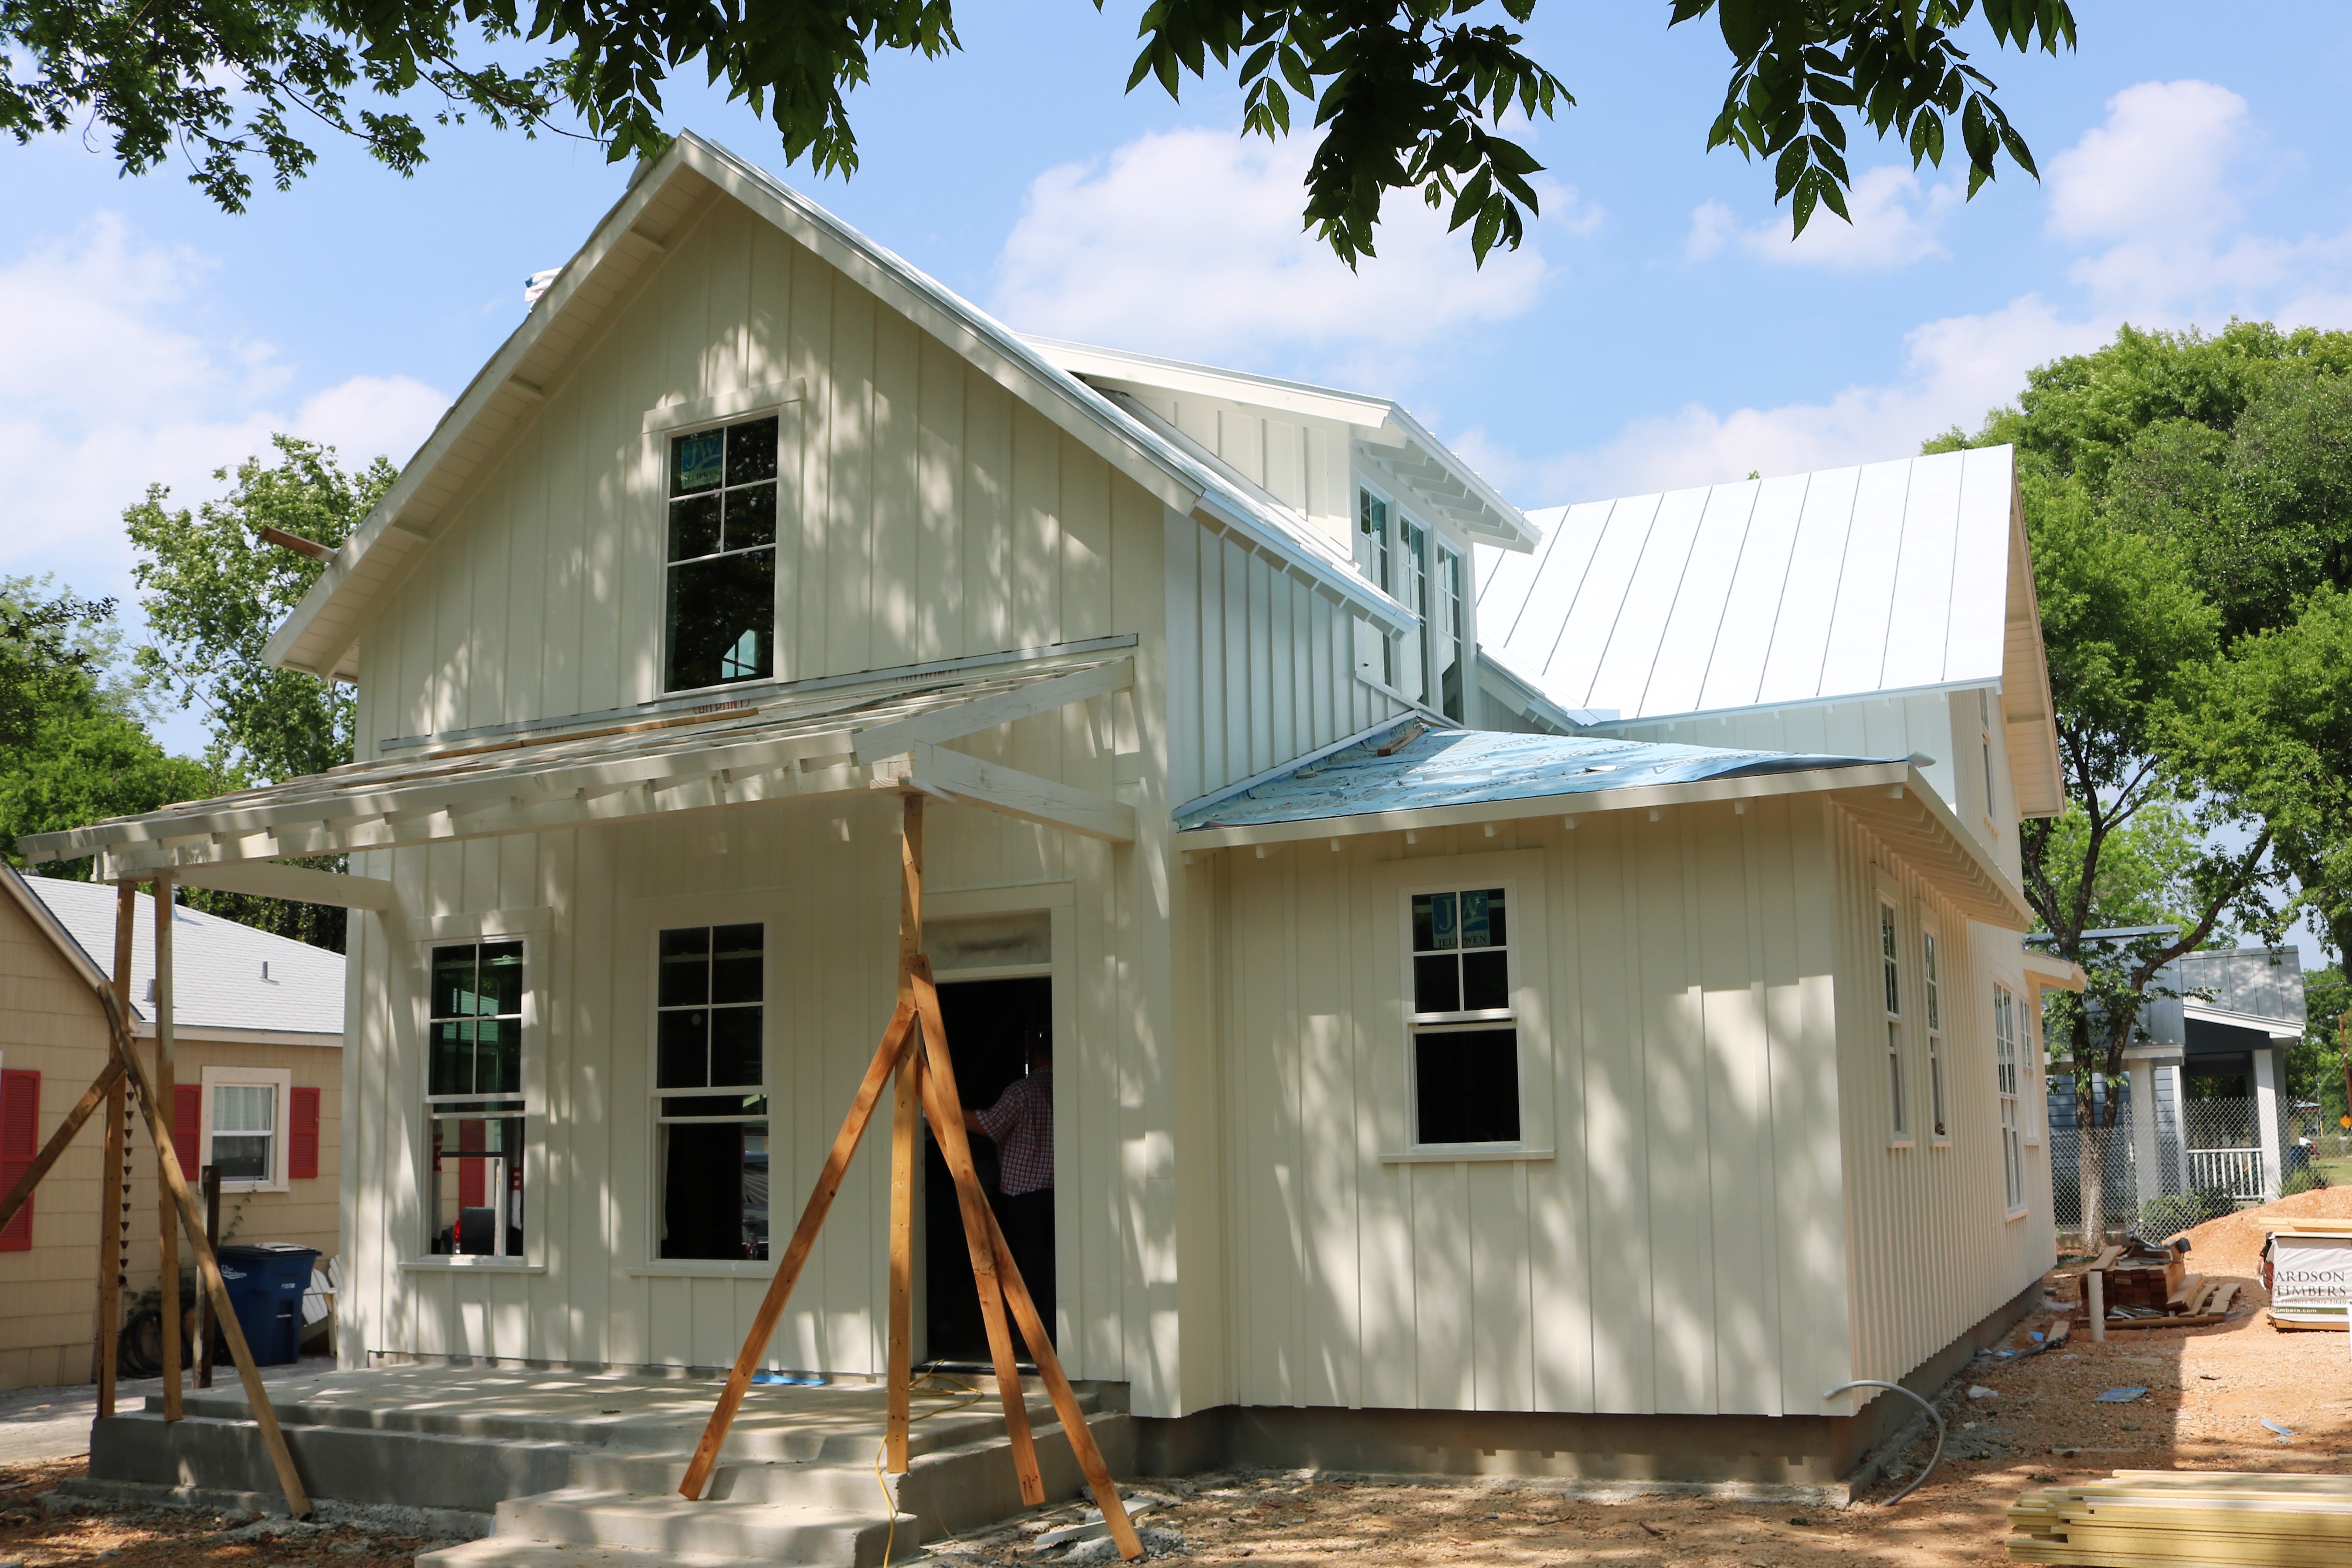
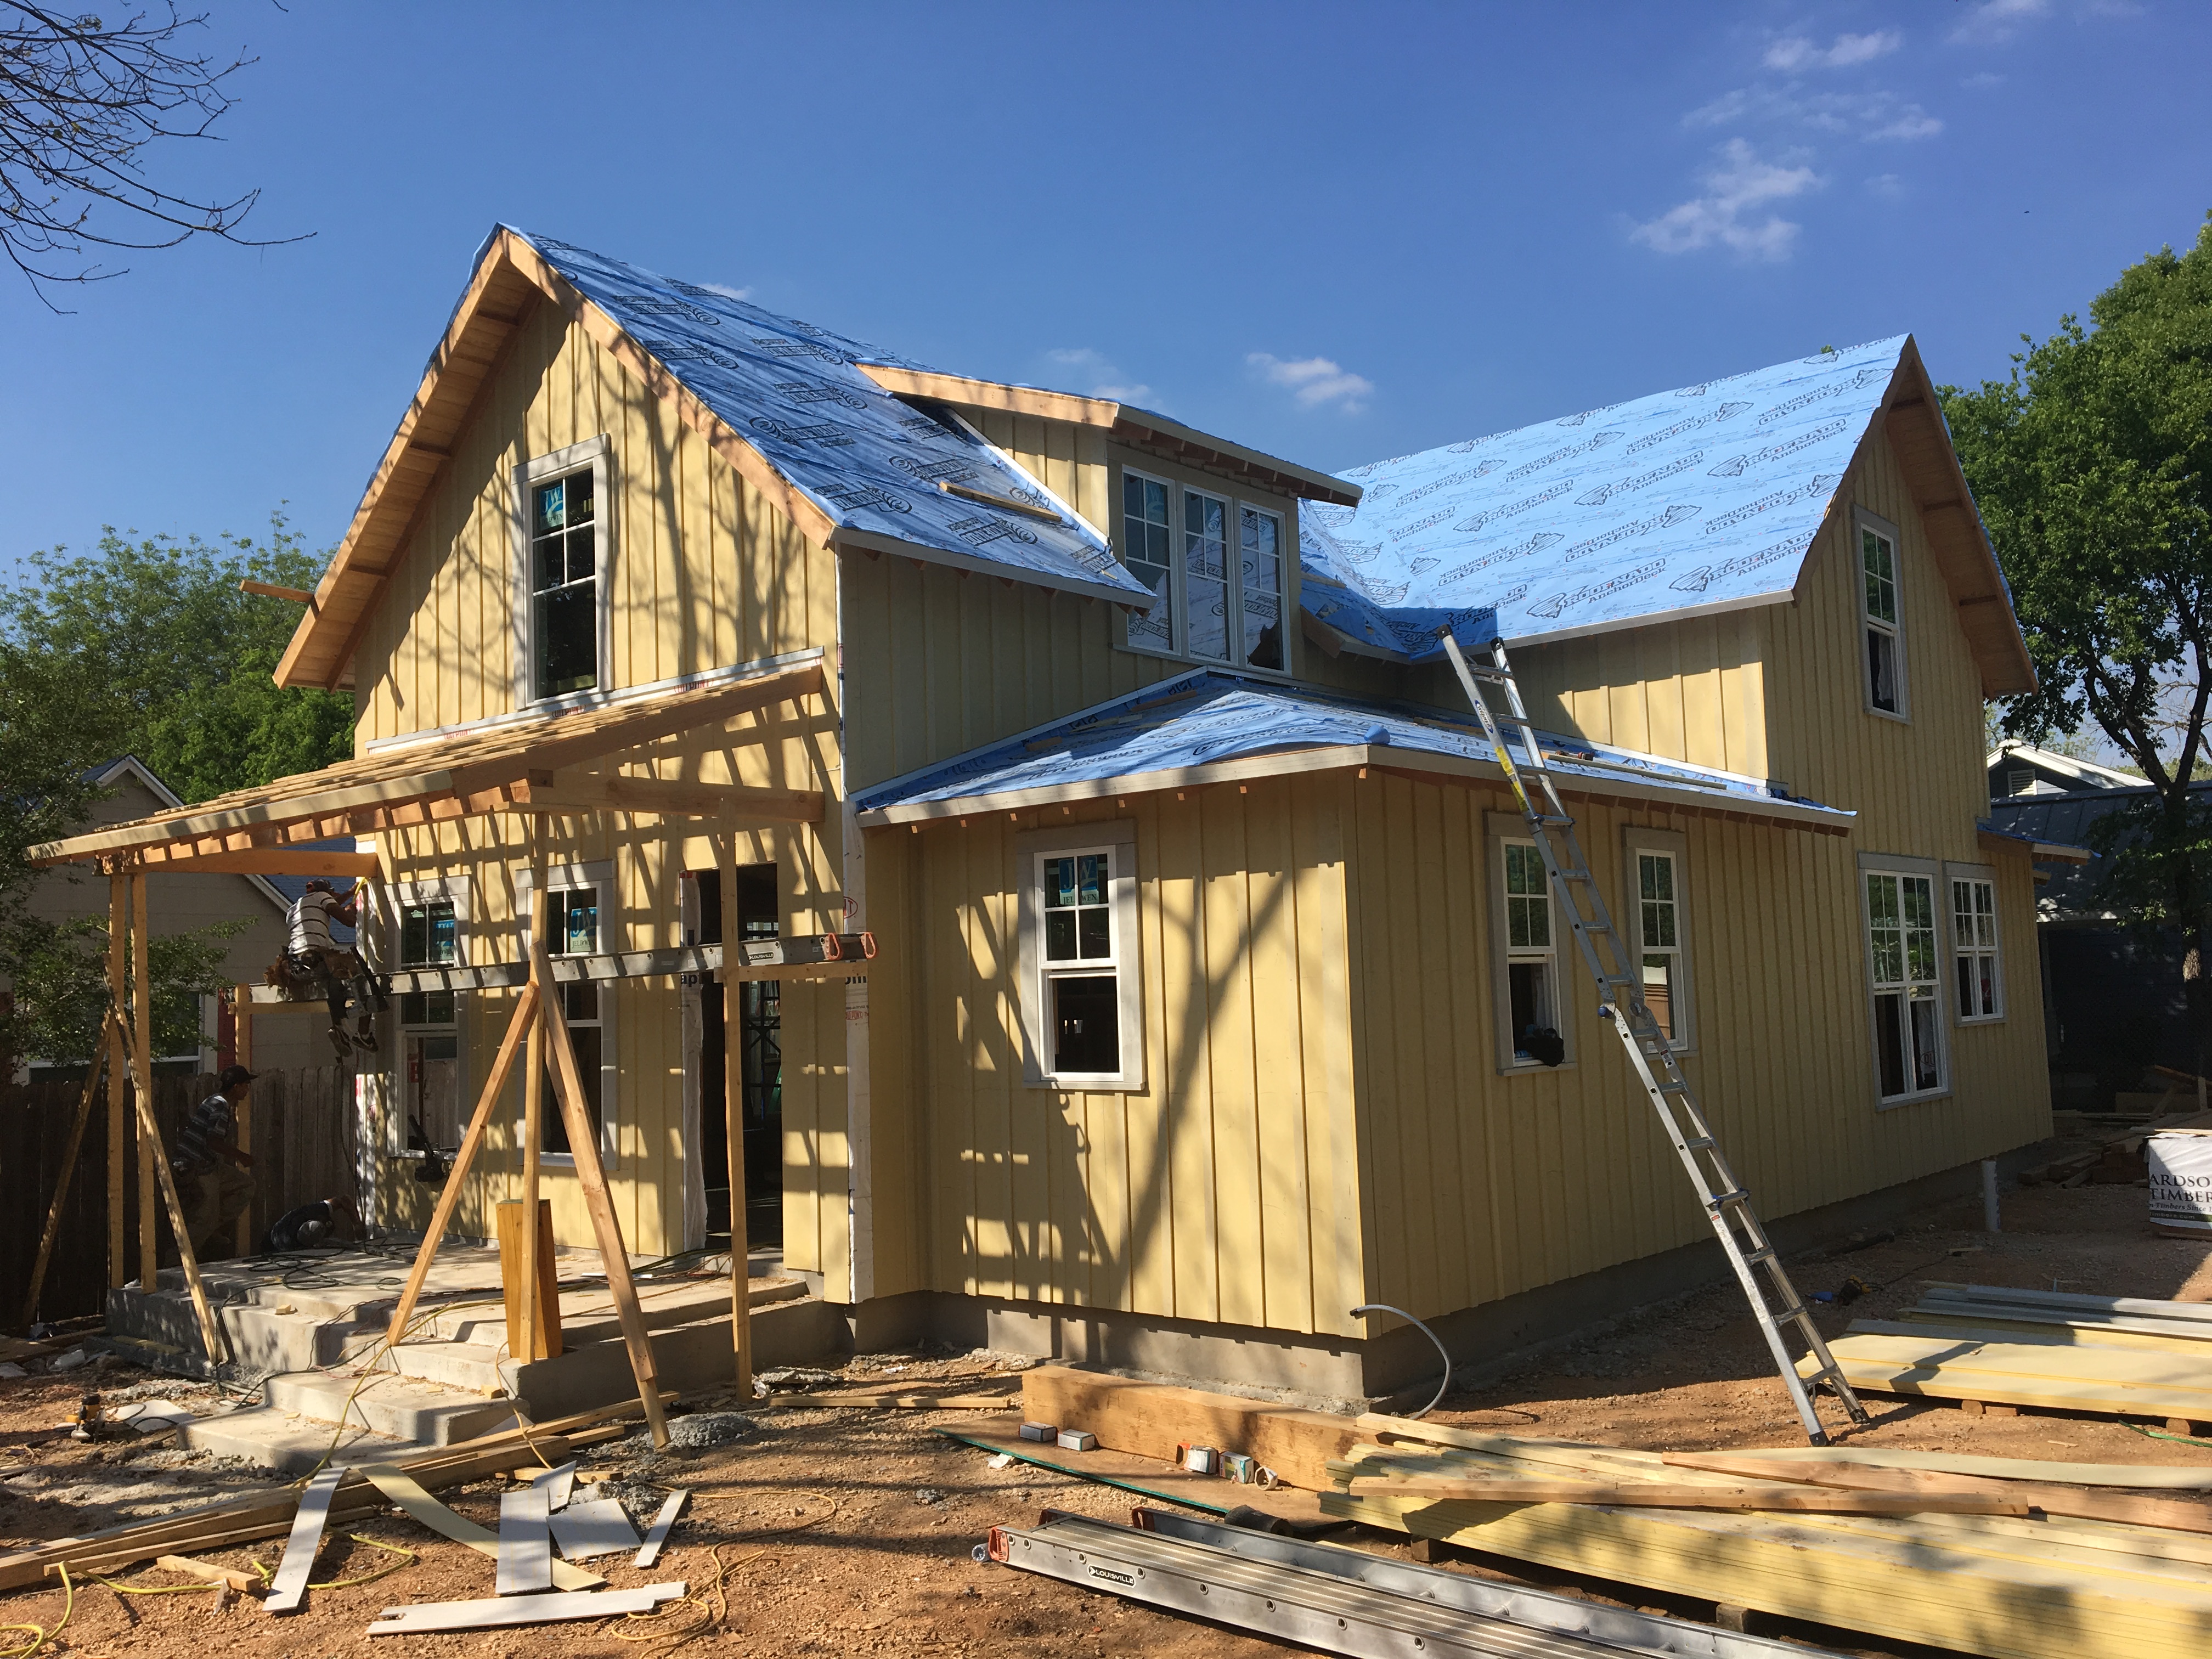
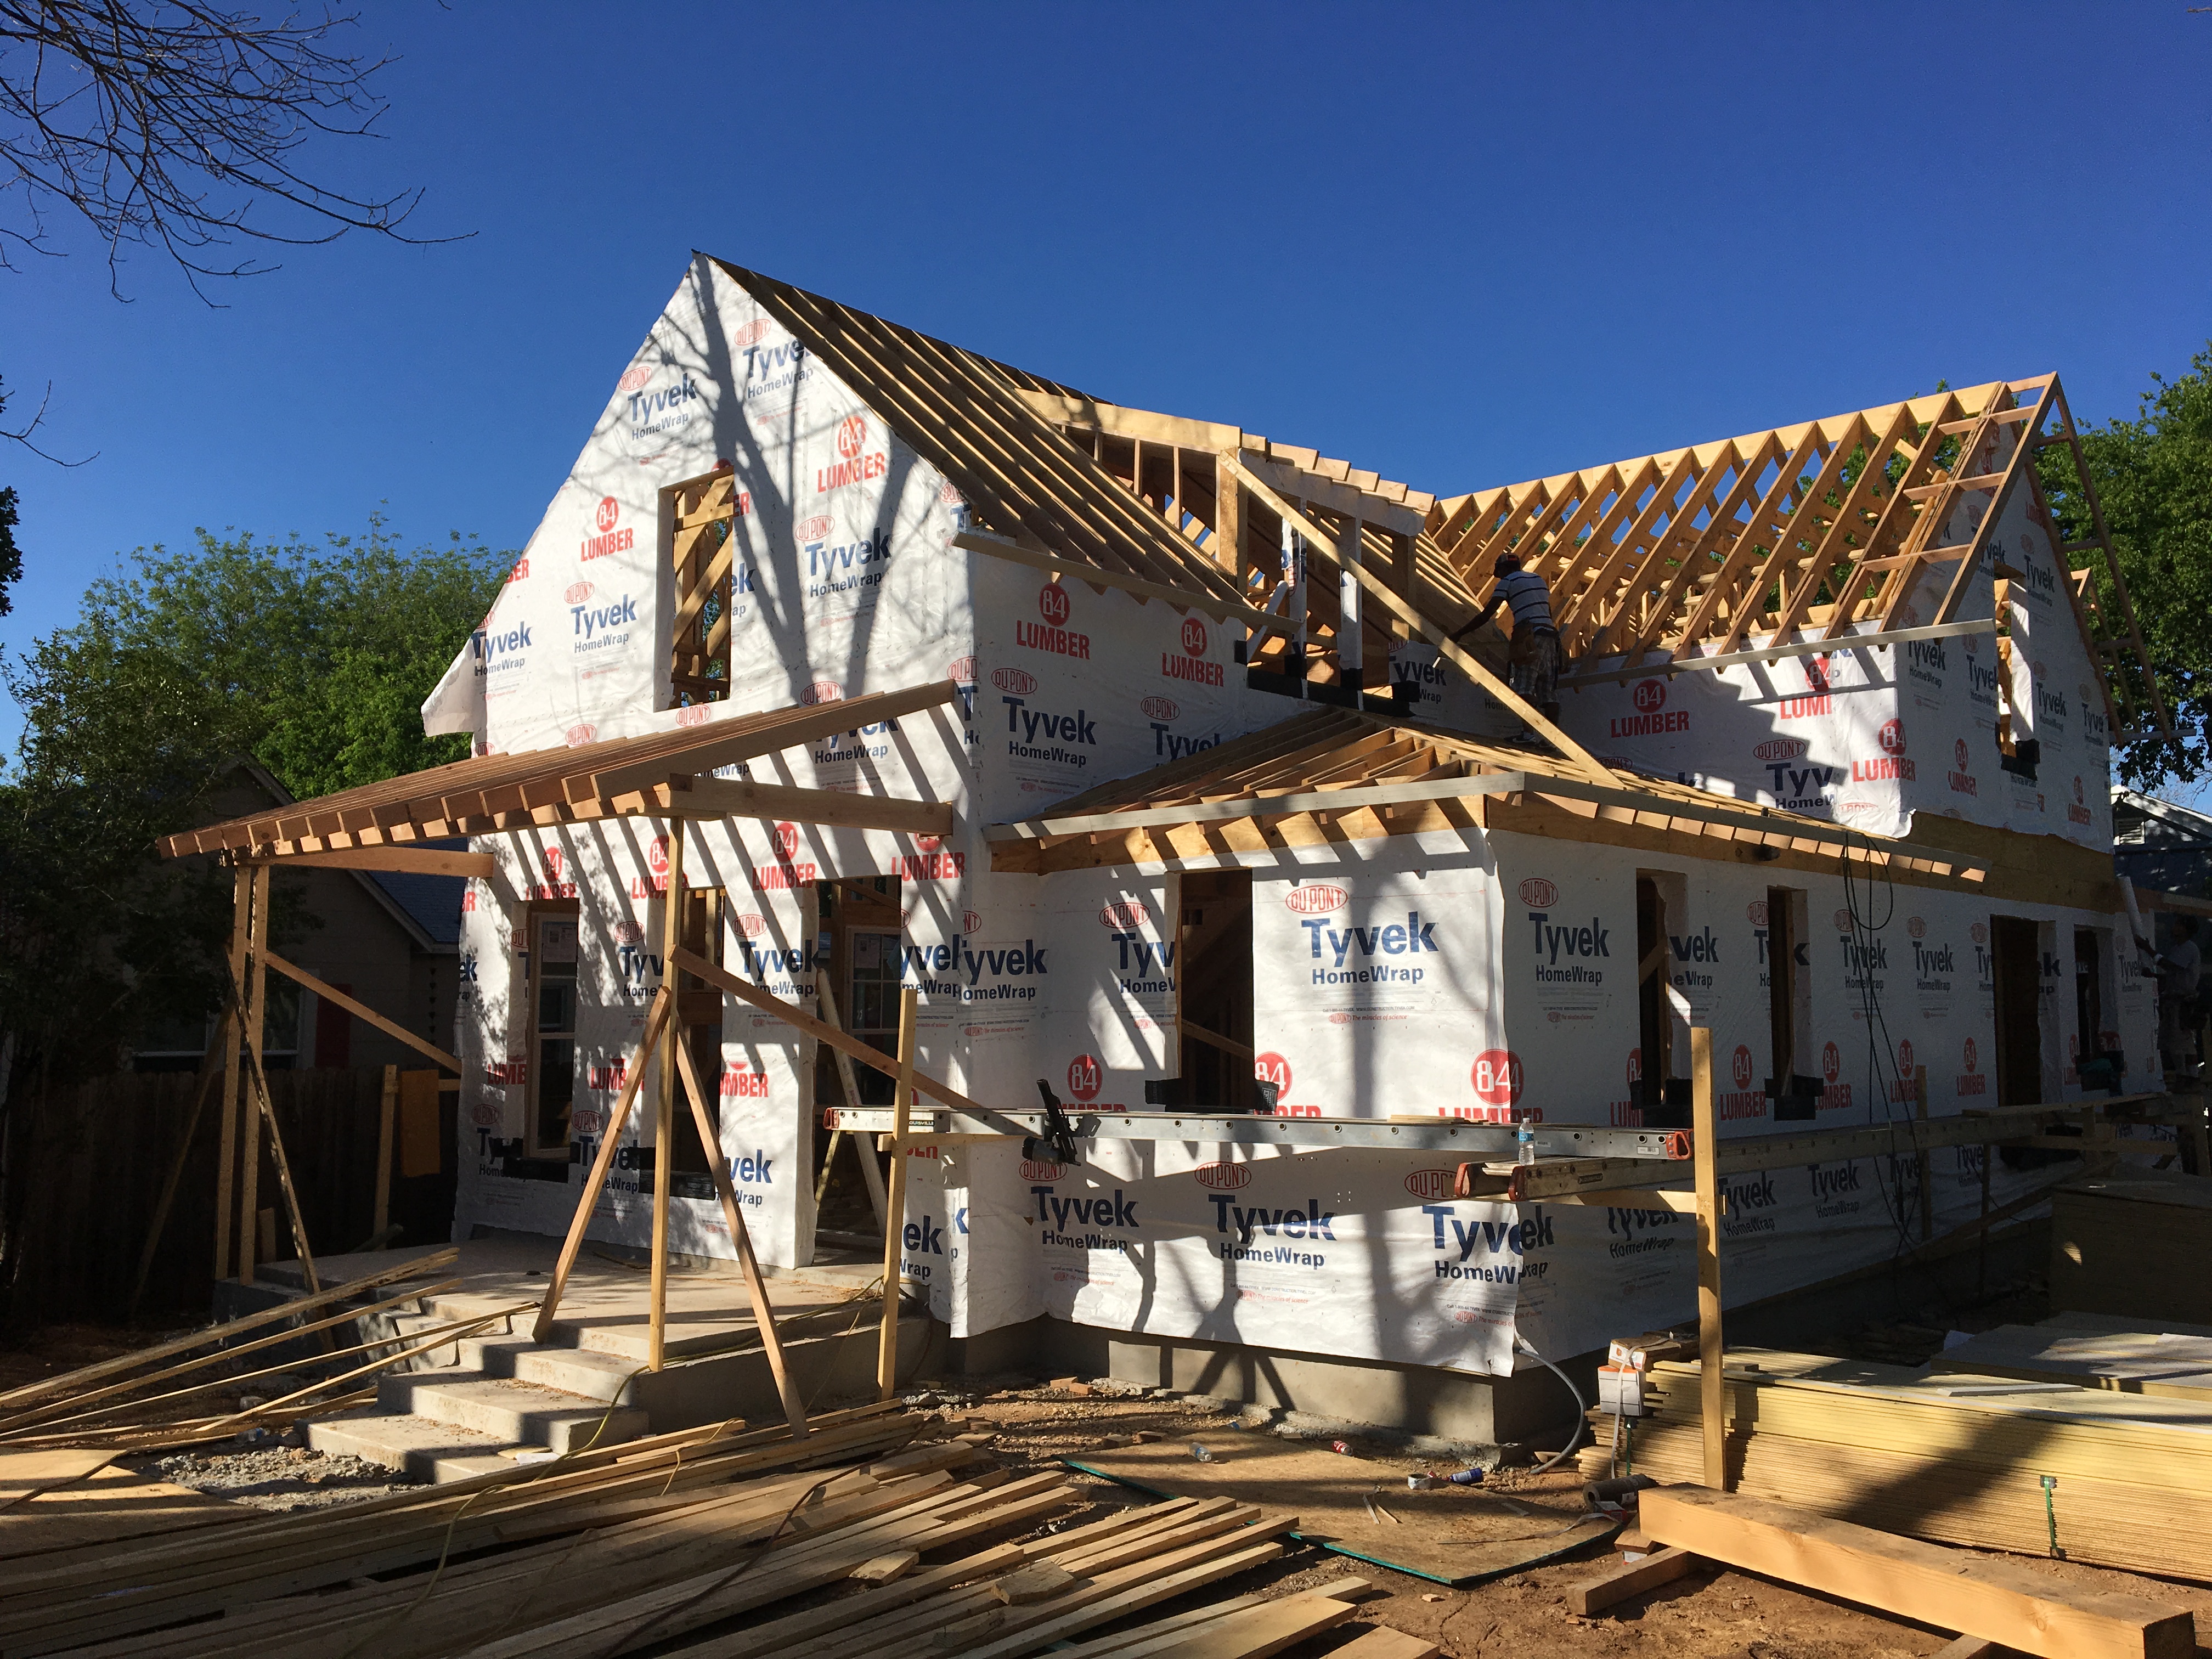
Front Porch posts are in, roof is on, paint nearly complete. Security cameras going in, along with exterior lights. Lots of work left on interior, but insulation and dry wall are coming in the next week or so. After the dry wall, bricks will go on fireplace, chimney, brick skirt and front porch.
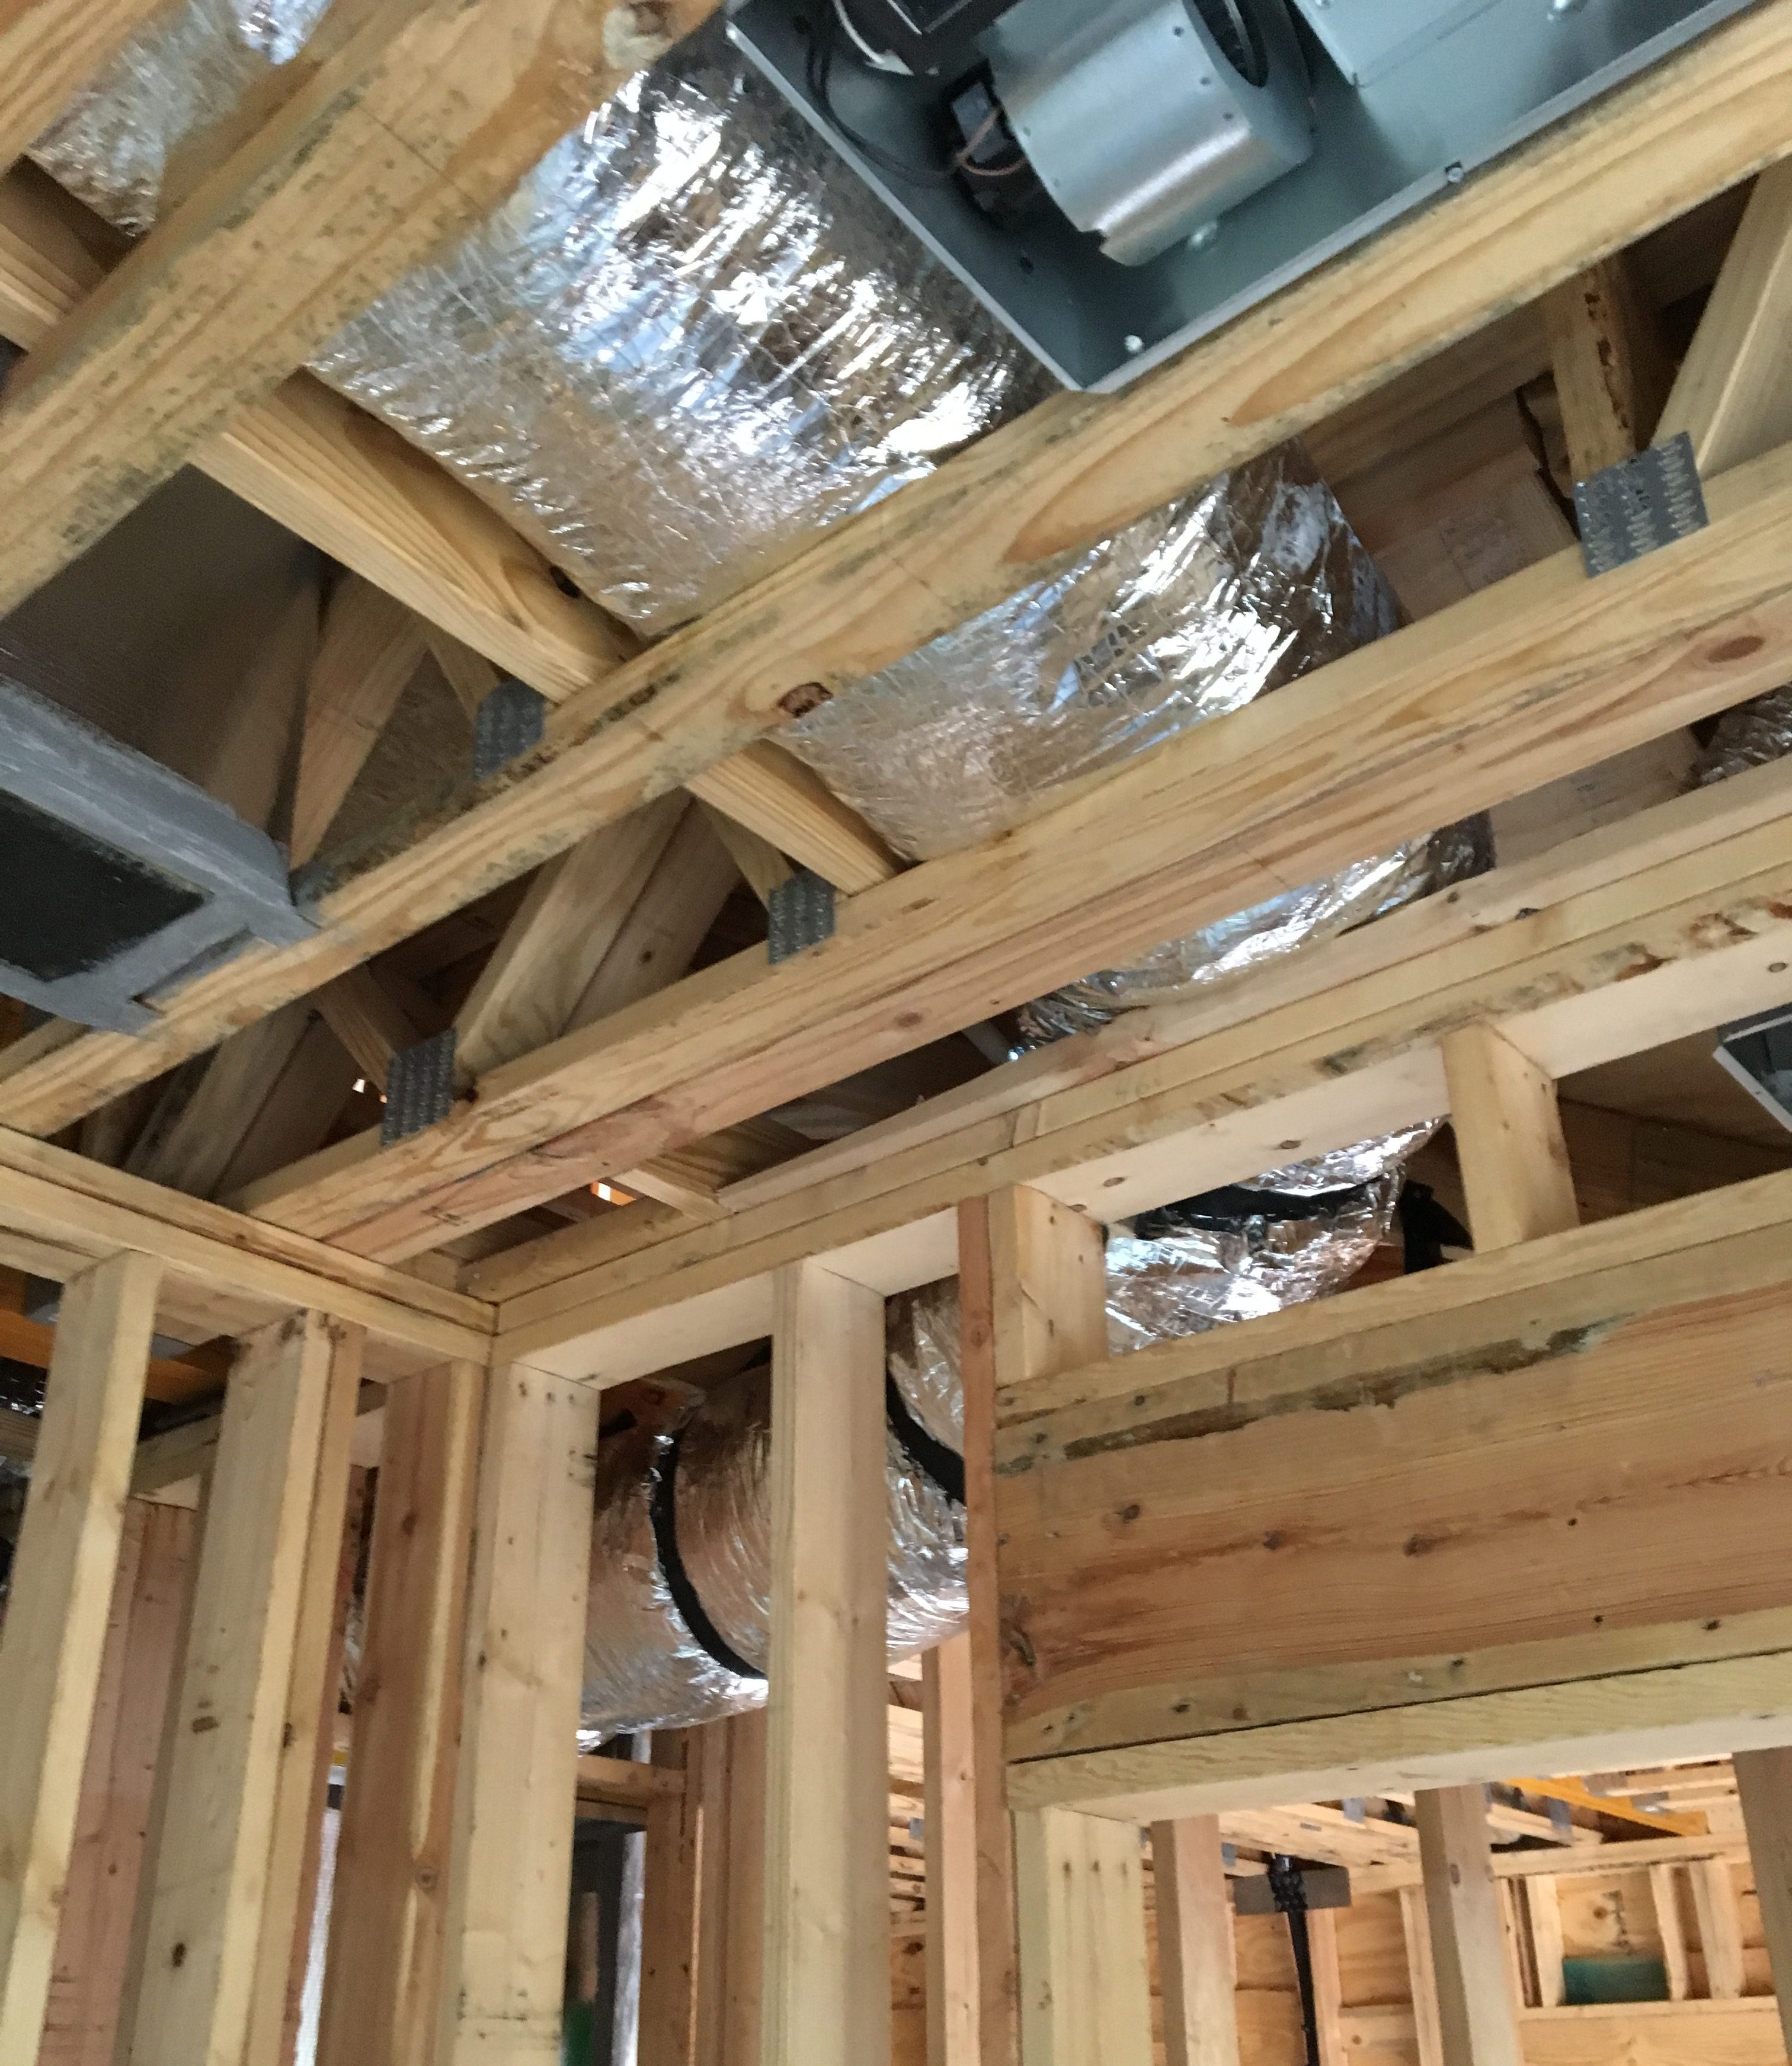
Here is a cautionary note, if you are building a two story house. Plan ahead for the location of the A/C heating duct work, in the framing for the second floor.
Duct Work Challenges
In our case, the duct work details were not part of the architect’s plans, and it seems the normal process is to work the details out after framing is complete. That works if you have a house with a large attic, but here we had only about 18 inches of space in the joists to run first floor duct work. That led to some changes and compromises in our final layout.
Here’s the story. We planned to put the downstairs air handler in a closet in the garage, since we ran out of interior space in the house. While it struck me, the owner, as a strange location, it was the best to maximize the interior space in the house. But, after framing the house, we had a walk through with the A/C subcontractor, and he immediately made it clear that the garage location was a non-starter. It would not provide needed access to return air and the duct work exiting the plenum did not work with the framing. So, we lost a hall closet, and had to encroach about a foot into the master shower for the air handler.
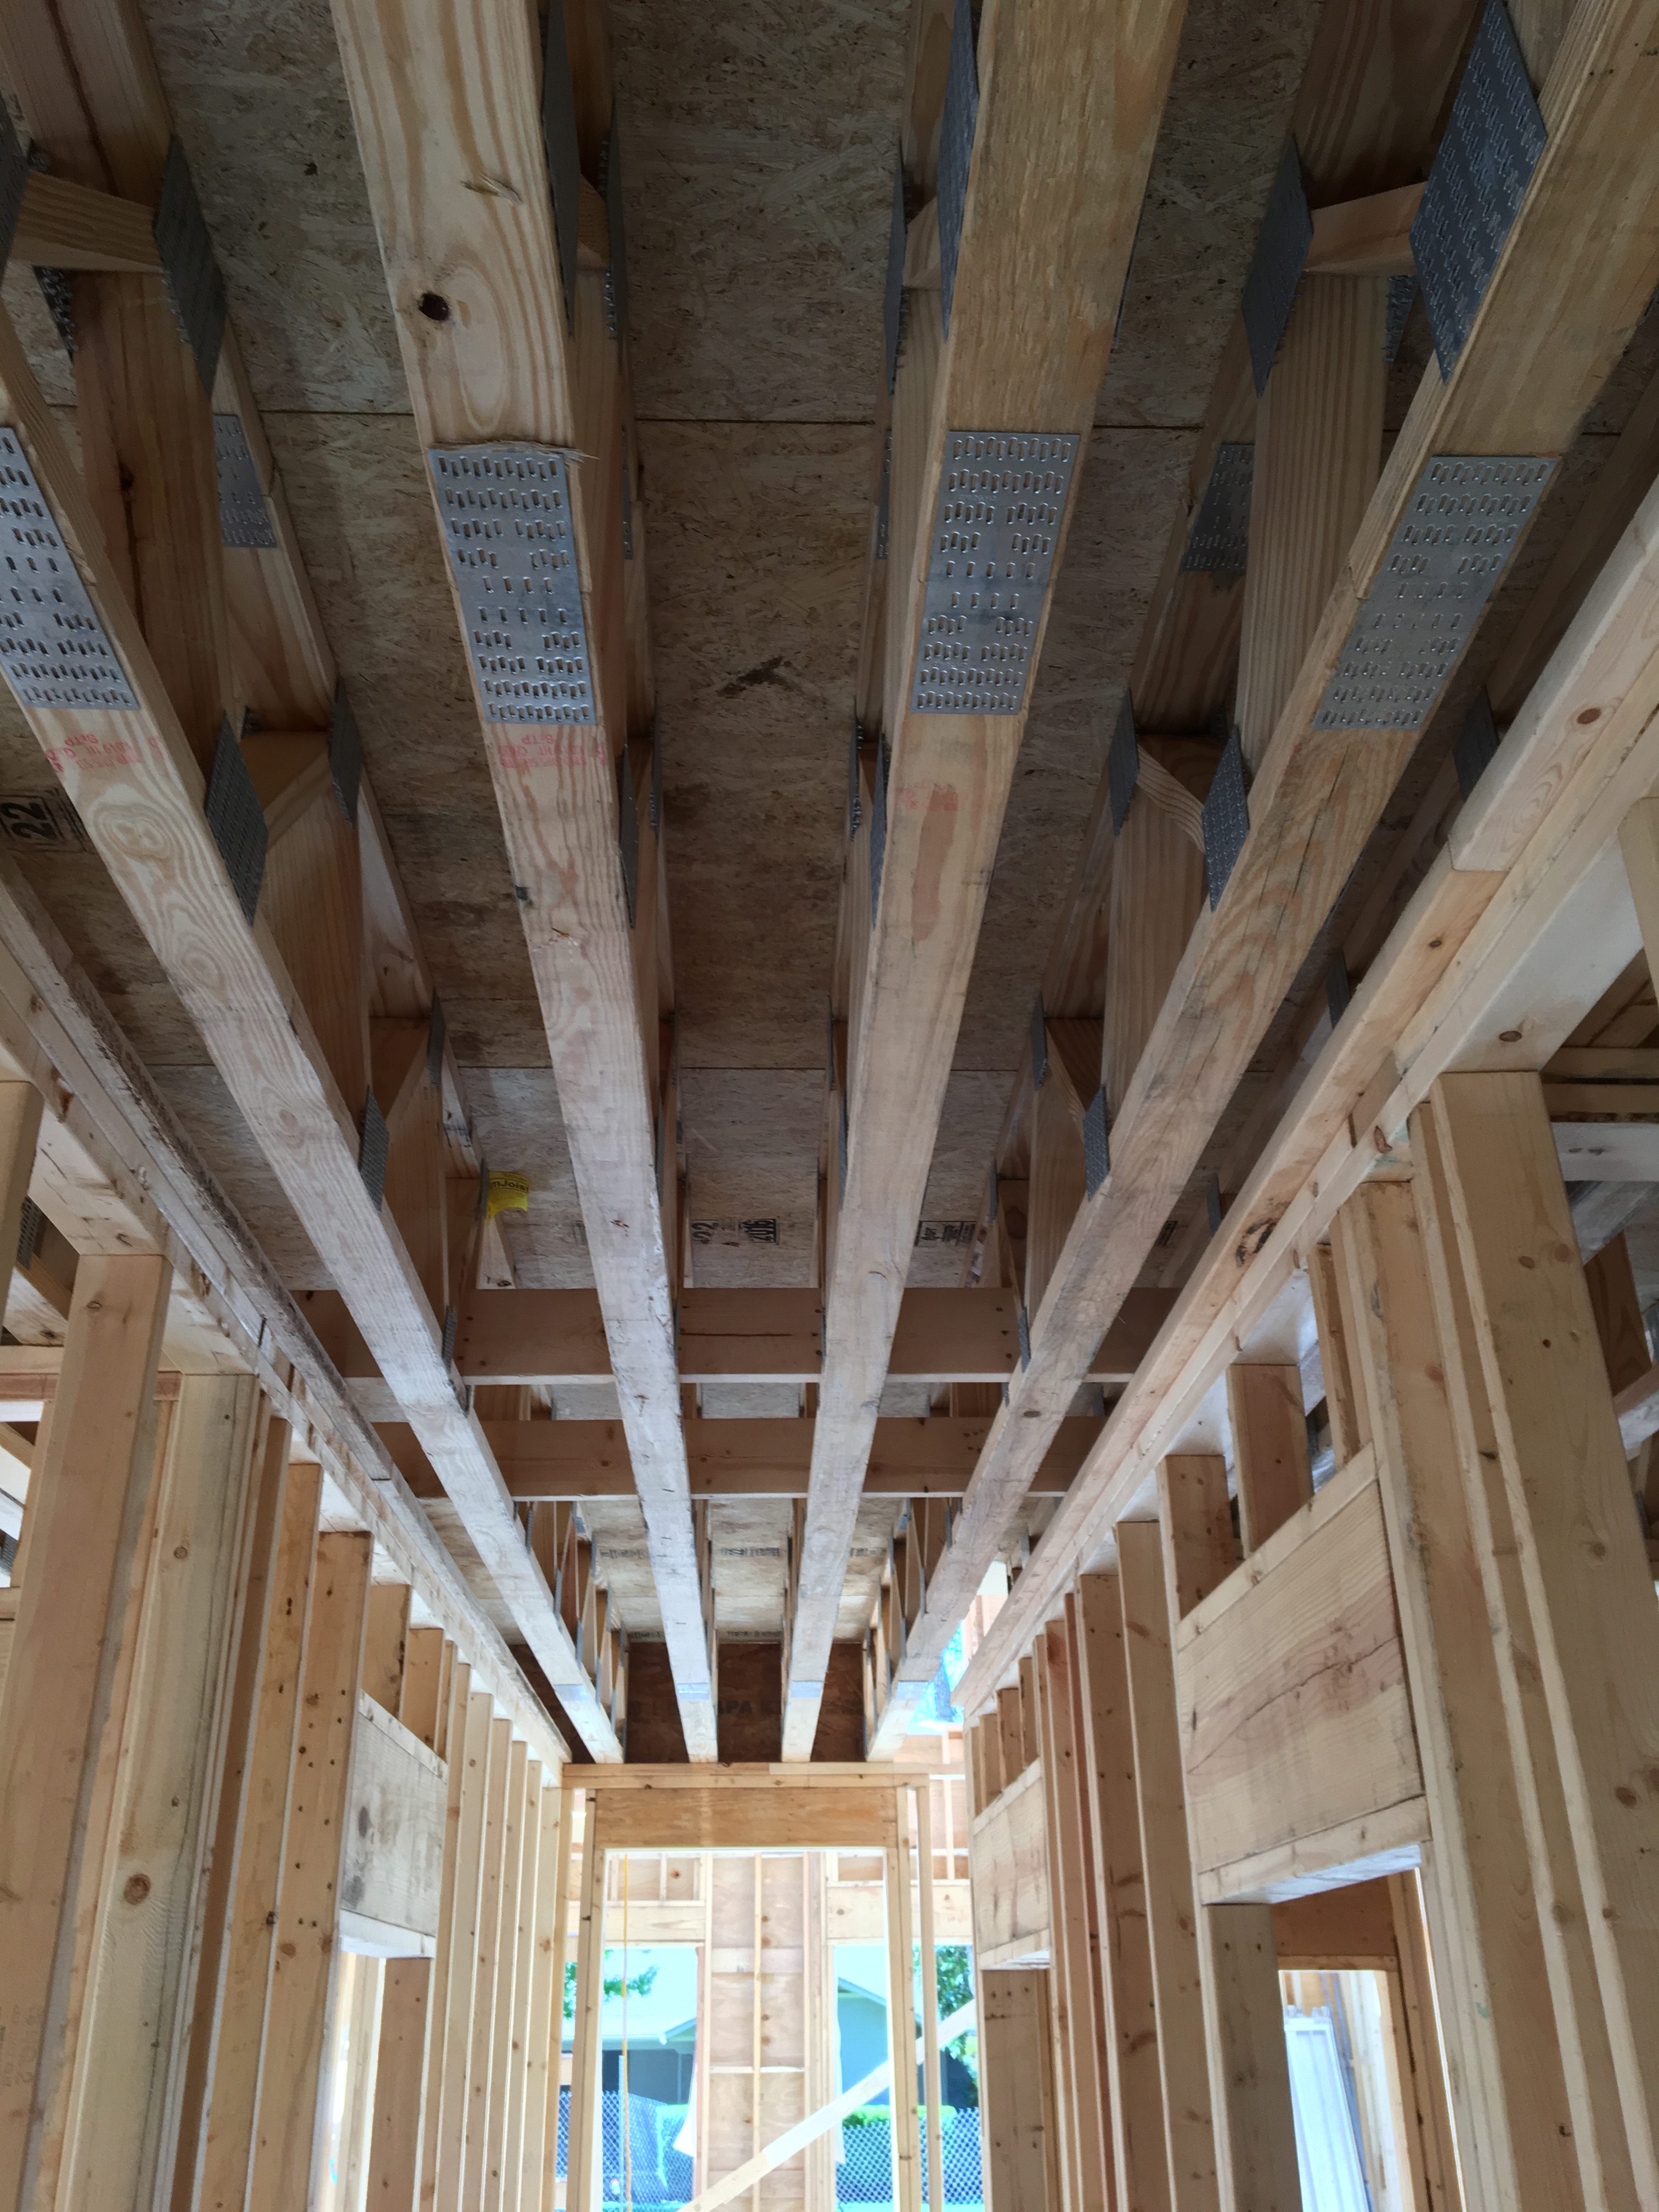
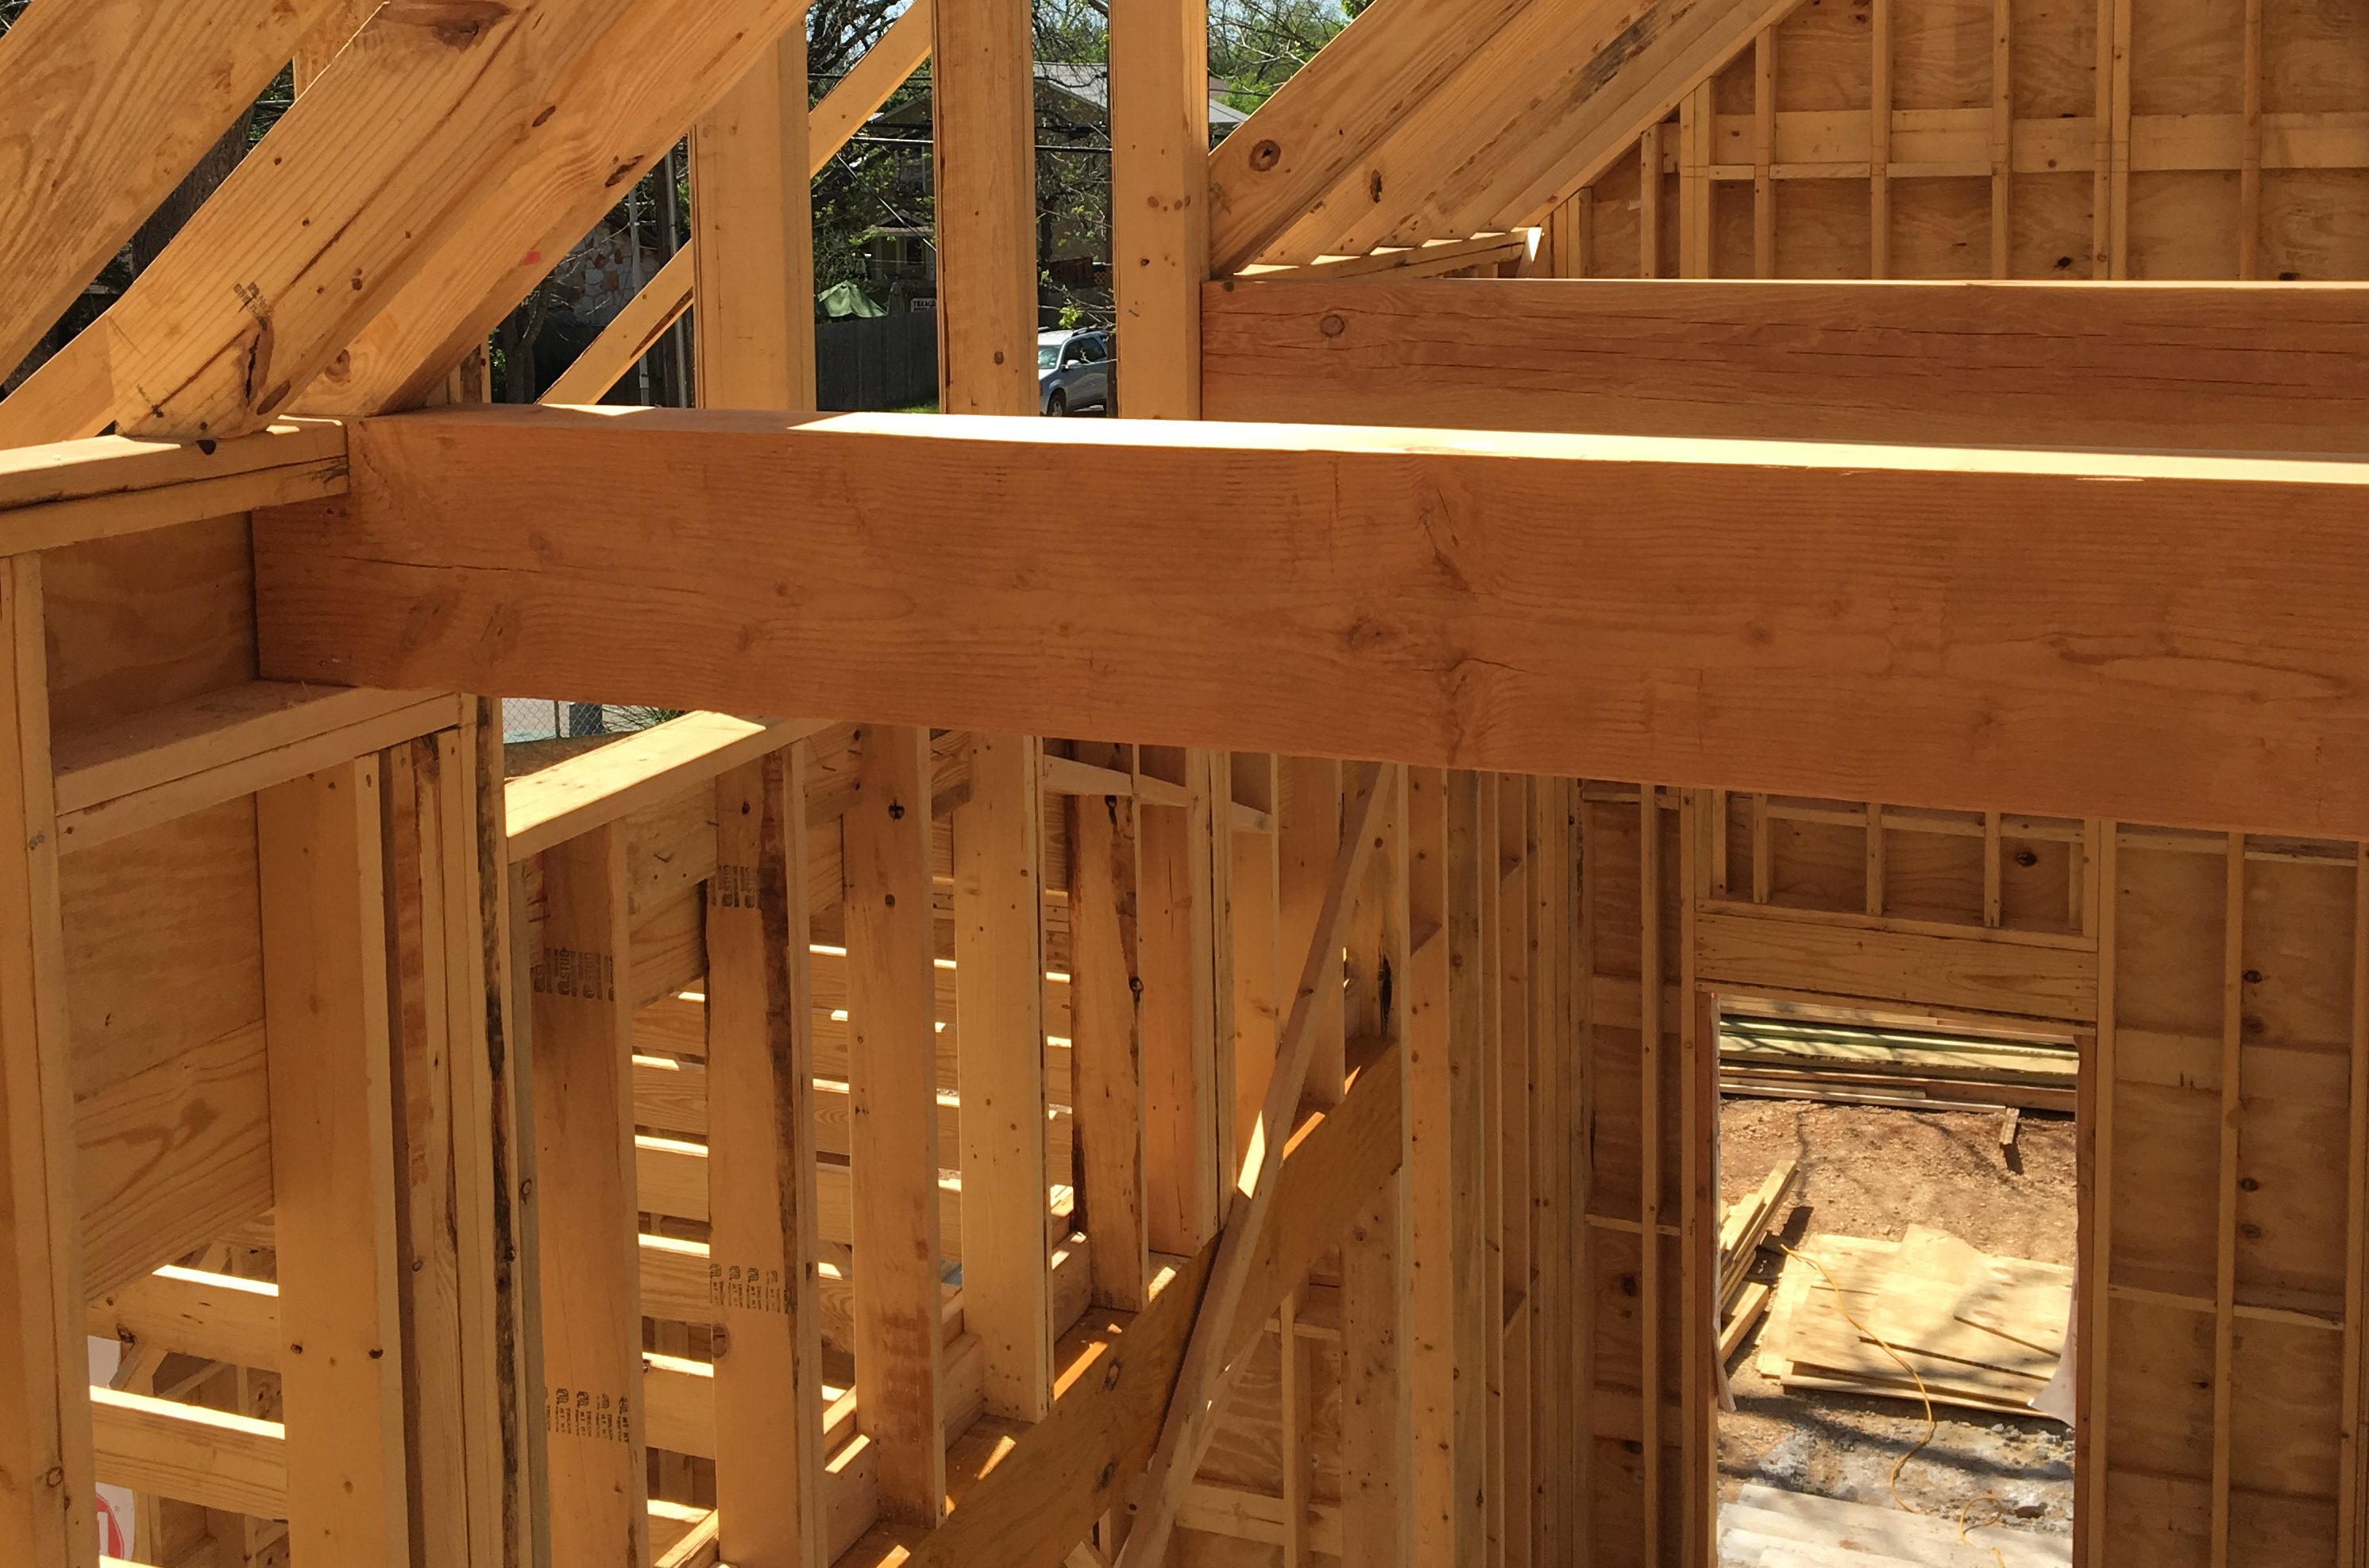
Second Floor Joists
But, a bigger concern was where to locate the duct work to serve the first floor rooms? Obviously, the duct work needed to run in or under the second floor joists. But, as you can see from this picture the joists are so tightly spaced there was not room for the main duct between them. Lowering the hall ceiling was aesthetically not an option. We debated demoing/moving one joist, to create extra space, but that posed structural and cost issues. We also have a triple glulam beam that runs the length of the house, and presented a barrier to duct work crossing from one side to the other.
Ultimately, our builder found a nice solution.
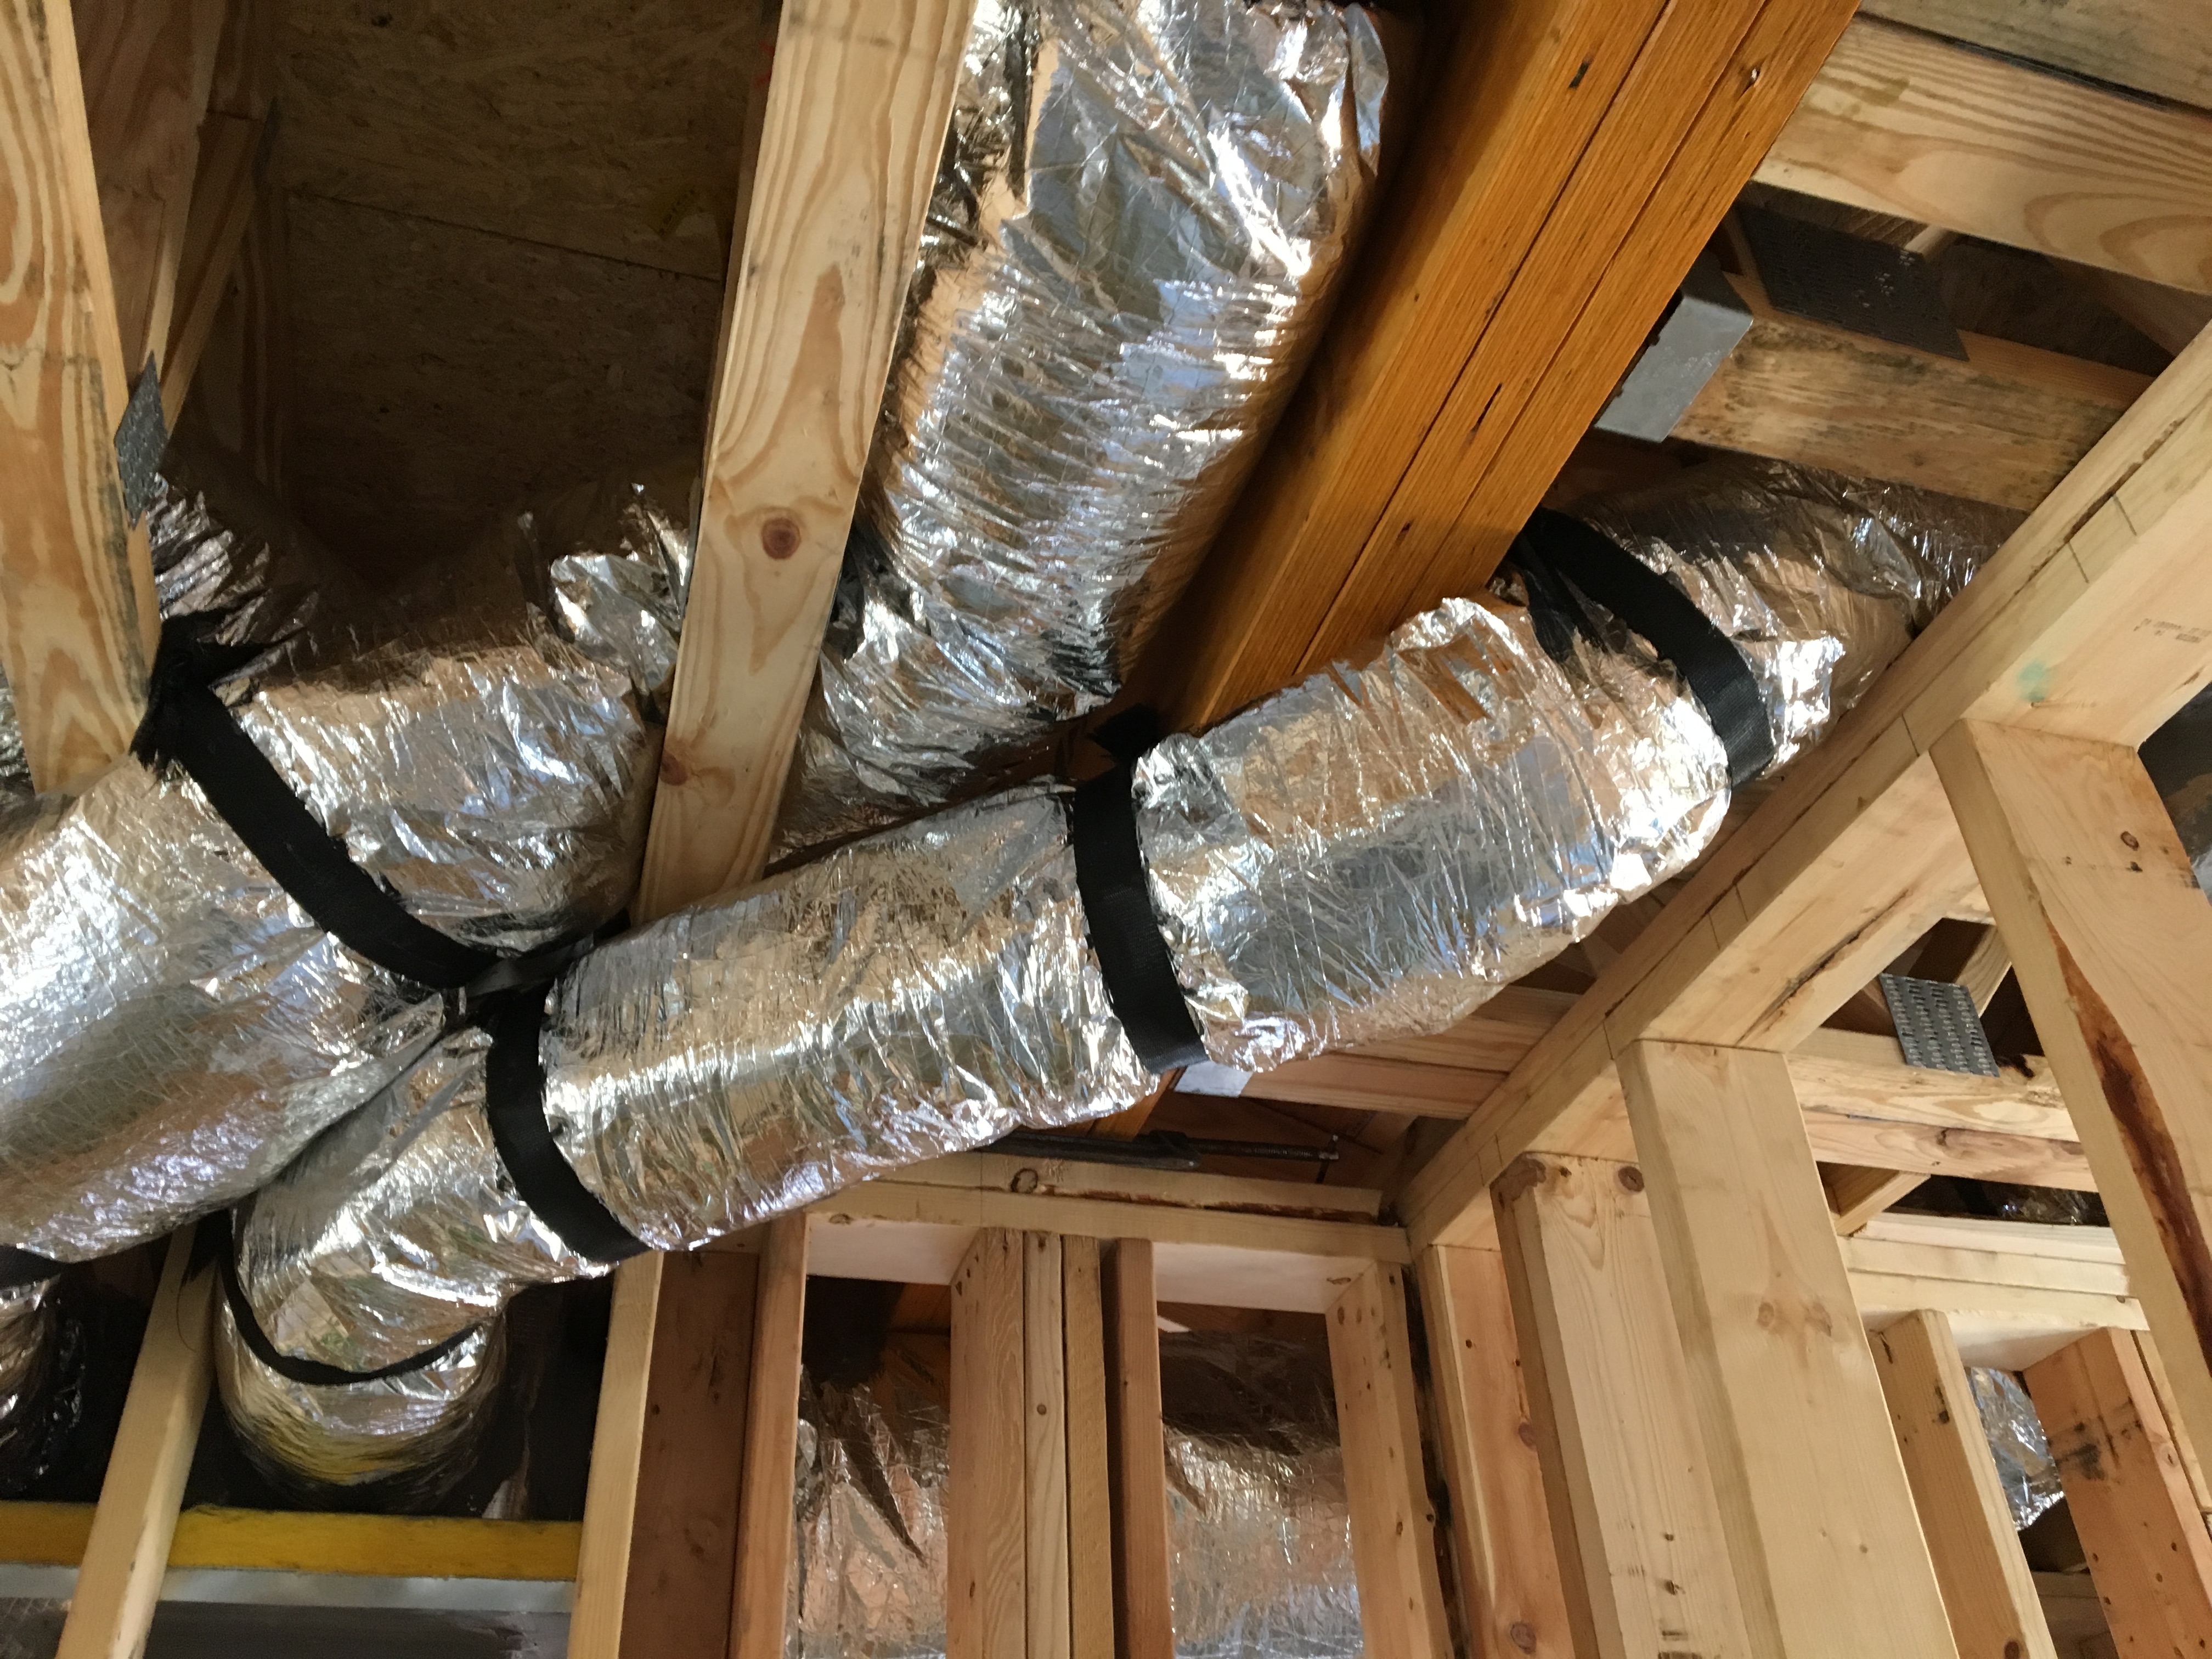
Duct work running under the orange Glulam Triple
The main duct would cross under the glulam triple in the master shower, and we would lower the shower ceiling about 15 inches. We also lost about 12 inches in the ceiling of the master closet, where another run of duct work crossed under the triple, the orange beam shown in this picture. This fix was much better than exposed duct work, or lowering the ceiling in the main hallway. But, the take-away is to plan ahead, especially for the major mechanical features of a new home.
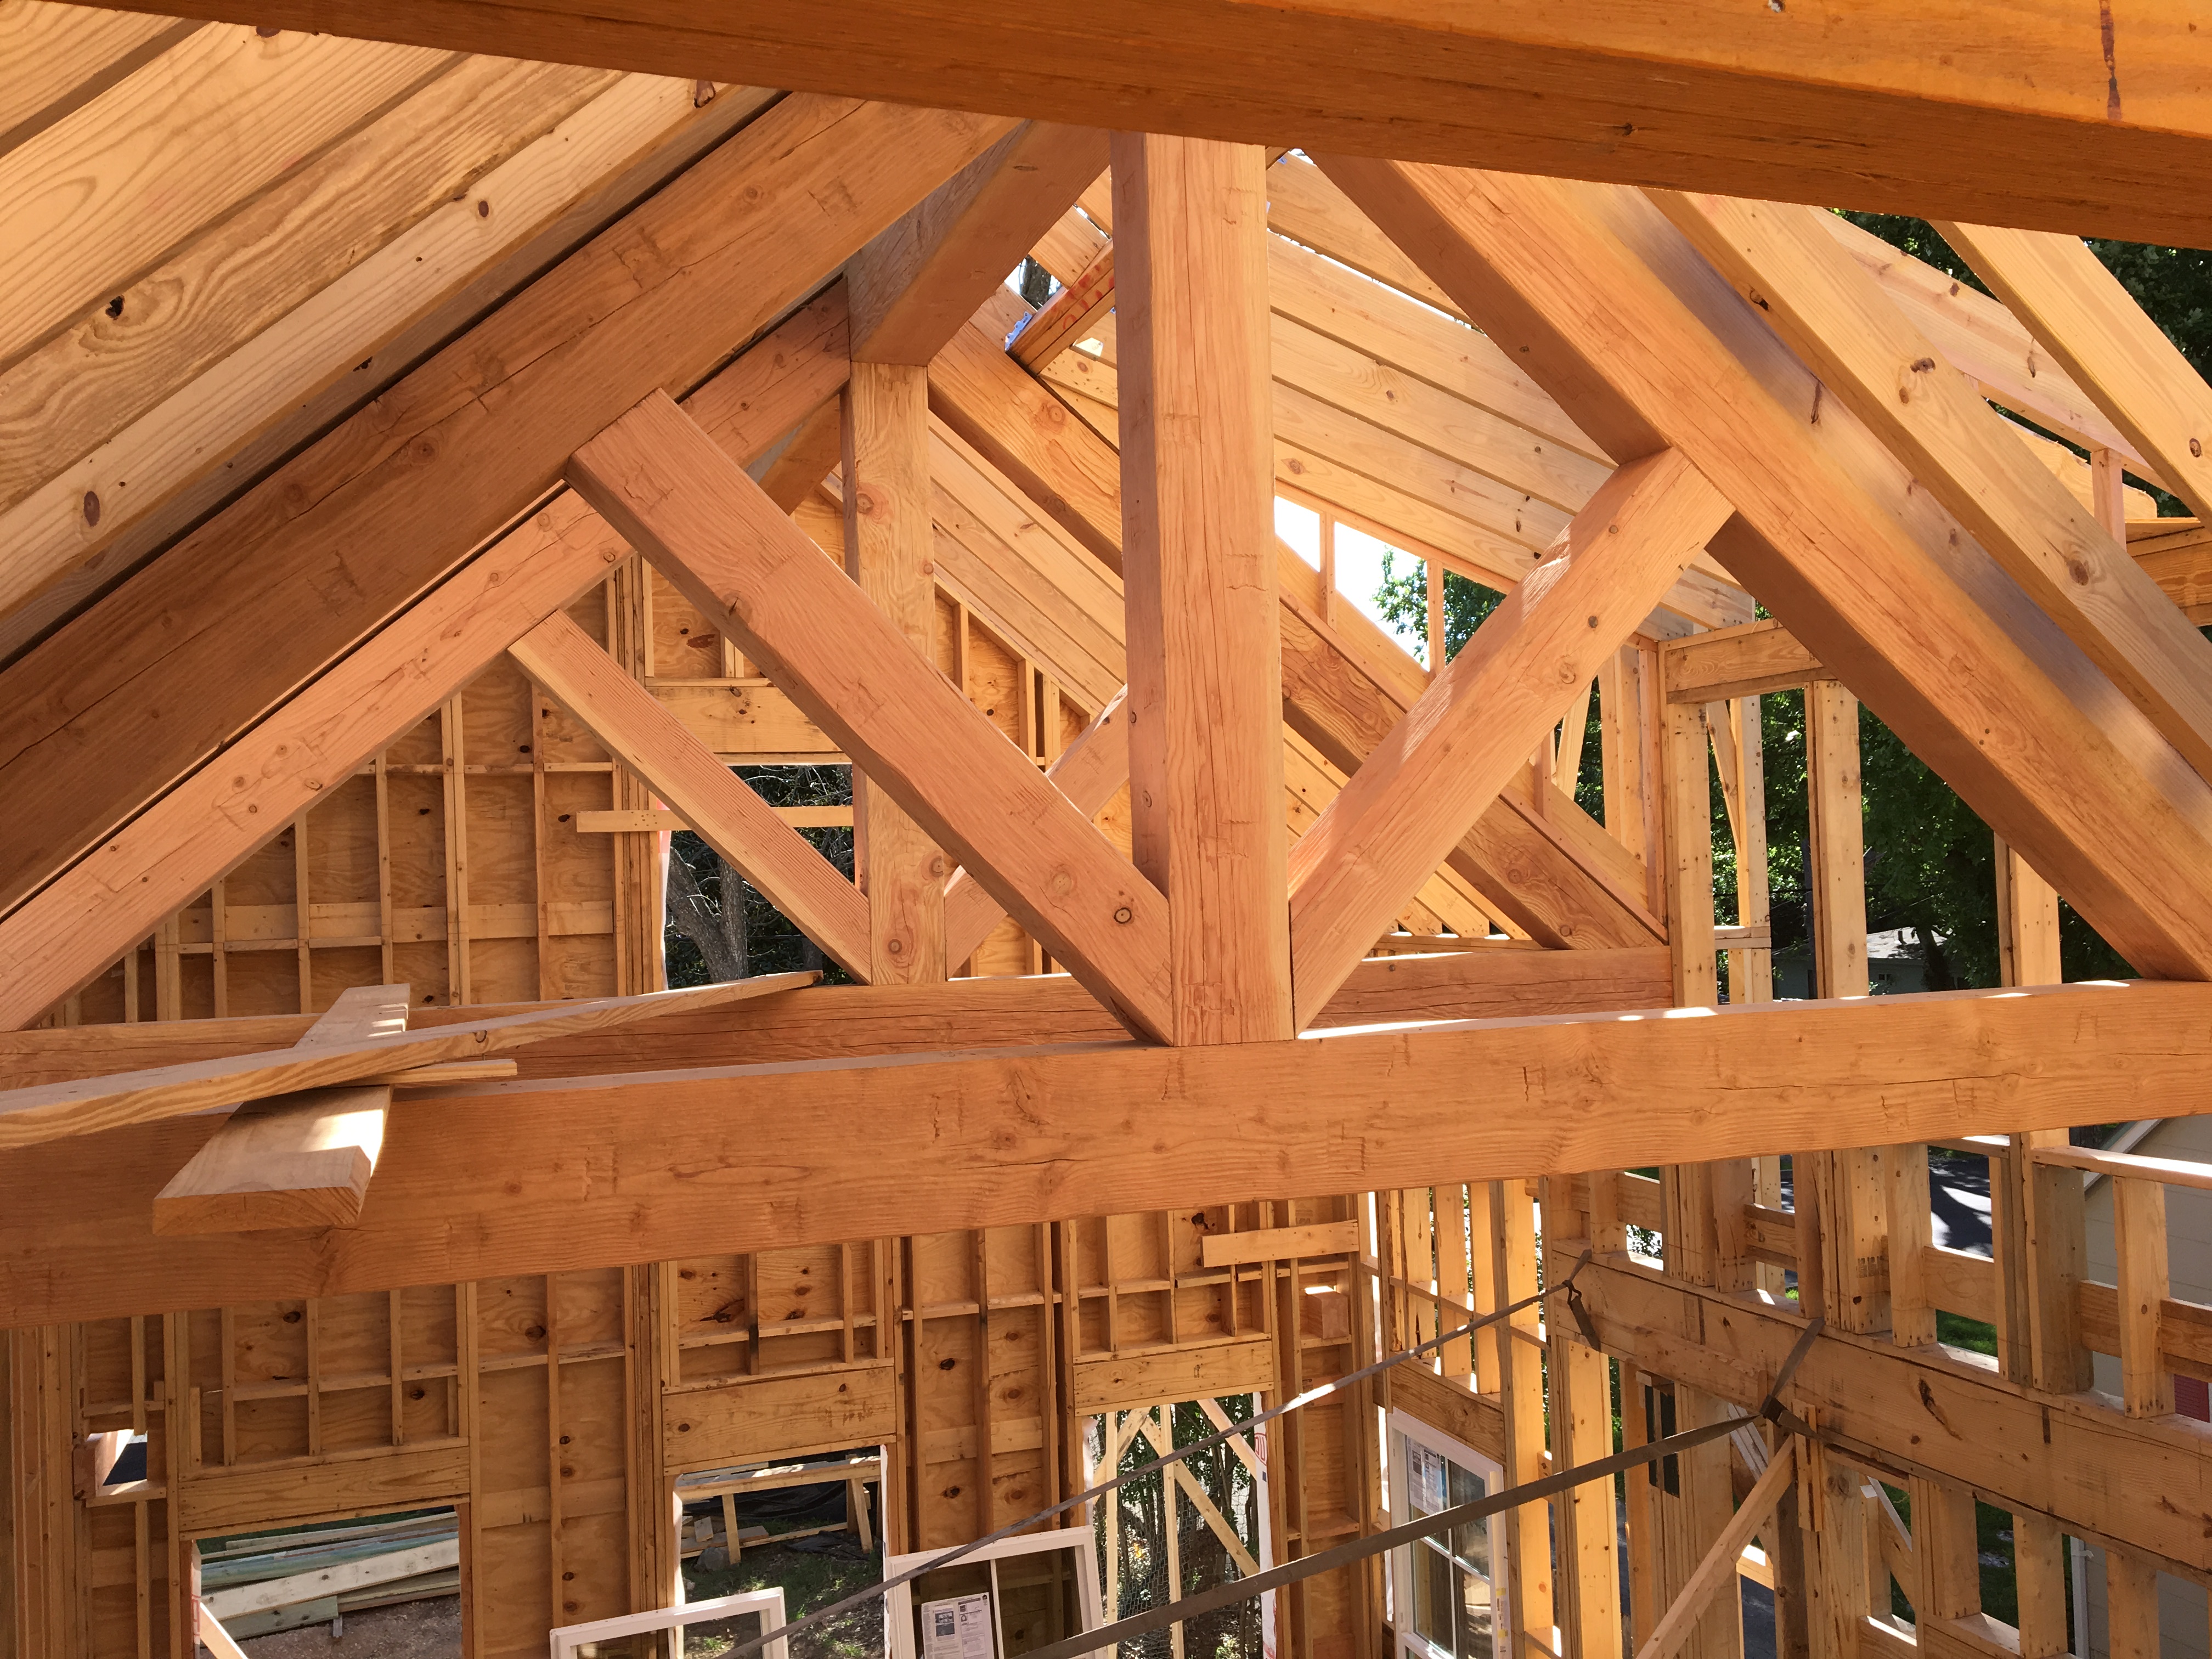
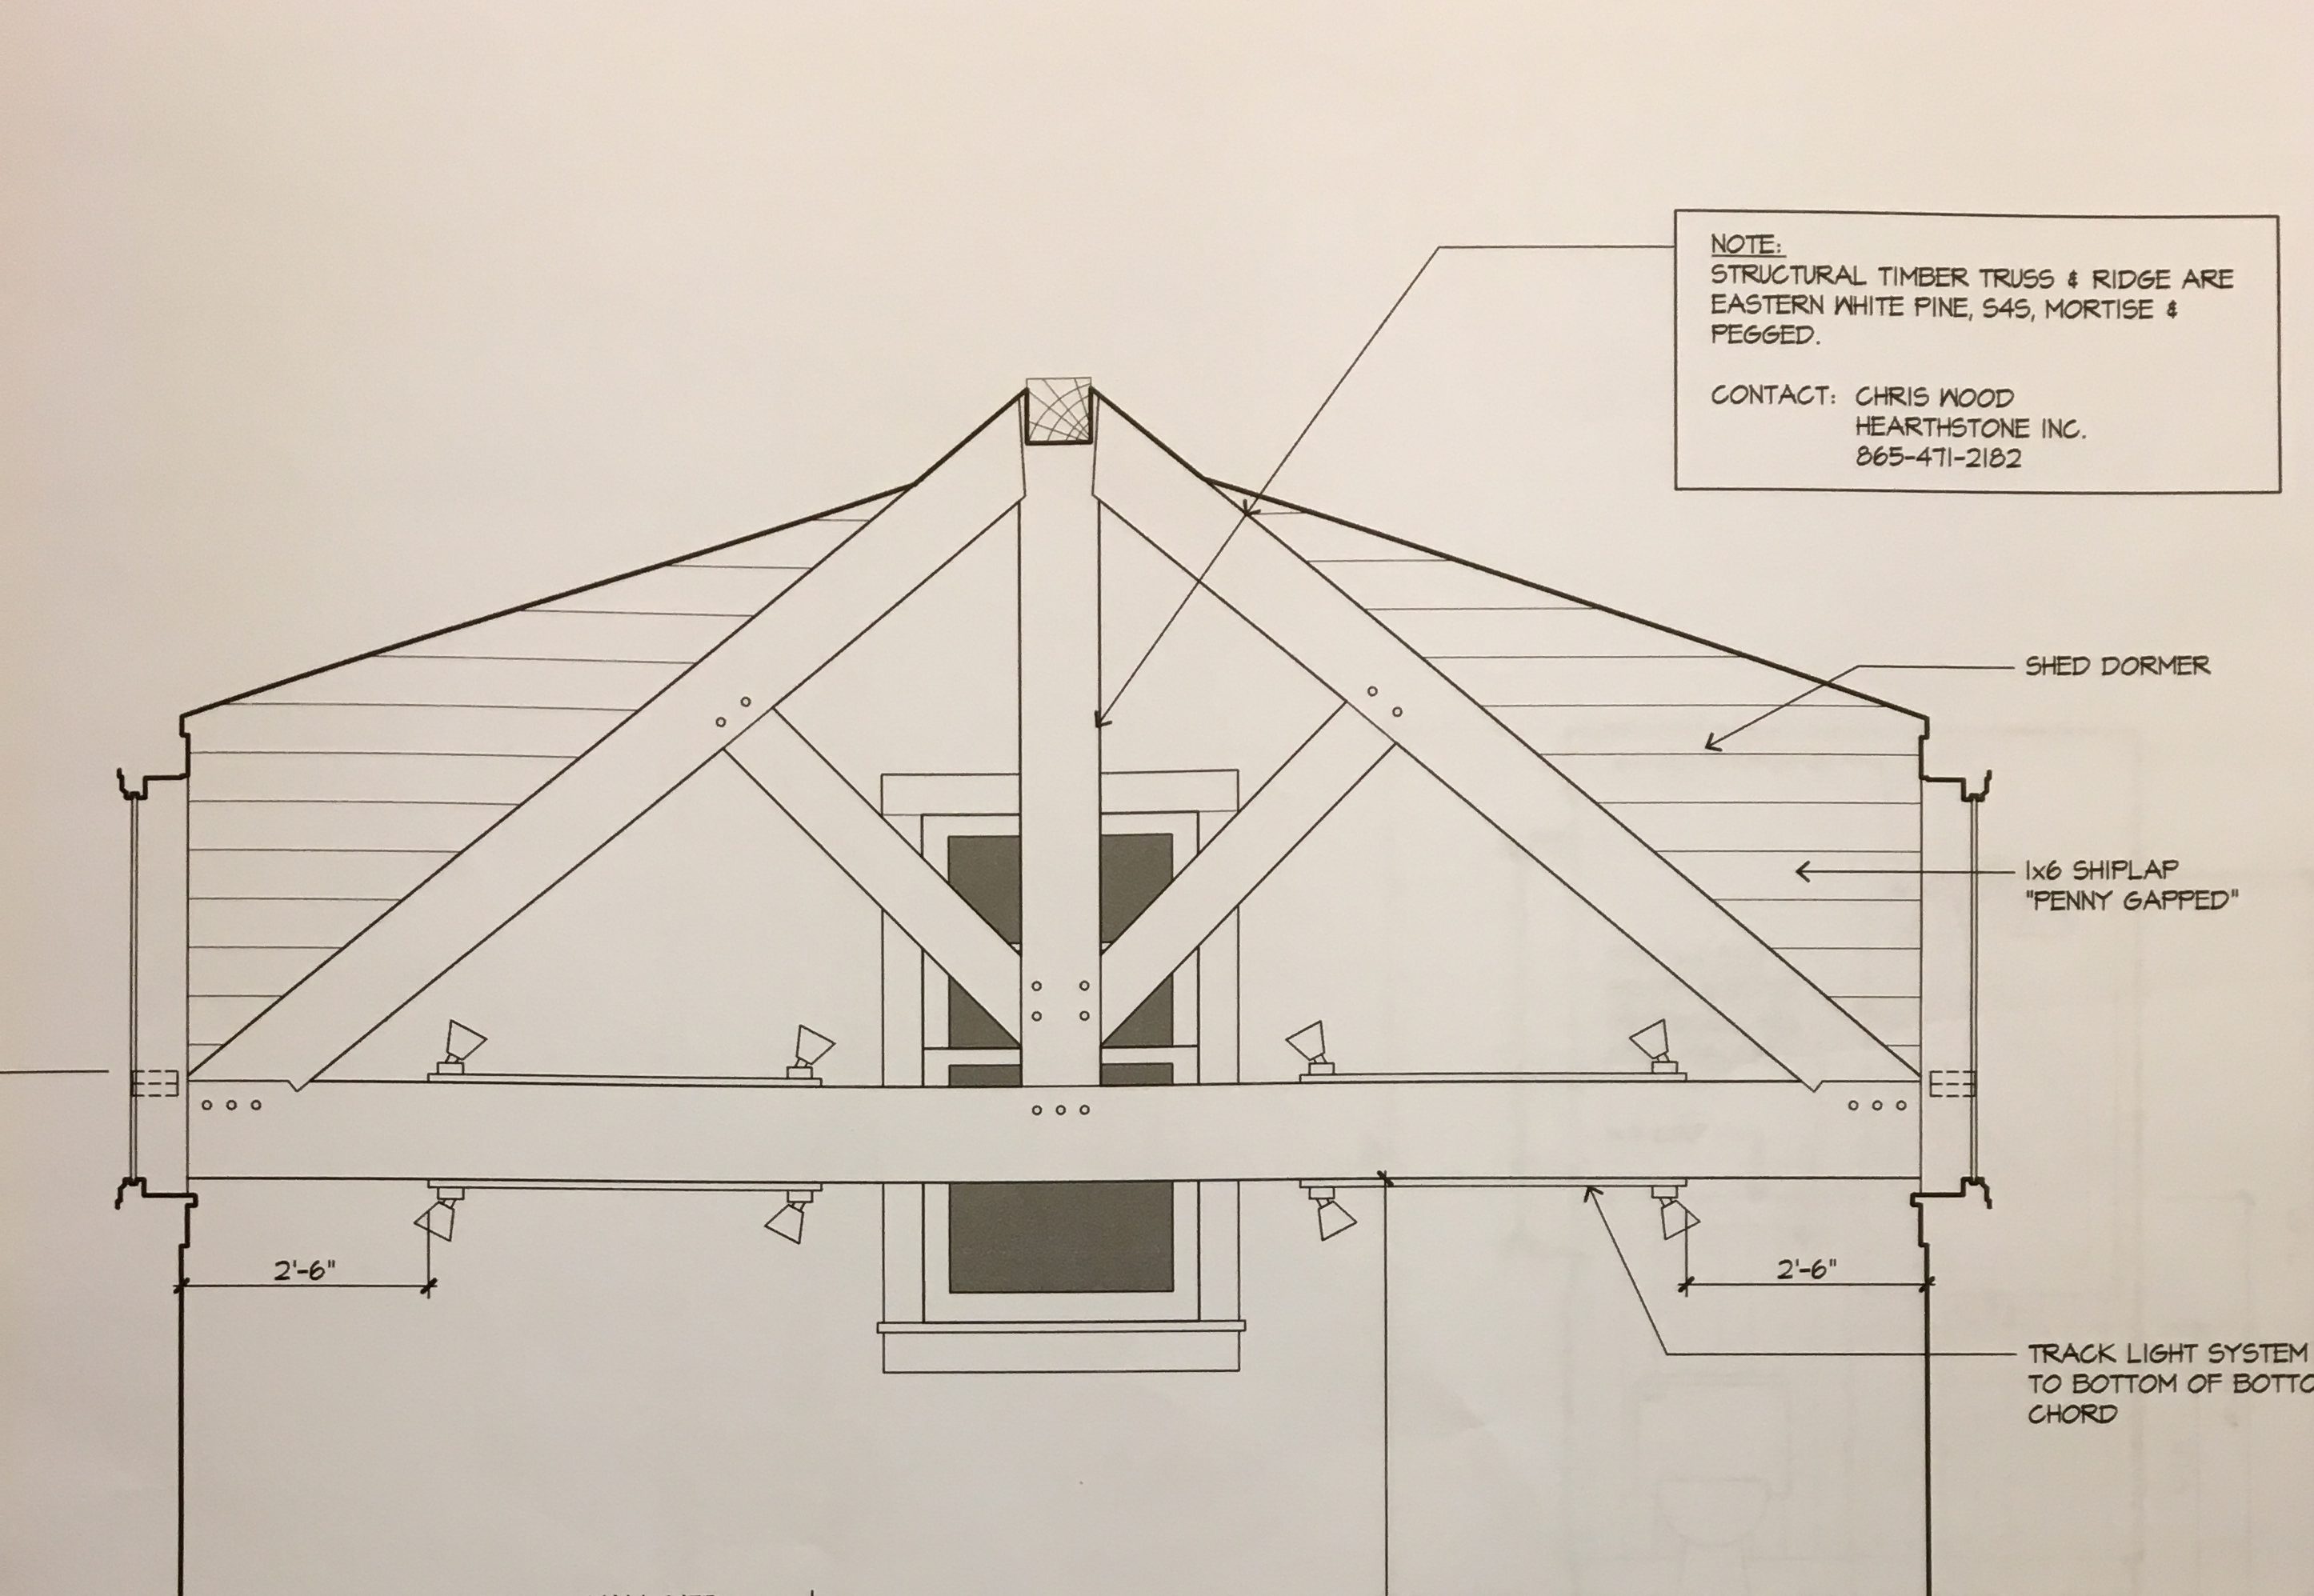
One of the nice details of the Family Room is the ceiling height of about 22 feet, and large timber trusses, supporting the roof. The base of the horizontal truss is about 14 feet above the floor. Here is the look, installed.
Timber Trusses Installed
For a better perspective, here is the original design, which we changed slightly to lower the point where the lateral braces attach to the king post.
Vaulted Ceiling – Truss Design
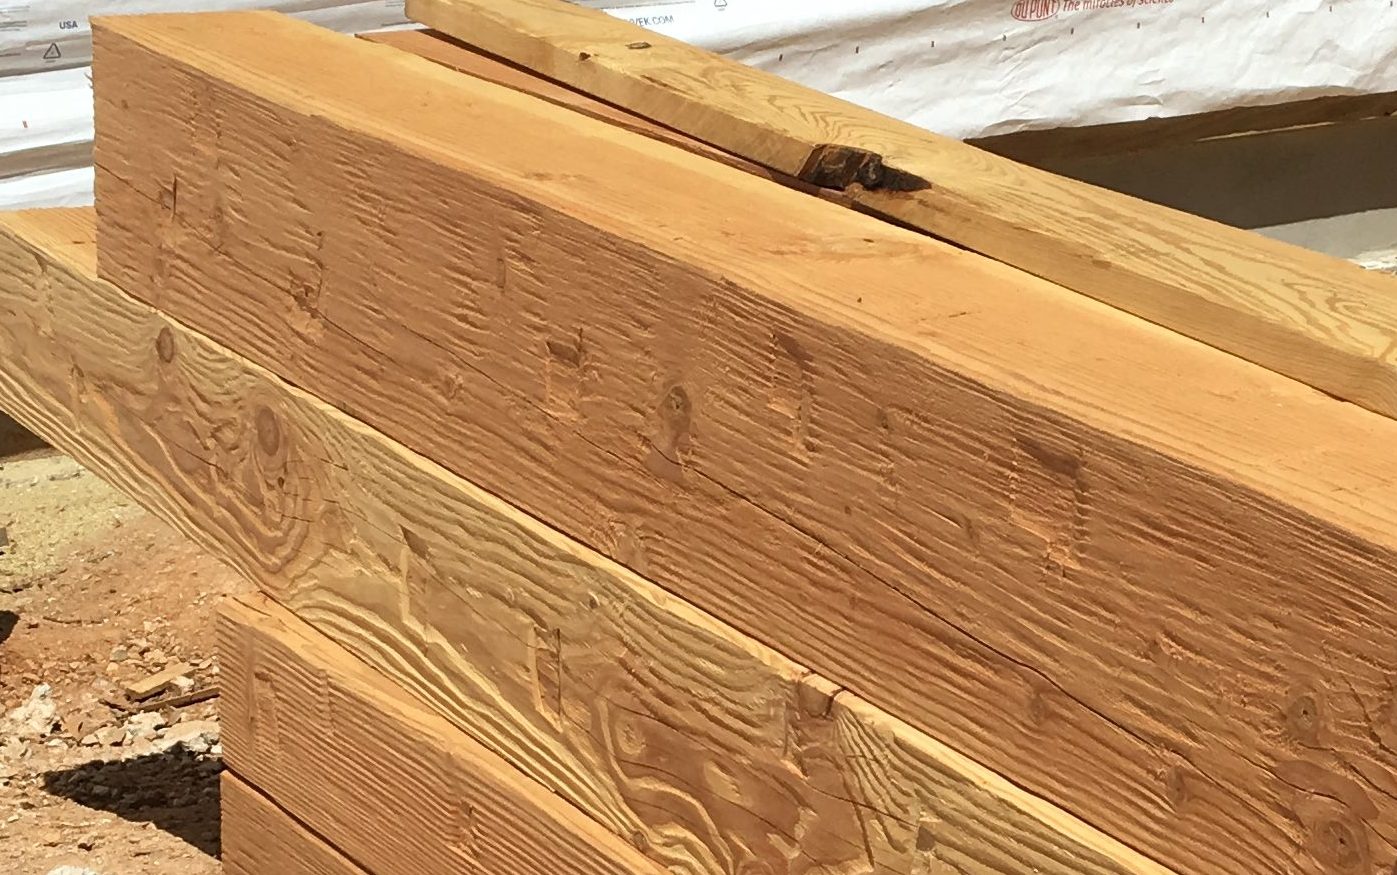
The trusses are fabricated from Canadian Fir, rough-hewn with some distressing. After installation they will be stained.
Distressed Timbers
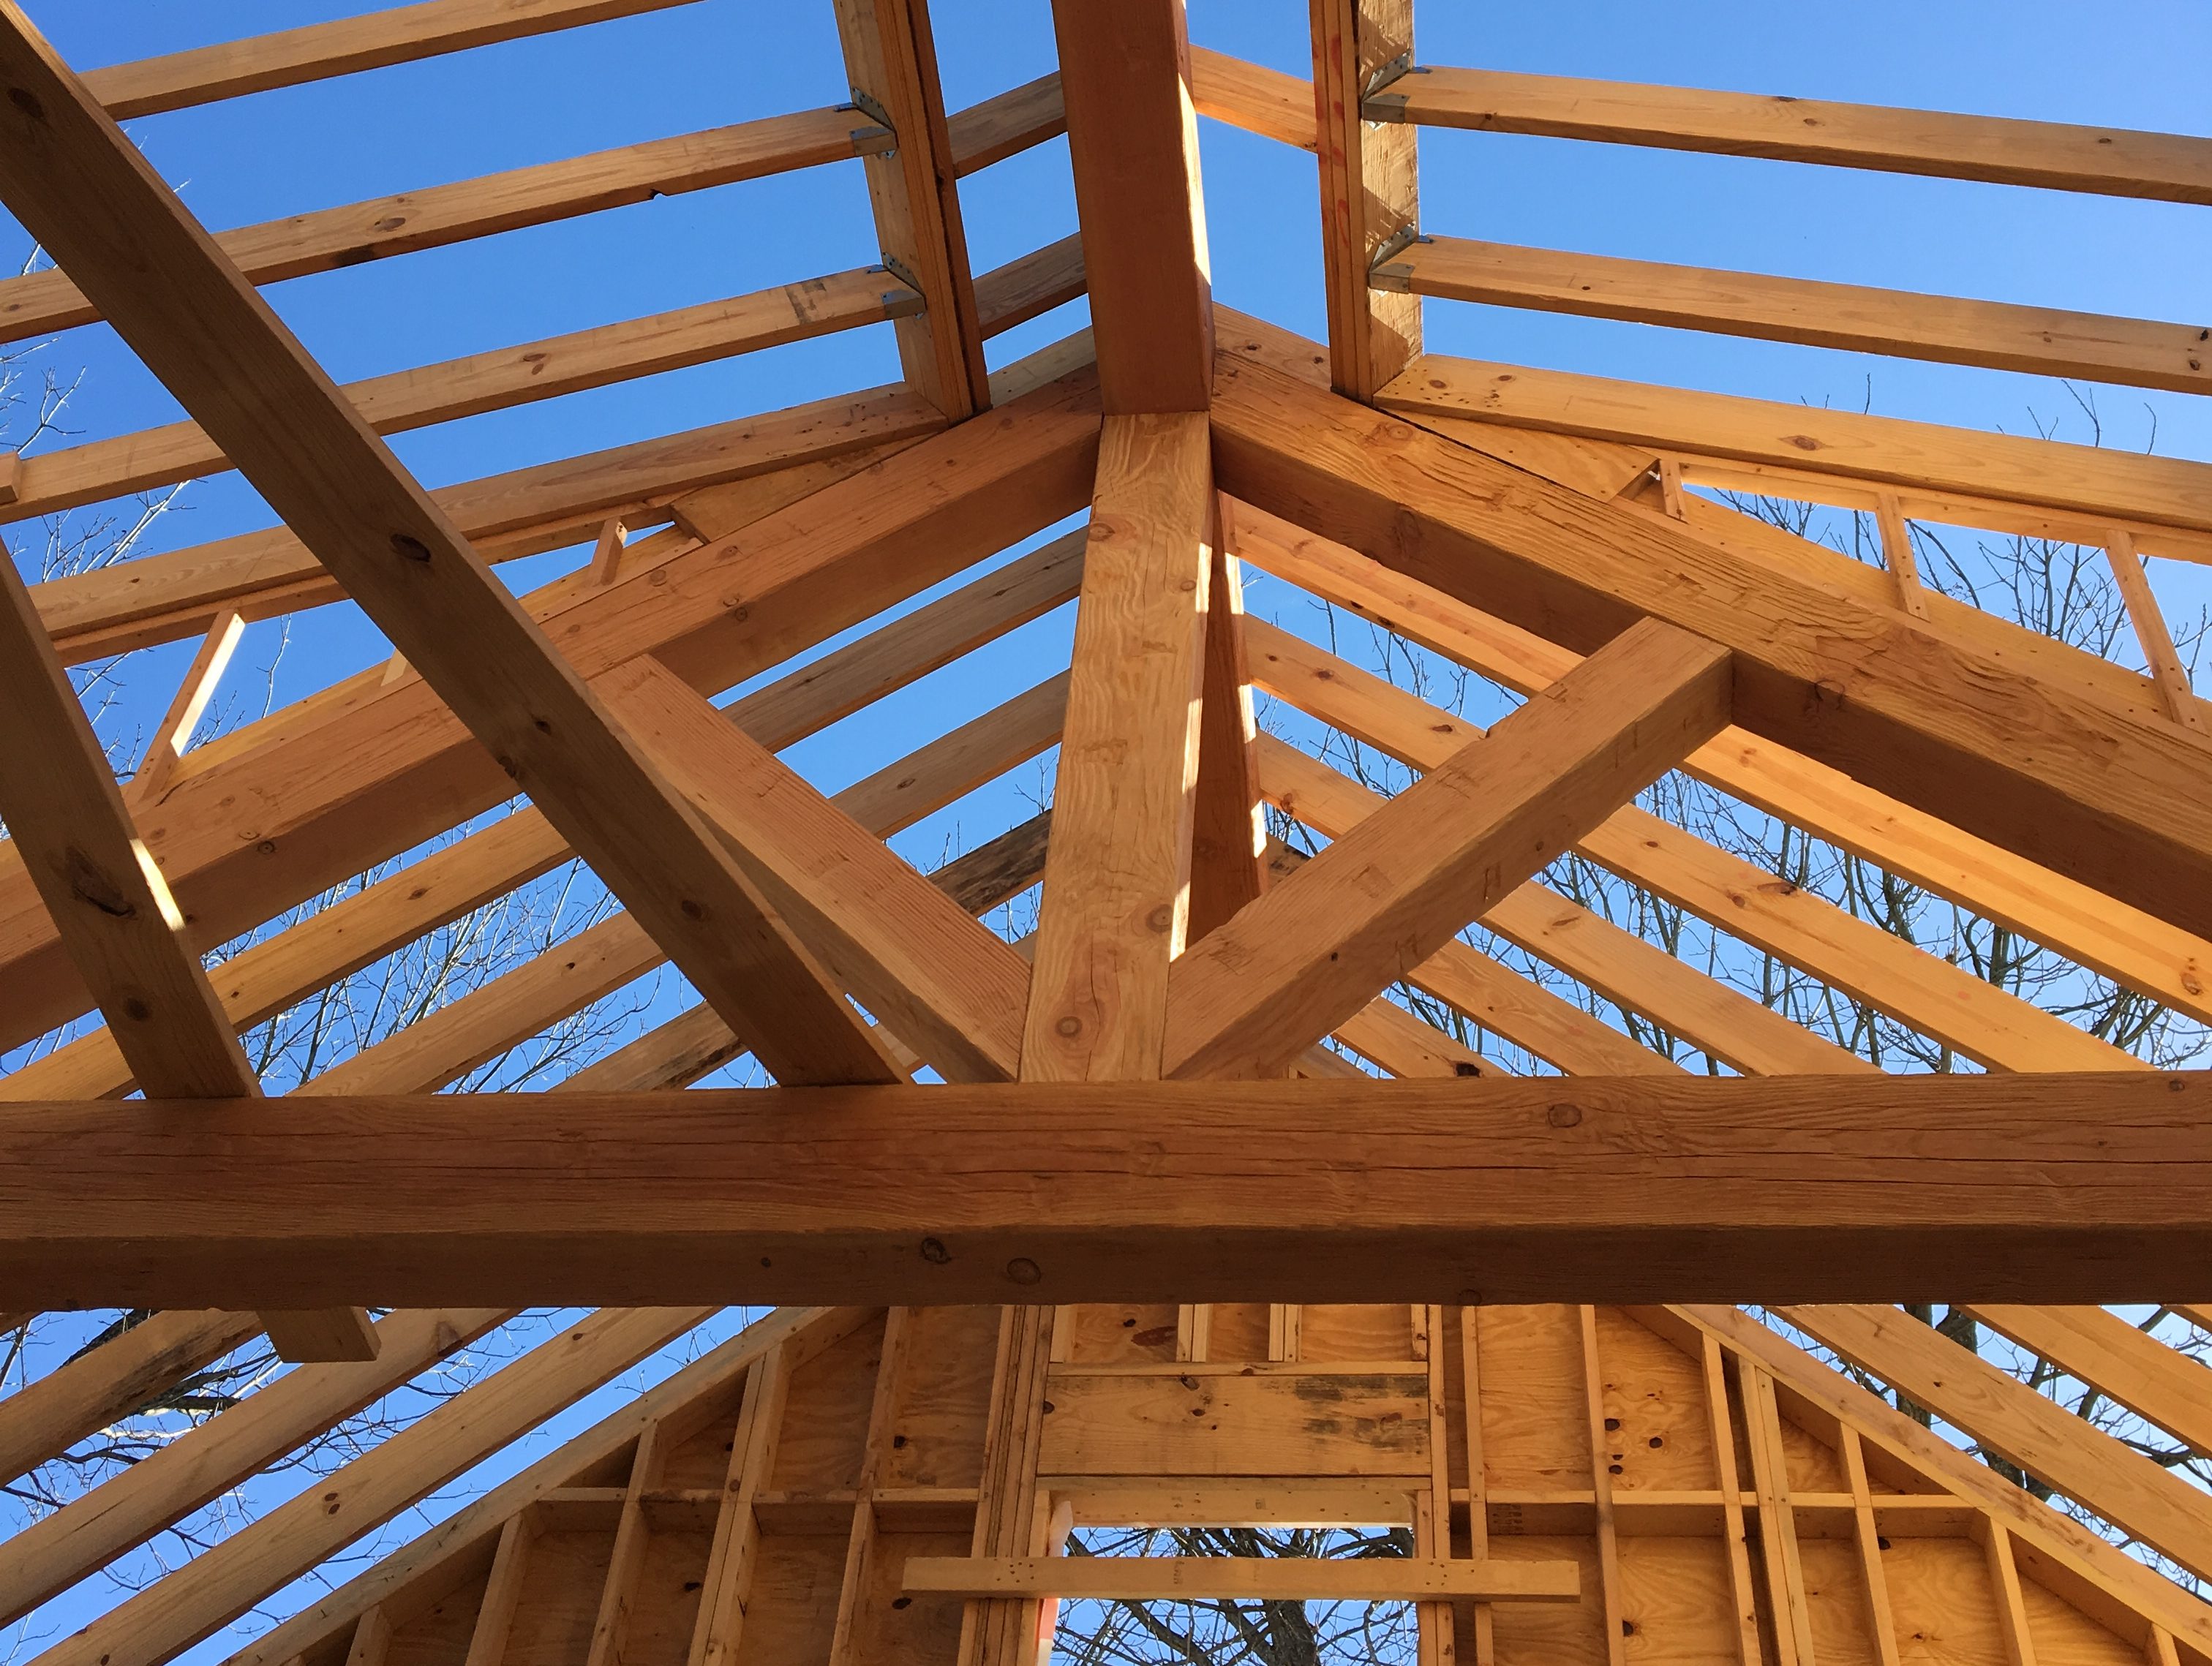
Here is the tie-in to the wall, note the five 2X6 supports, below the truss.
Tie-in Detail
Finally, a look from below, up through the trusses (the 2×10 boards to the left are just temporary walkways the framers were using).
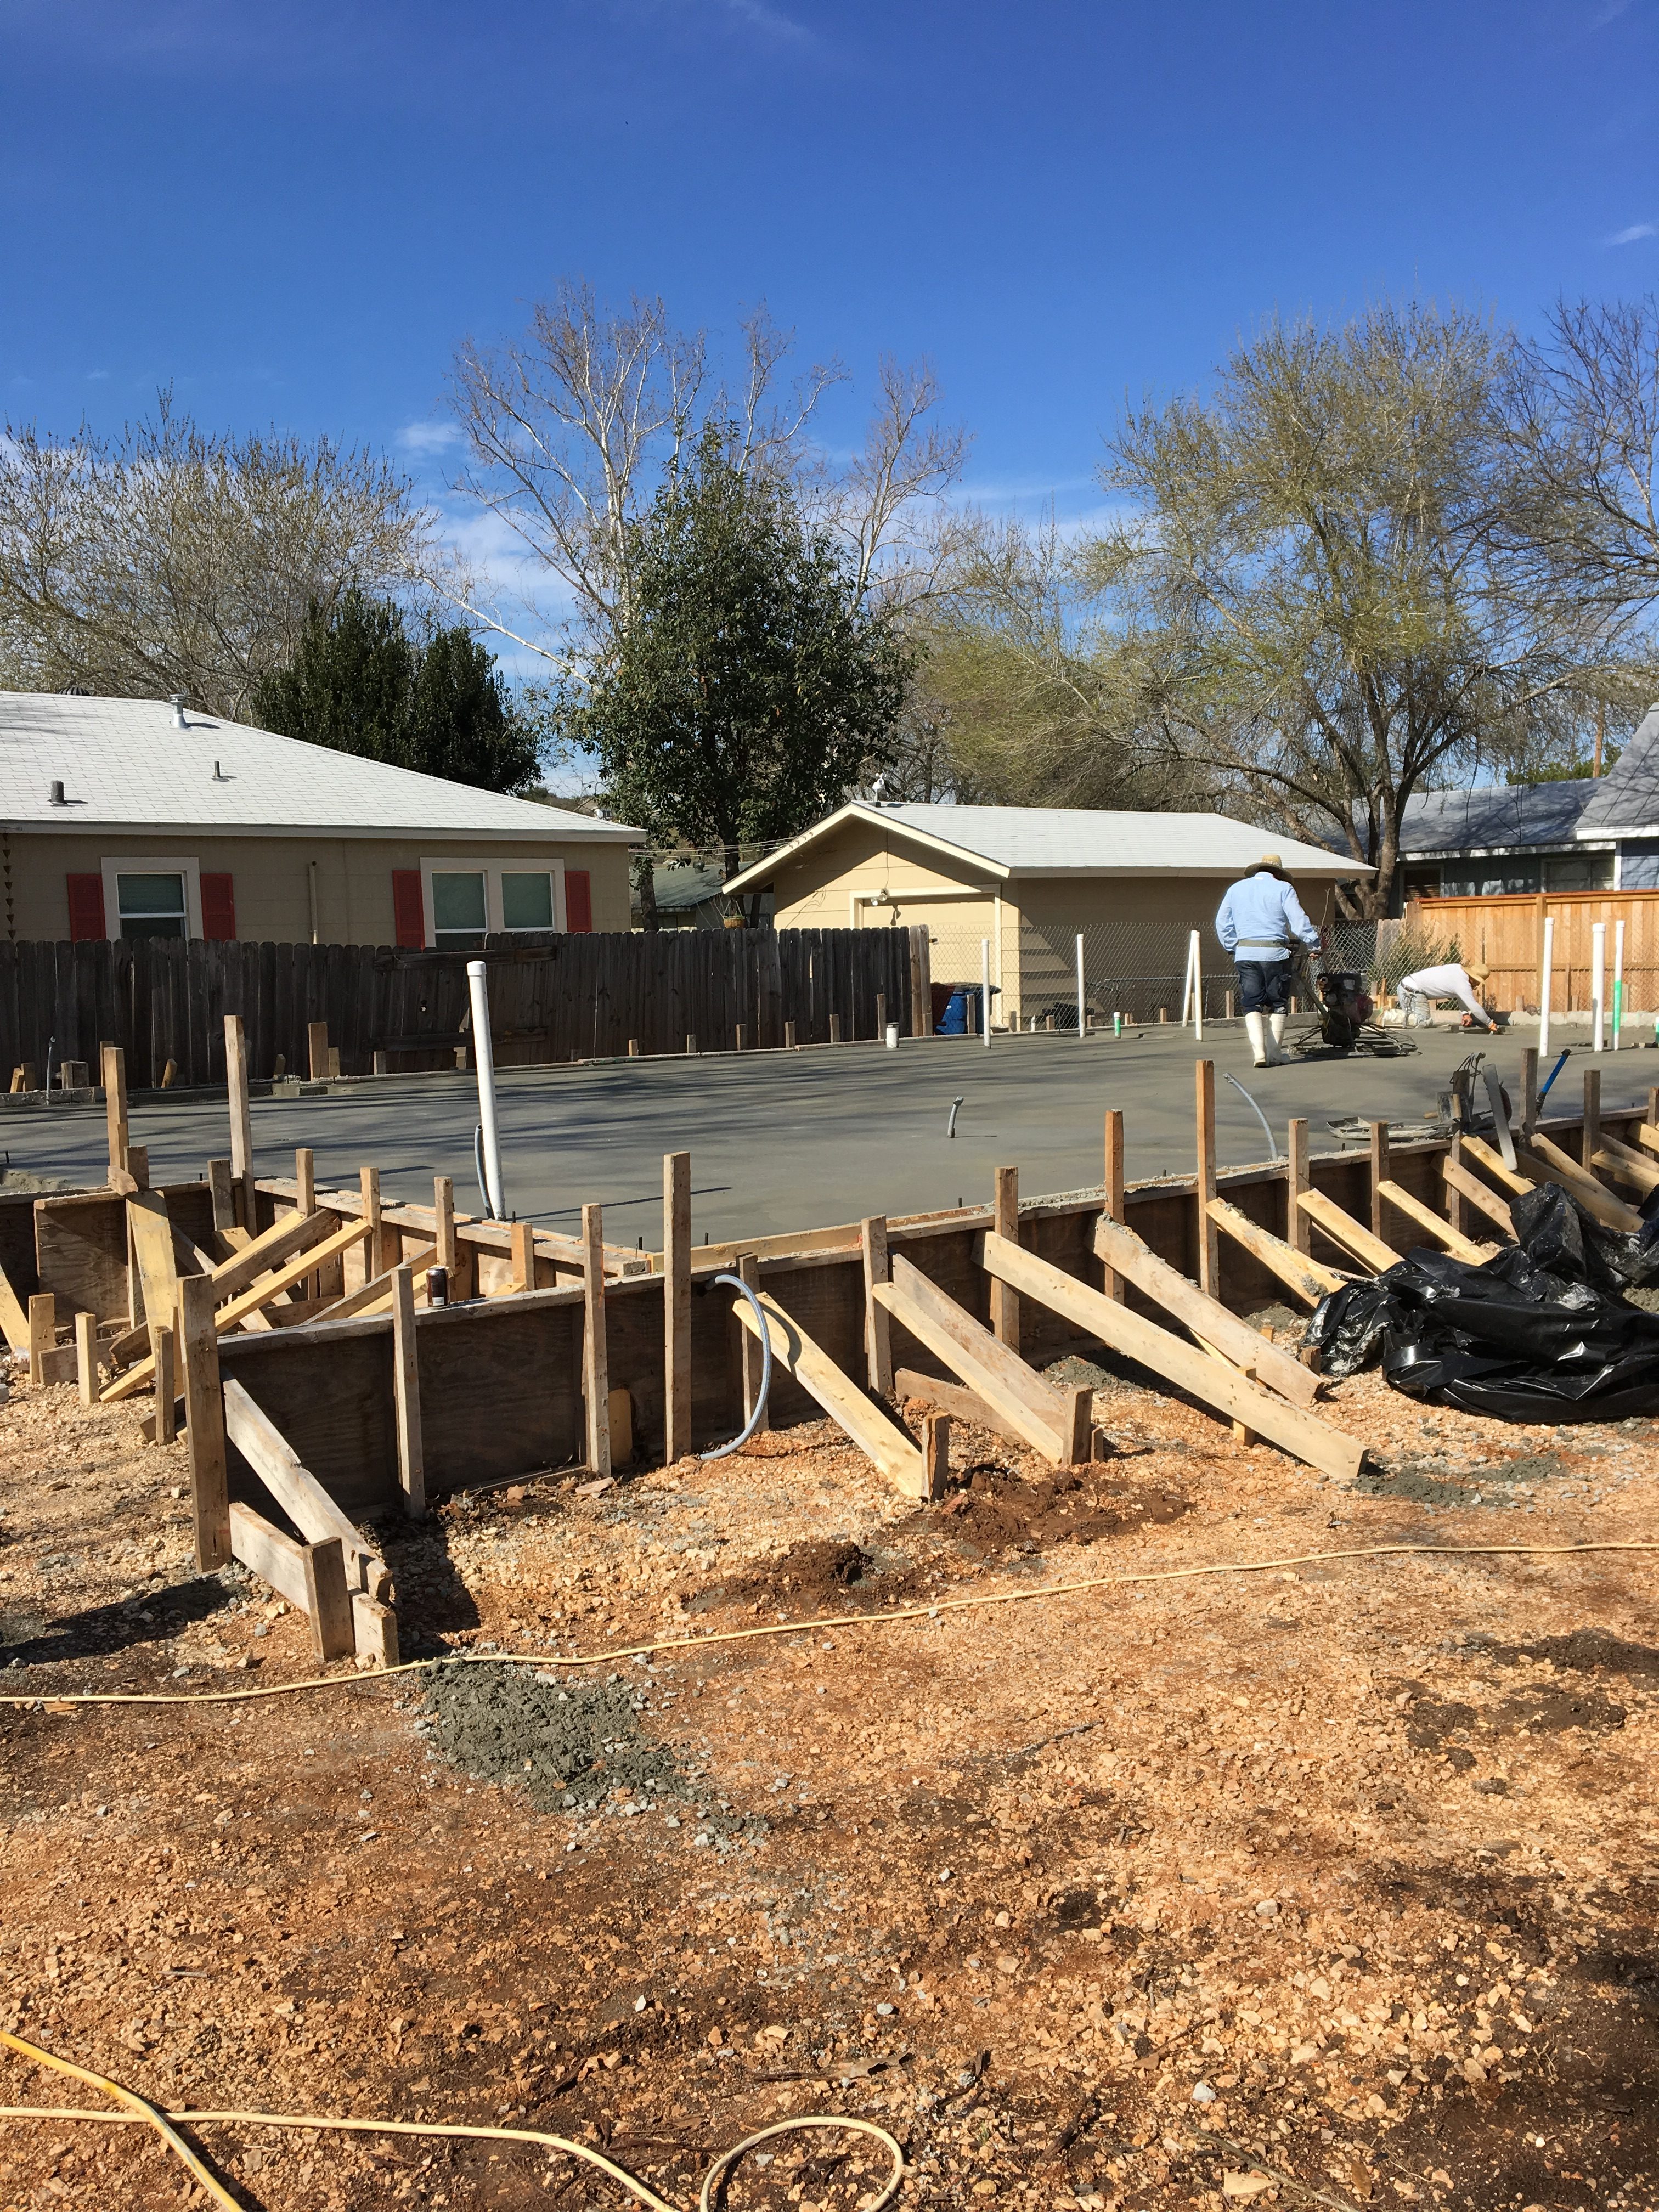
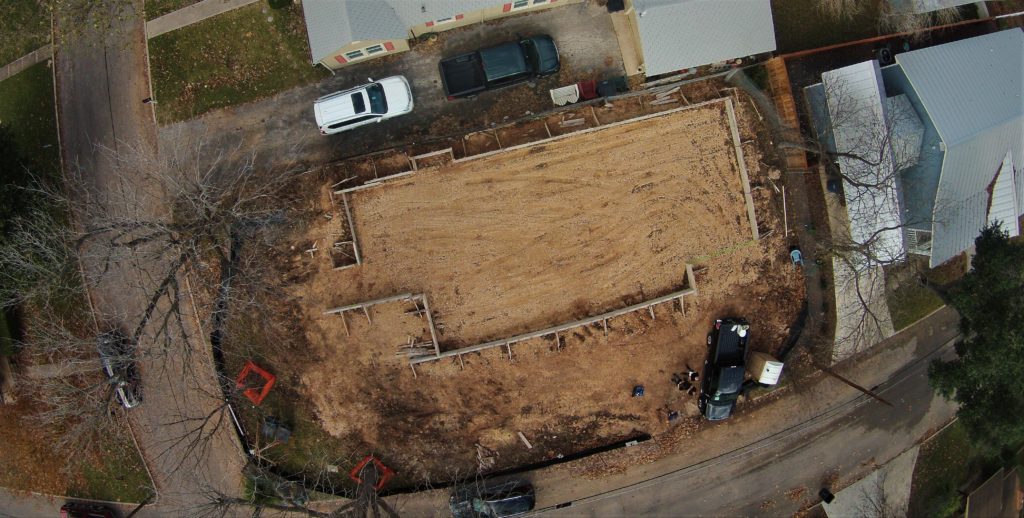
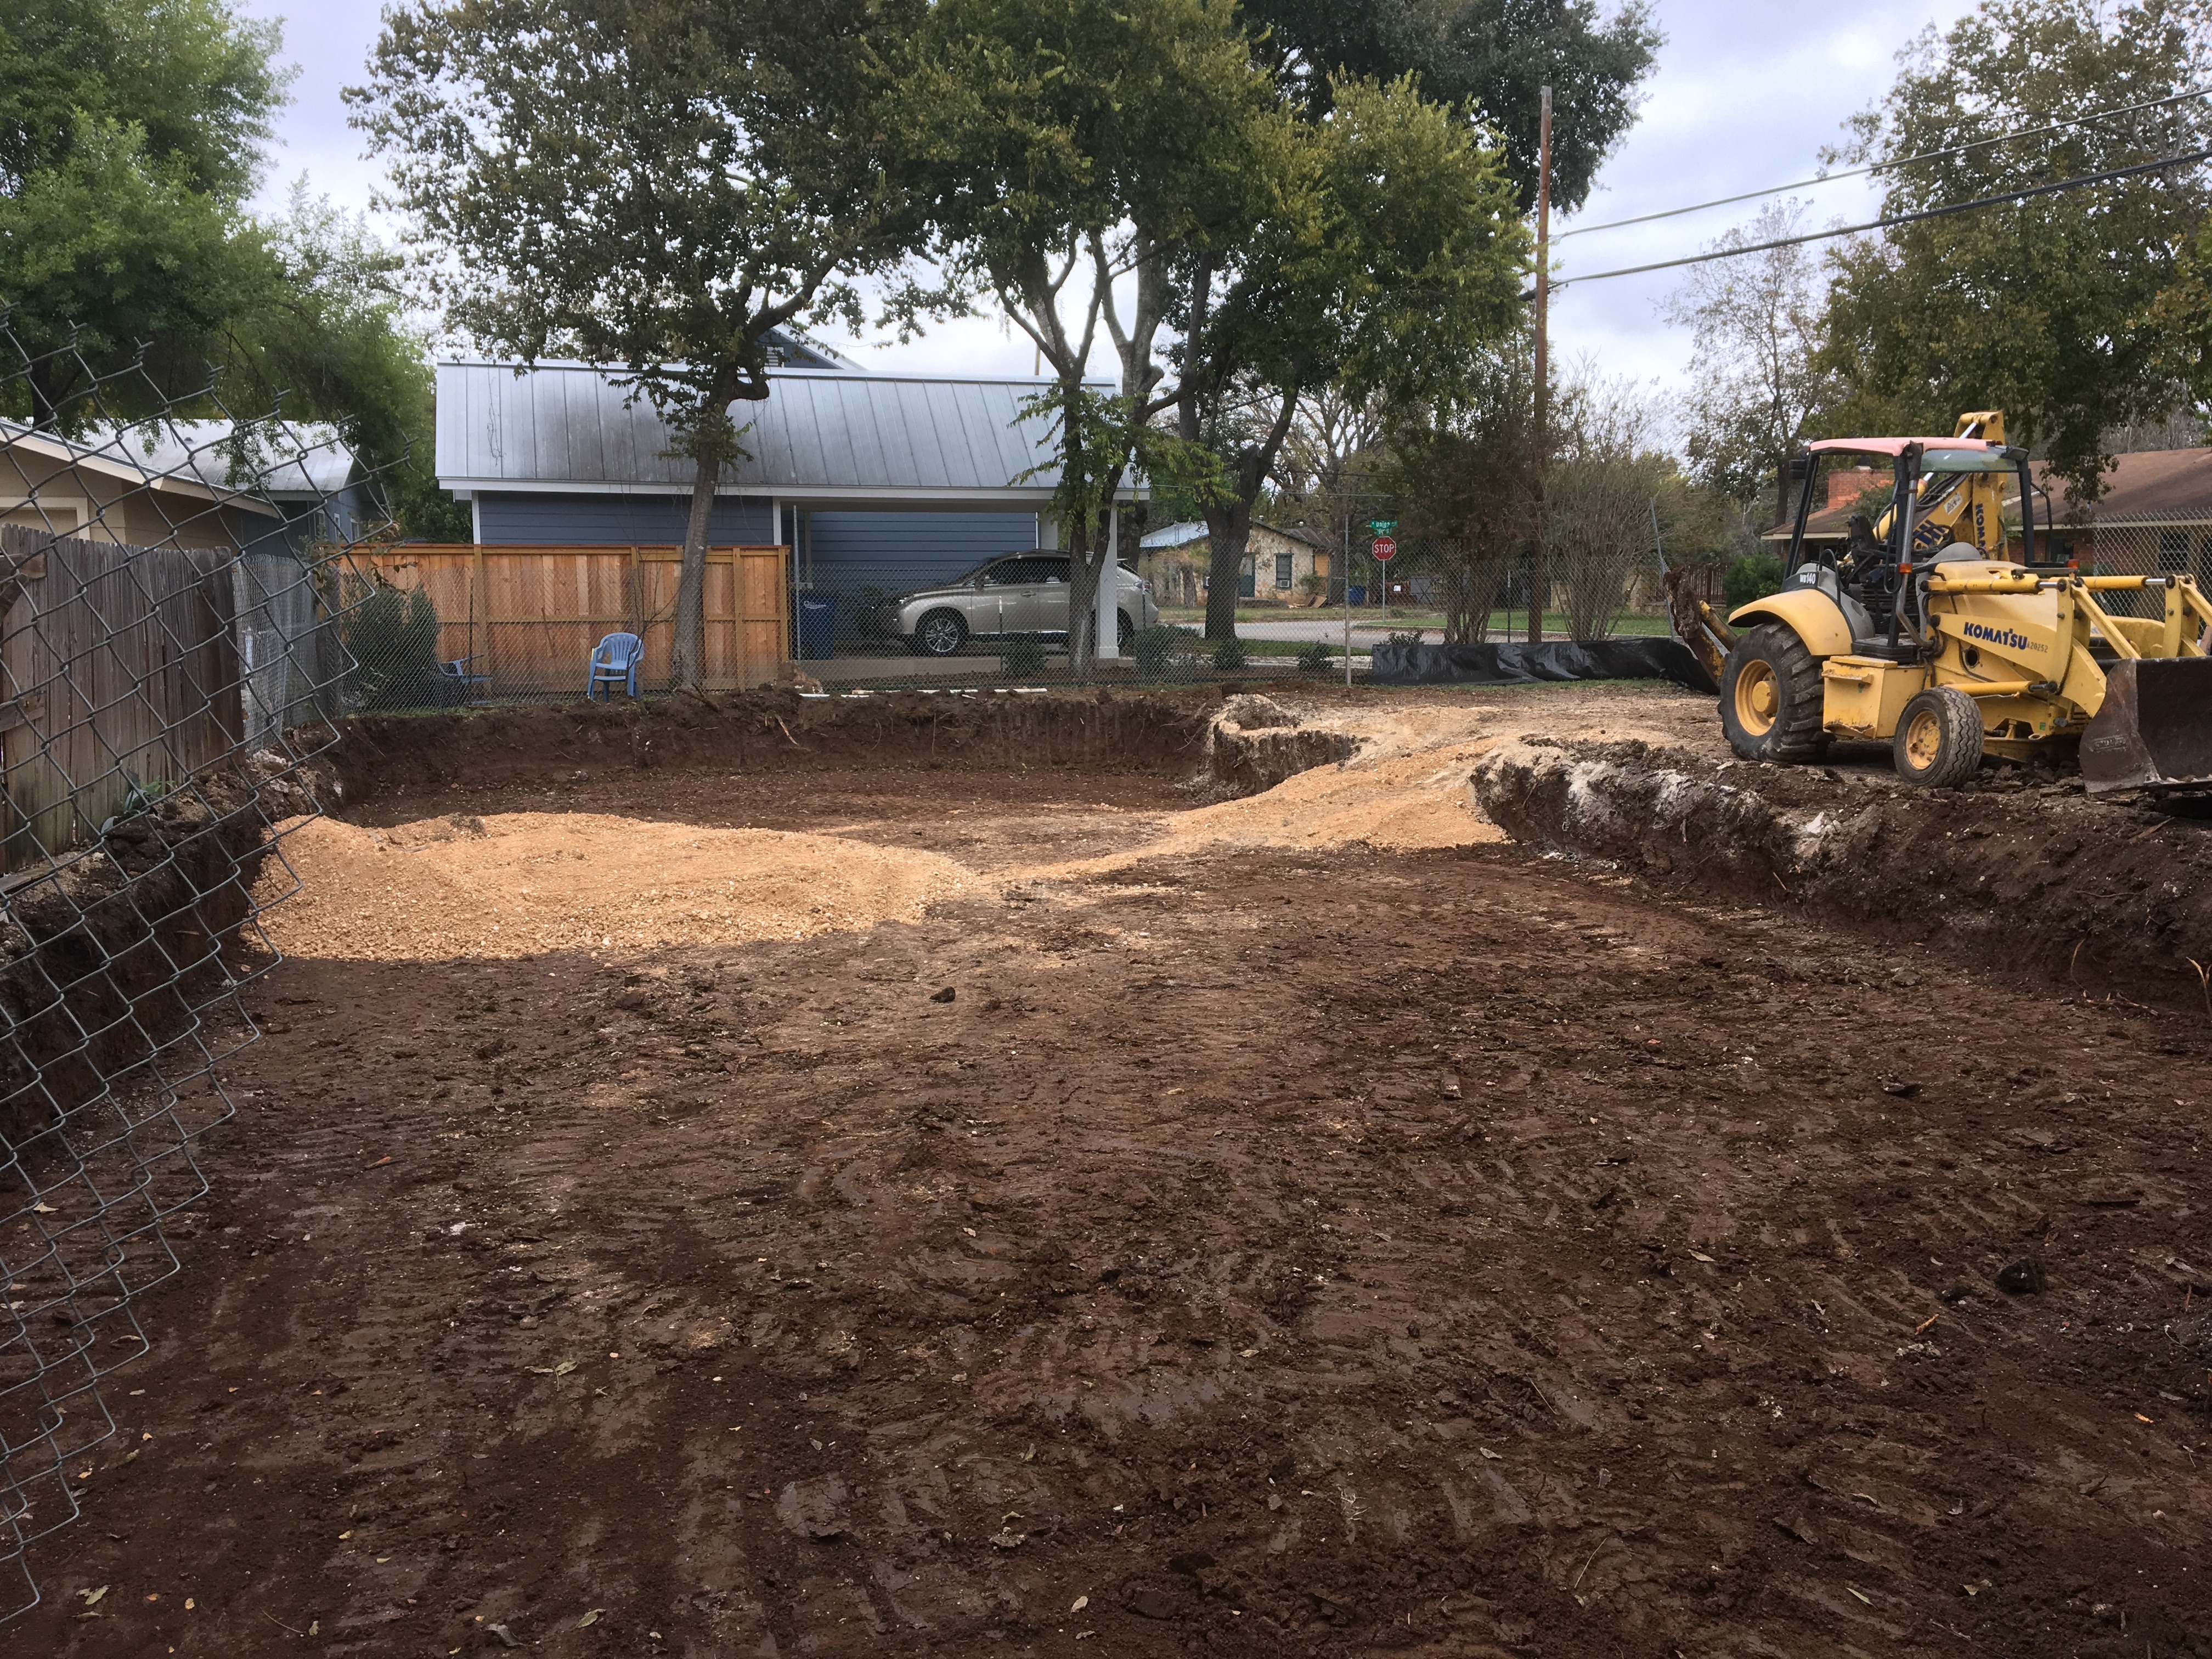
Since we are starting from scratch, we want to make sure the foundation will hold up for the long-term. We have had many houses over the years where foundation settlement was a problem. So, we started with new soil borings at our site. One taken to 25′ depth, the other hand bored (due to access limitations) to 6 feet. Not surprisingly, given our proximity to the river, neither boring hit a solid base. The geotech report and our engineer recommended excavation of the native soils, which were high in expansive clays, down to three feet below natural grade. So, today we have a large hole in the ground. Plan is to bring in new non-expansive fill, compact it, and prepare for the foundation forms. Continue reading “Excavating the Foundation”
We had a lively debate with our architect about how high the finished floor should be above grade. Our site is located about 3 feet above the FEMA base flood elevation (BFE). By city ordinance, the finished floor must be 2 feet above the BFE. So we easily met that requirement, even if the slab was directly on grade.
But, we knew that the area had flooded about 15 years earlier. Ironically, during that time we found that there was a 500-year storm and then a 250-year storm within about a 4 year time-period. So much for statistics. Plus, we knew that there was a new major 2000+ acre development planned upstream of our area, which could worsen the run-off during storms.
So, it was a judgment call. But, given that we are starting from scratch, there was no reason to skimp on the elevation. We chose to go with a finished floor of the house 2 feet above grade, that will put it just over 5 feet above the BFE. To avoid too much slope on the short driveway, the garage will be 1 foot lower than the main house.