Blog
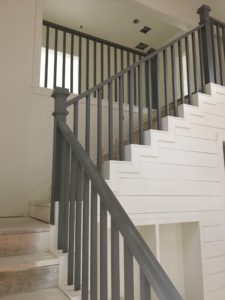
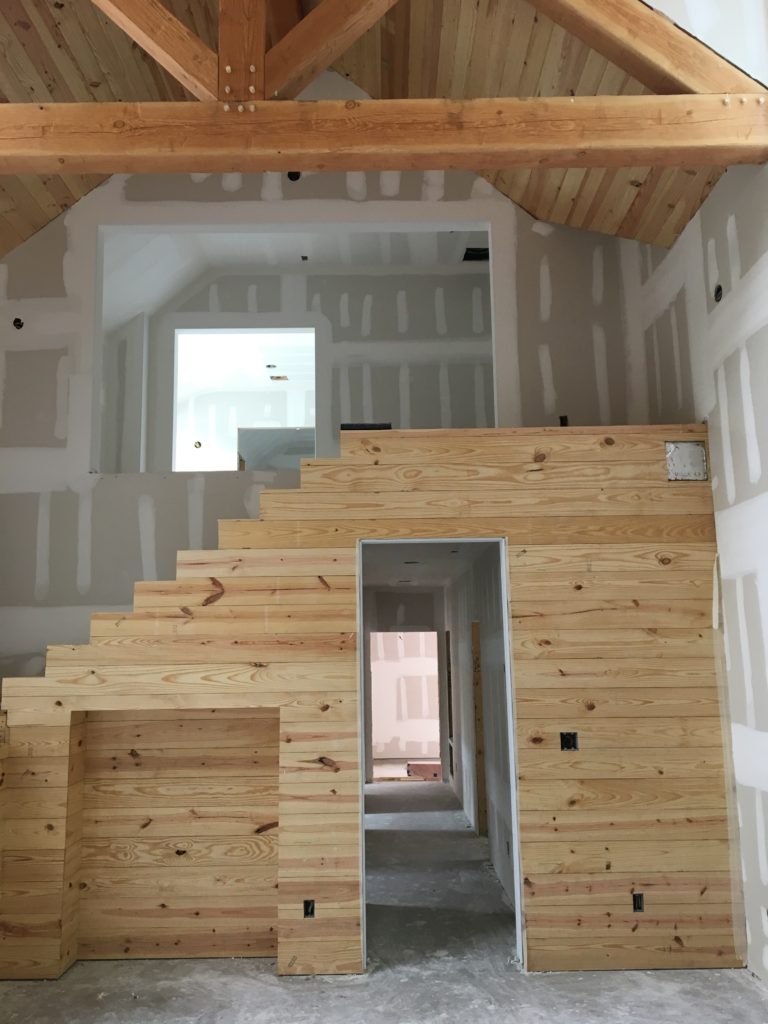
Stair Railing
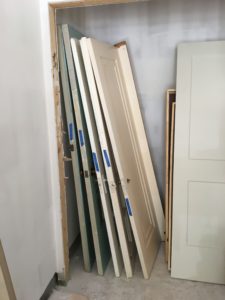
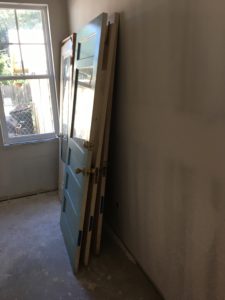
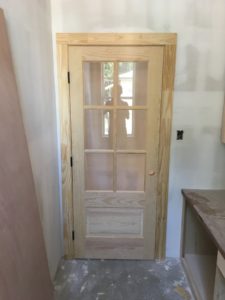
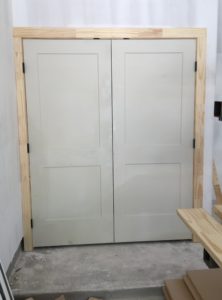
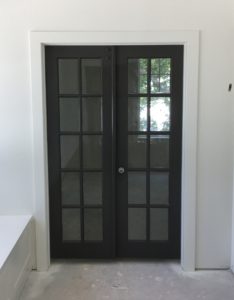
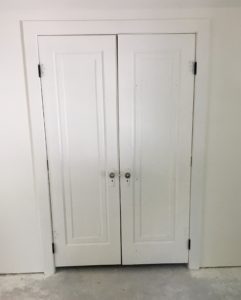
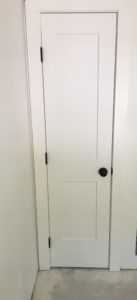
Doors Old and New
Bricks – Chimney, Fireplace and Porch
The exterior of the house is board and batten, but there are some brick details.
- Here are the finishing touches going on the chimney.
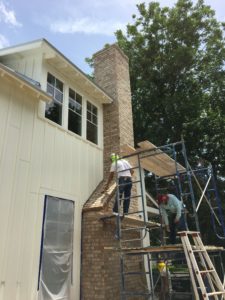
Finishing the Chimney Glad to get that finished, since there was a portion of the metal roof which was waiting on the chimney to get completed.
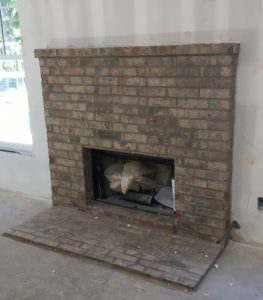
- And, here is the fireplace. Very nice. (Just ignore the trash inside the firebox, guess the workers were storing some of the work plans there.)
- The front porch has a brick border, and the brick skirt.
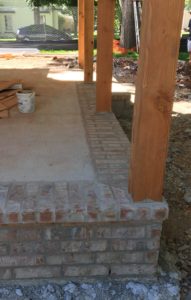
Front Porch Here is a close up also showing the support columns and how the brick is laid so that it hides their metal brackets.
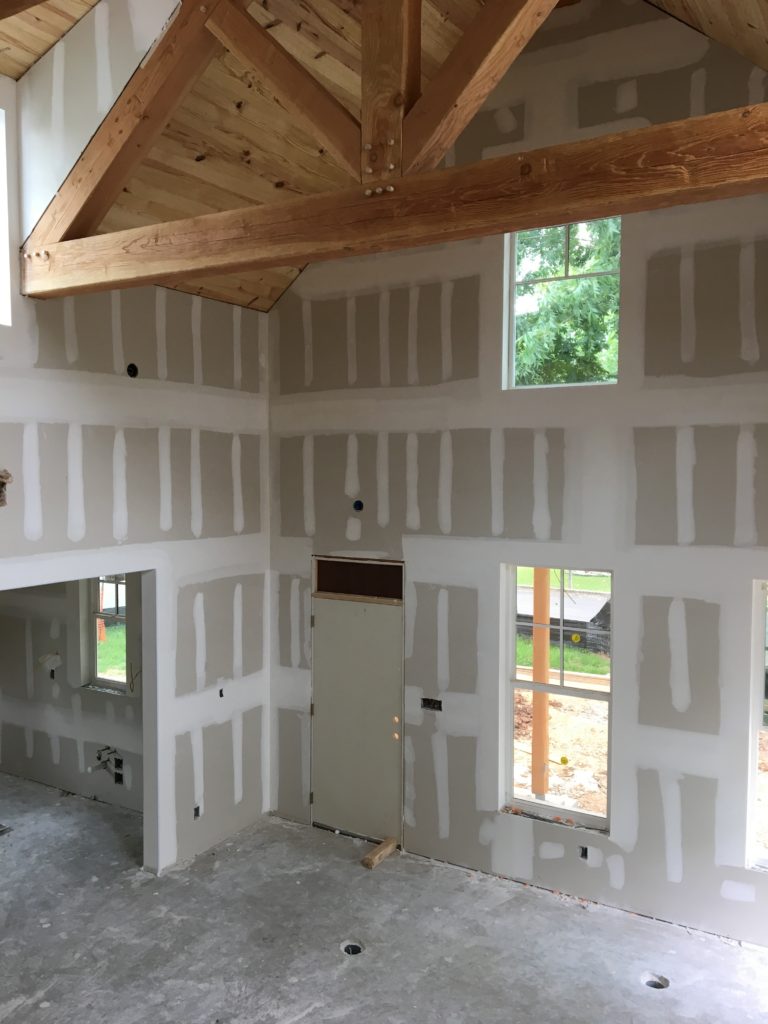
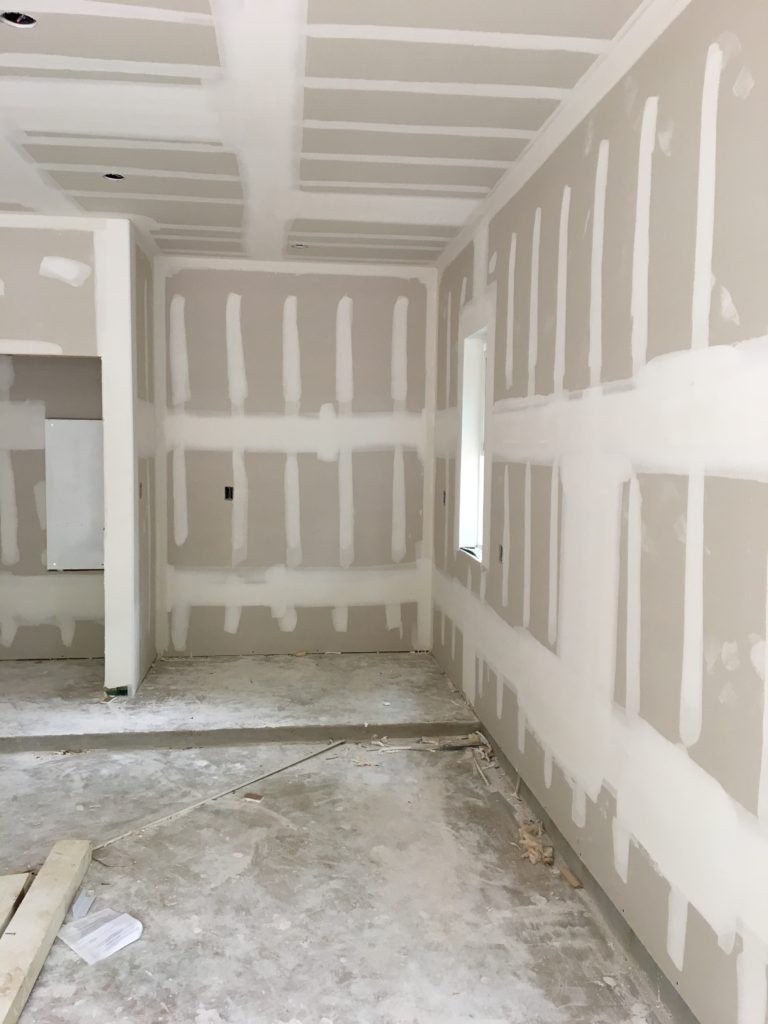
Dry Wall
Delivering the Dry Wall – Time Lapse
Here is a very cool time lapse of the delivery of the dry wall. Those panels weigh a lot, so the delivery truck has a long articulating arm to lift and set the panels on the porch. Our building lot is so small the truck has to reach over the corner of the roof to get the panels in the front door.
Insulation, and Lots of It
Insulation. It’s not just for thermal resistance and minimizing energy consumption, though that is what first comes to mind.
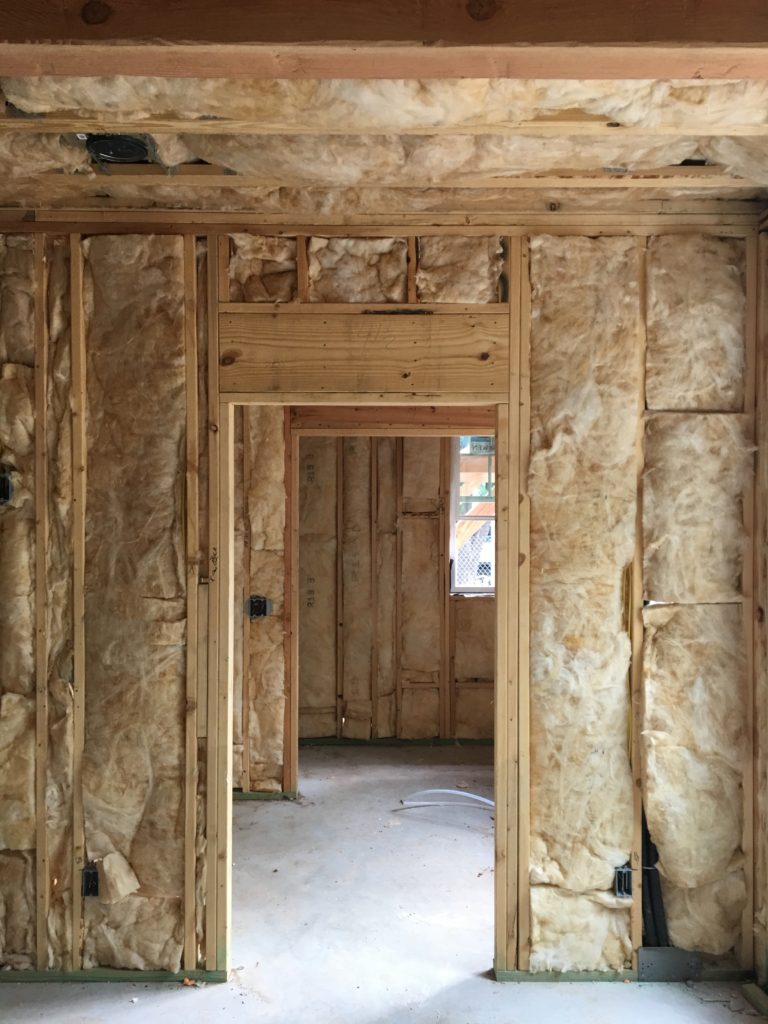
We used a variety of insulation materials. Exterior 2×6 walls got R-19 fiberglass batten insulation. Interior walls got R-11, primarily for sound-proofing. Amazingly, the batten insulation is so light that it was merely packed in and hung between the interior studs, prior to the dry wall going in.
And, the framing between the second story and the first floor likewise was insulated, for sound-proofing.
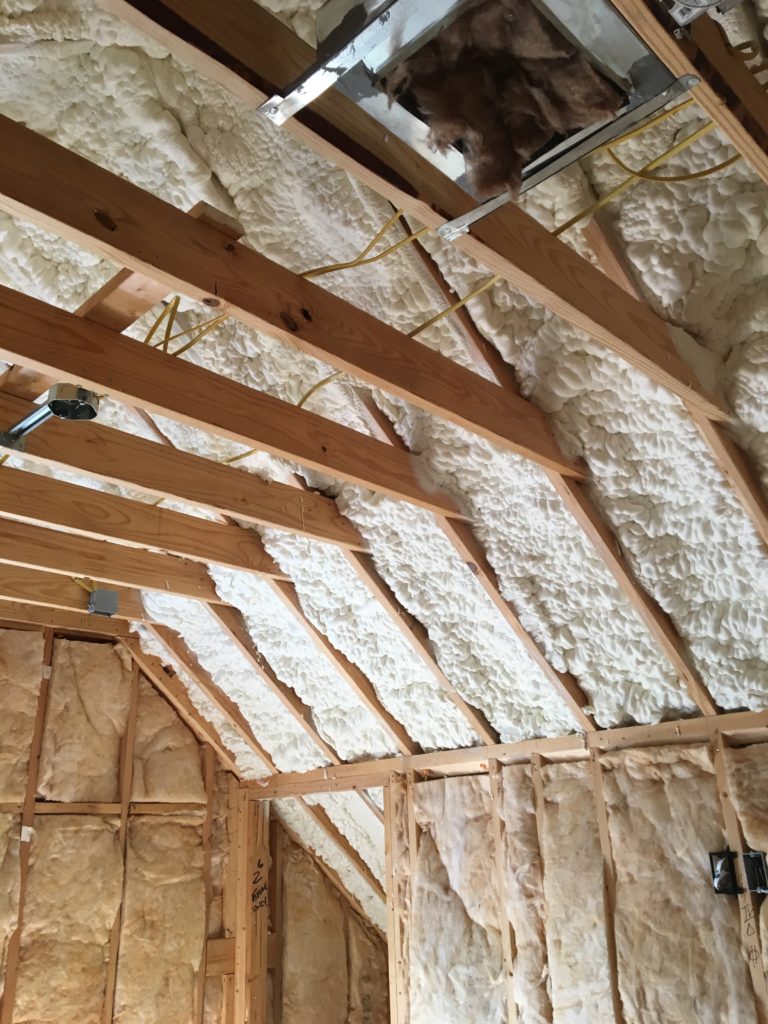
Ceilings received R-38 spray foam insulation. As you can tell from this picture, the spray foam is much better at filling all the gaps in the walls, and hence overall a much better insulating material.
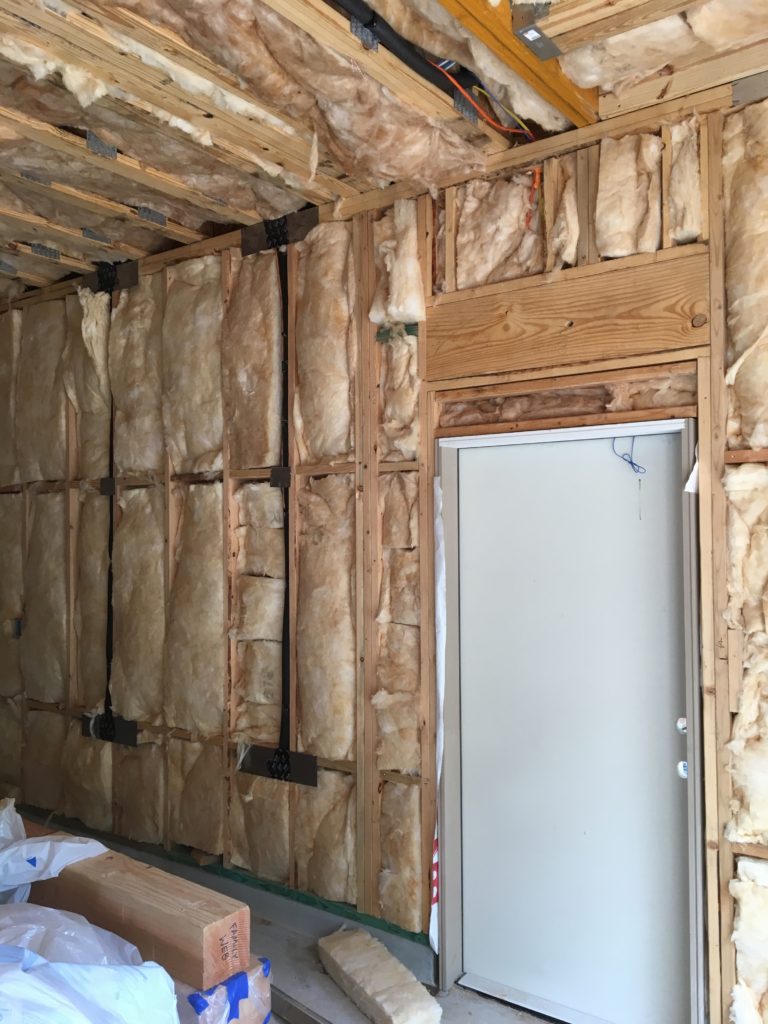
And, finally, you may wonder — do you insulate the garage? For a custom home, the answer clearly is “yes.” As long as you have the crews on site and the walls open — as my builder says — the cost is “pennies” (er, well perhaps dollars). But, you get the idea.
Next stop, dry wall.
Frost Free Hose Bibs
Protecting outside water hose bibs from freezing is not one of my favorite tasks. Since this is a second home, I was interested in a way to avoid wrapping pipes or dripping water, especially since a cold snap can occur unexpectedly in the Winter.
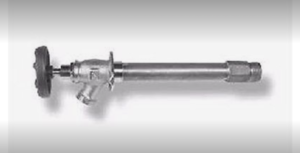
We found these frost free hose bibs, which are more commonly used up north. The key is the actual water cut-off valve is located at the end of a six inch shaft. When mounted, the cut off is located inside the insulated wall, rather than exposed to the cold weather.
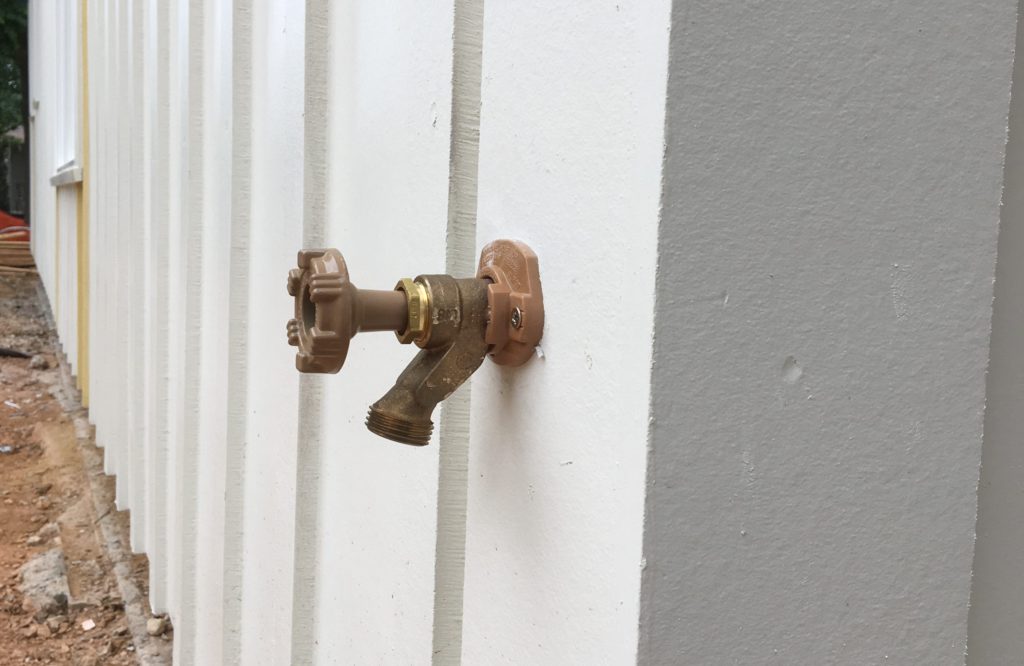
So, when cut off, the water is not exposed to the cold, and any remaining water in the faucet shaft just drains out. A great solution to freeze problems.
Pest Tubes
Here is an interesting innovation in pest control. Our builder has installed small distribution tubes in the walls, that can be used by the pest control company to spray for bugs. Seen below, the system consists of the thin green lines, looped near the white sewer lines. The lines have small perforations, so when spray is injected, the lines evenly spray the chemicals inside the walls.
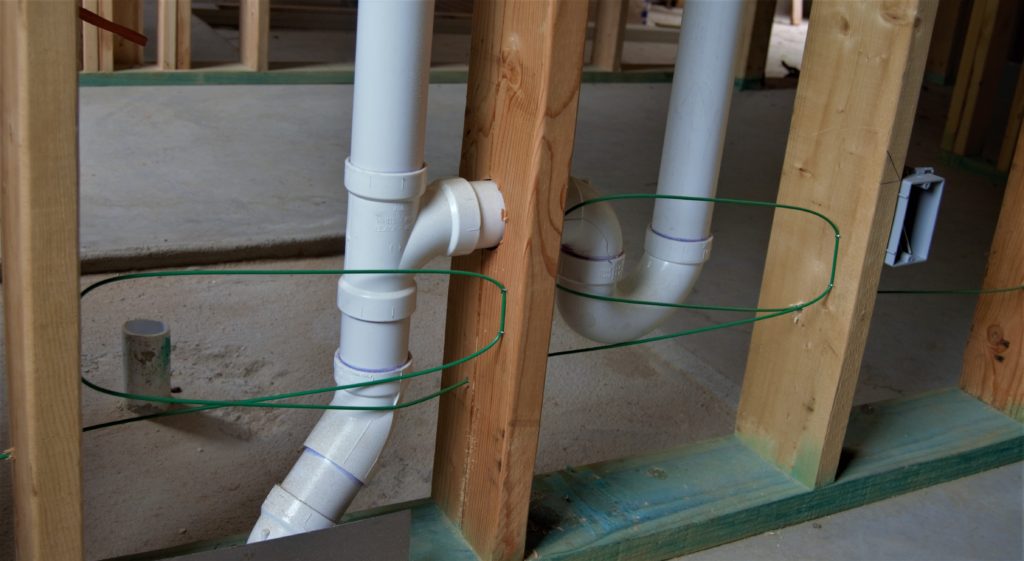
The lines are installed along all the exterior walls and interior portions where there is plumbing. Obviously, these are best installed during new construction, prior to dry-in.
The pest service technician does not even need access to the interior of the house to spray. The lines all converge at a central location where they are connected to exterior ports, which are secured and accessible to a technician outside the home.
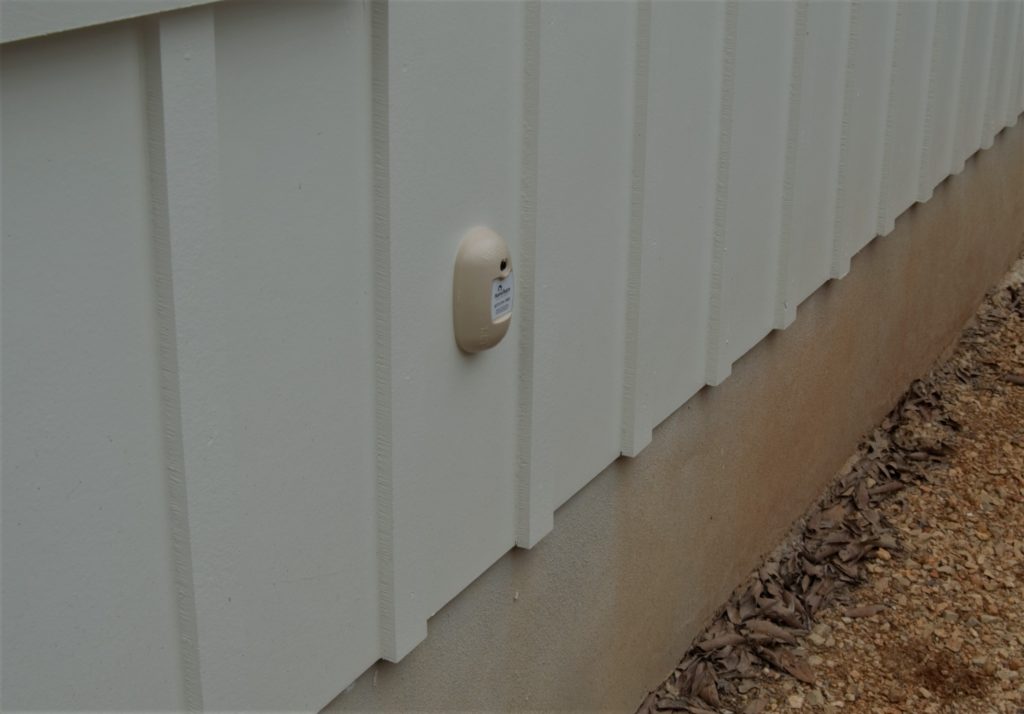
Here is a picture of the port box on the outside of the home.
Taexx system details can be found at this website https://pestdefense.com/faqs/
Construction Update
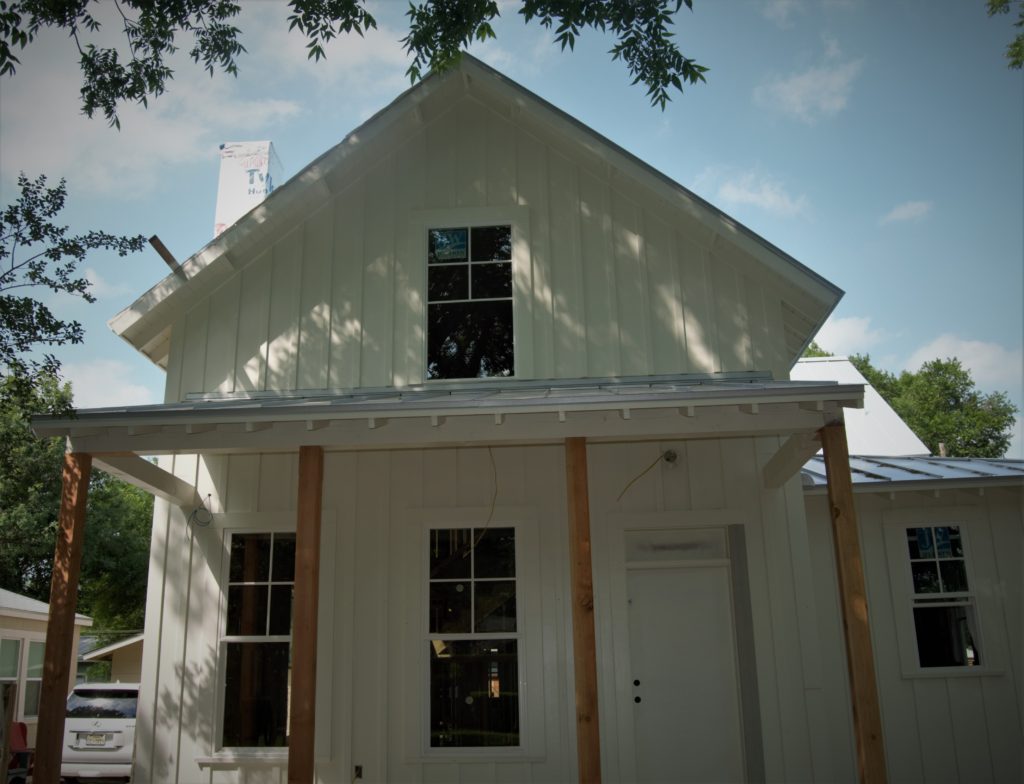
Front Porch posts are in, roof is on, paint nearly complete. Security cameras going in, along with exterior lights. Lots of work left on interior, but insulation and dry wall are coming in the next week or so. After the dry wall, bricks will go on fireplace, chimney, brick skirt and front porch.
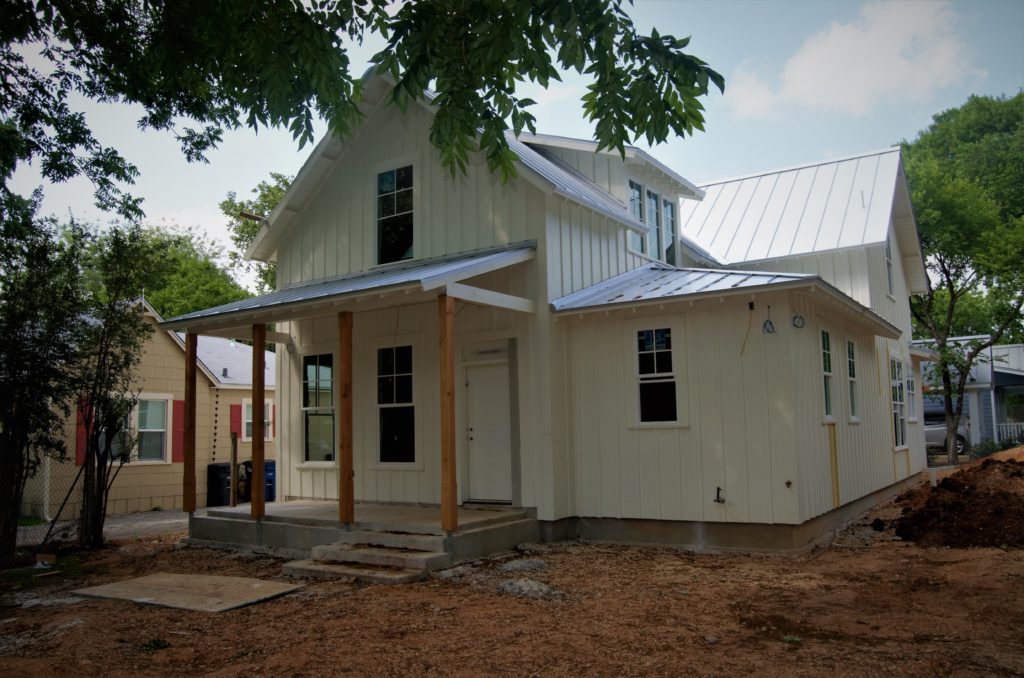
Metal roofing is now on the porch.
